Day One
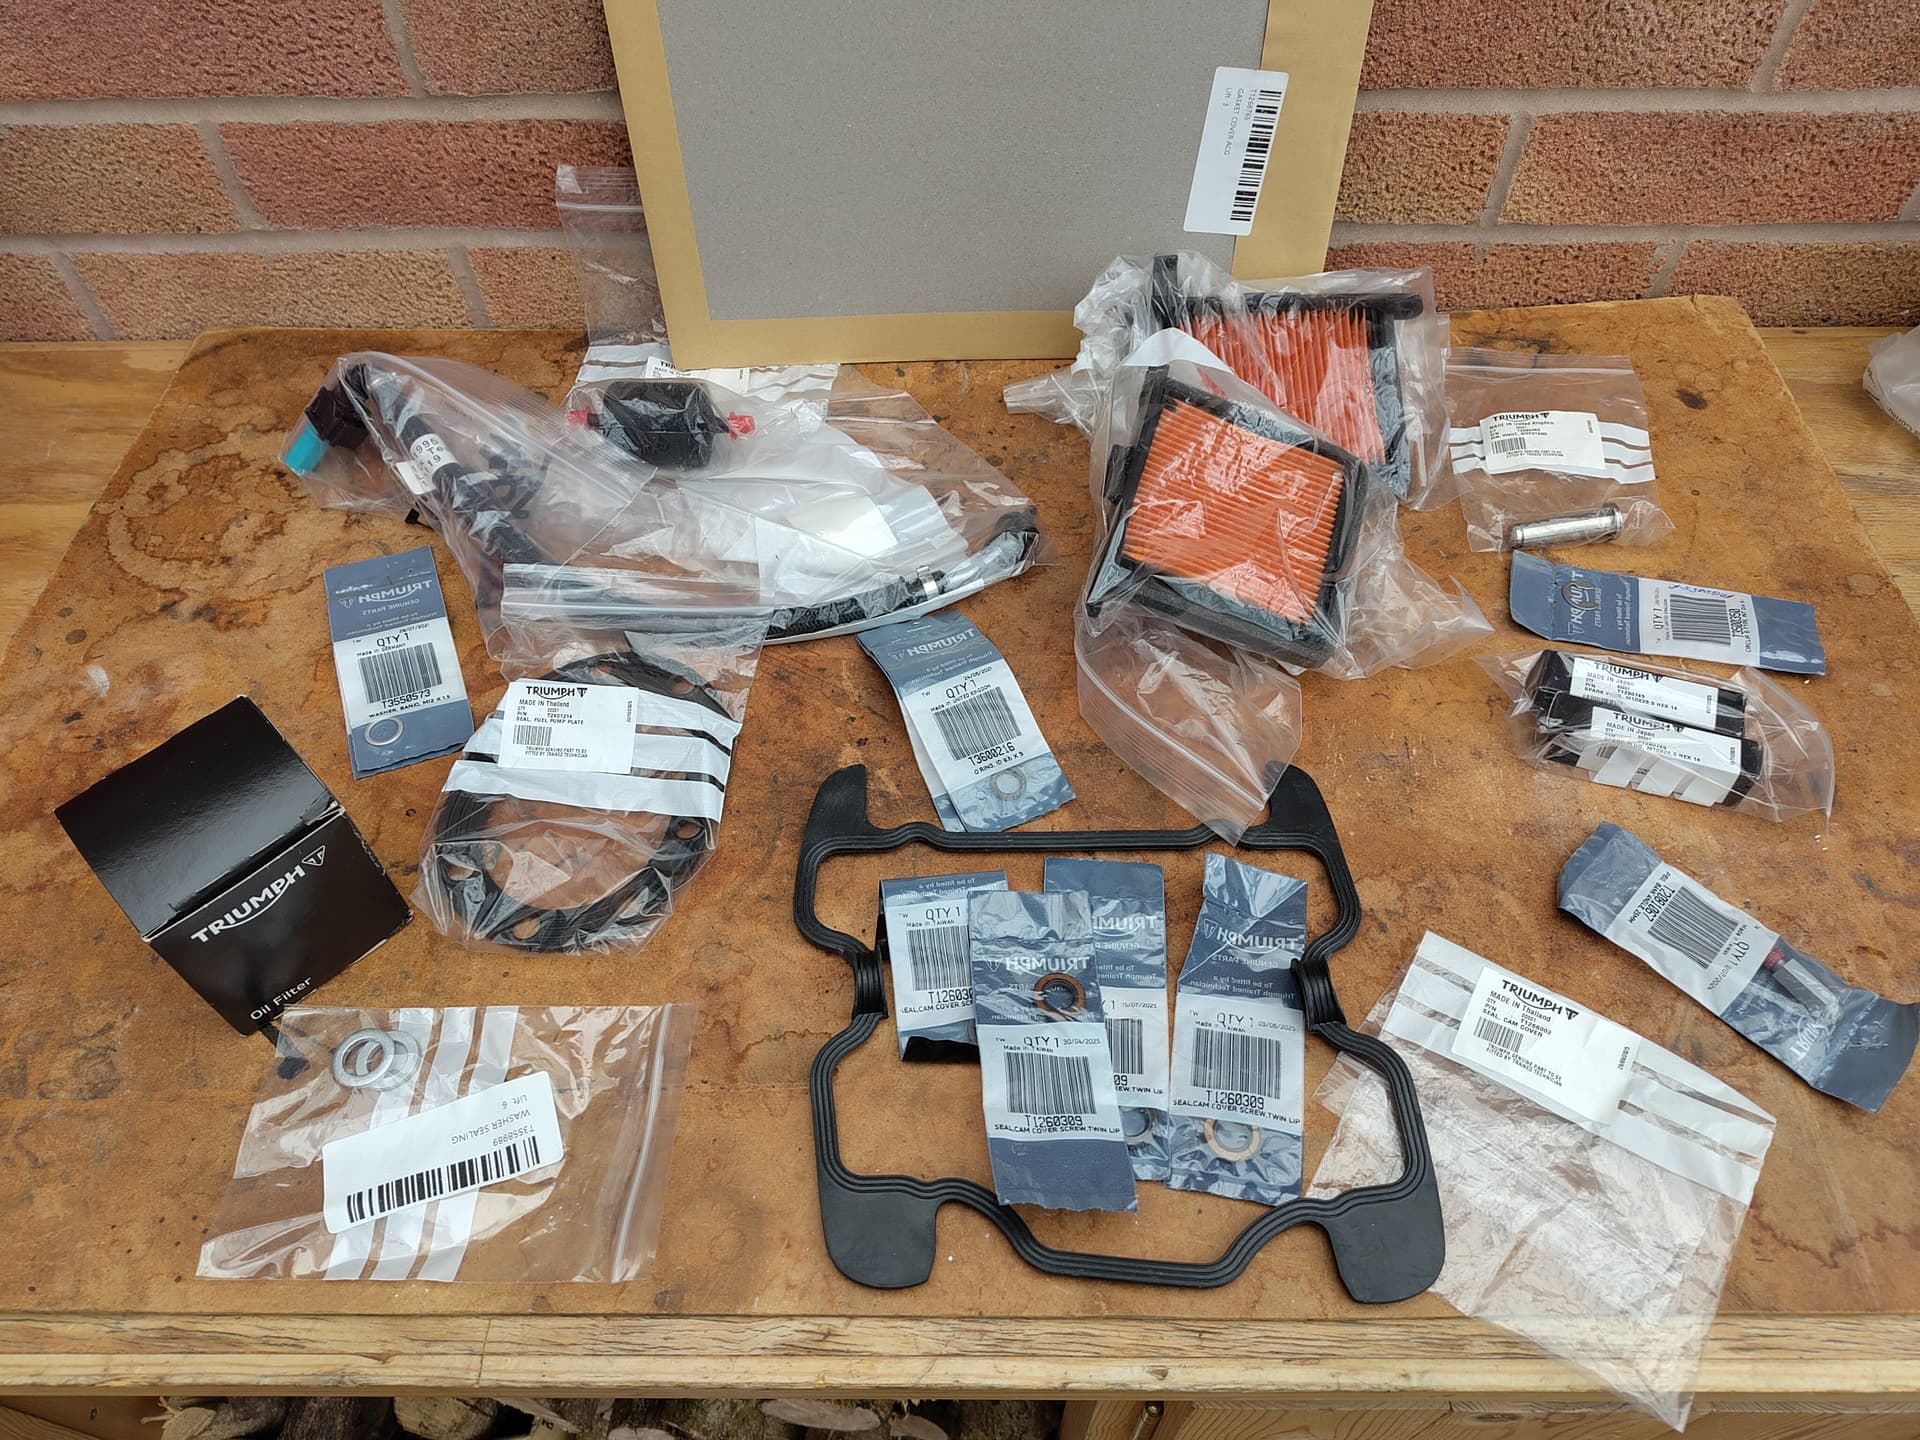
As bike is coming up to 80k miles and 8 years old it’s time for a big service. Triumph’s service schedule has engine valve and cam-chain check every 20k miles. There’s also a fuel filter change which I’ve not bothered with since the dealer’s 2 year service. However, as the fuel hose connector was problematic at last service I thought I’d replace the hose this time and might as well do that fuel filter too. Think I have all the parts I’ll need…
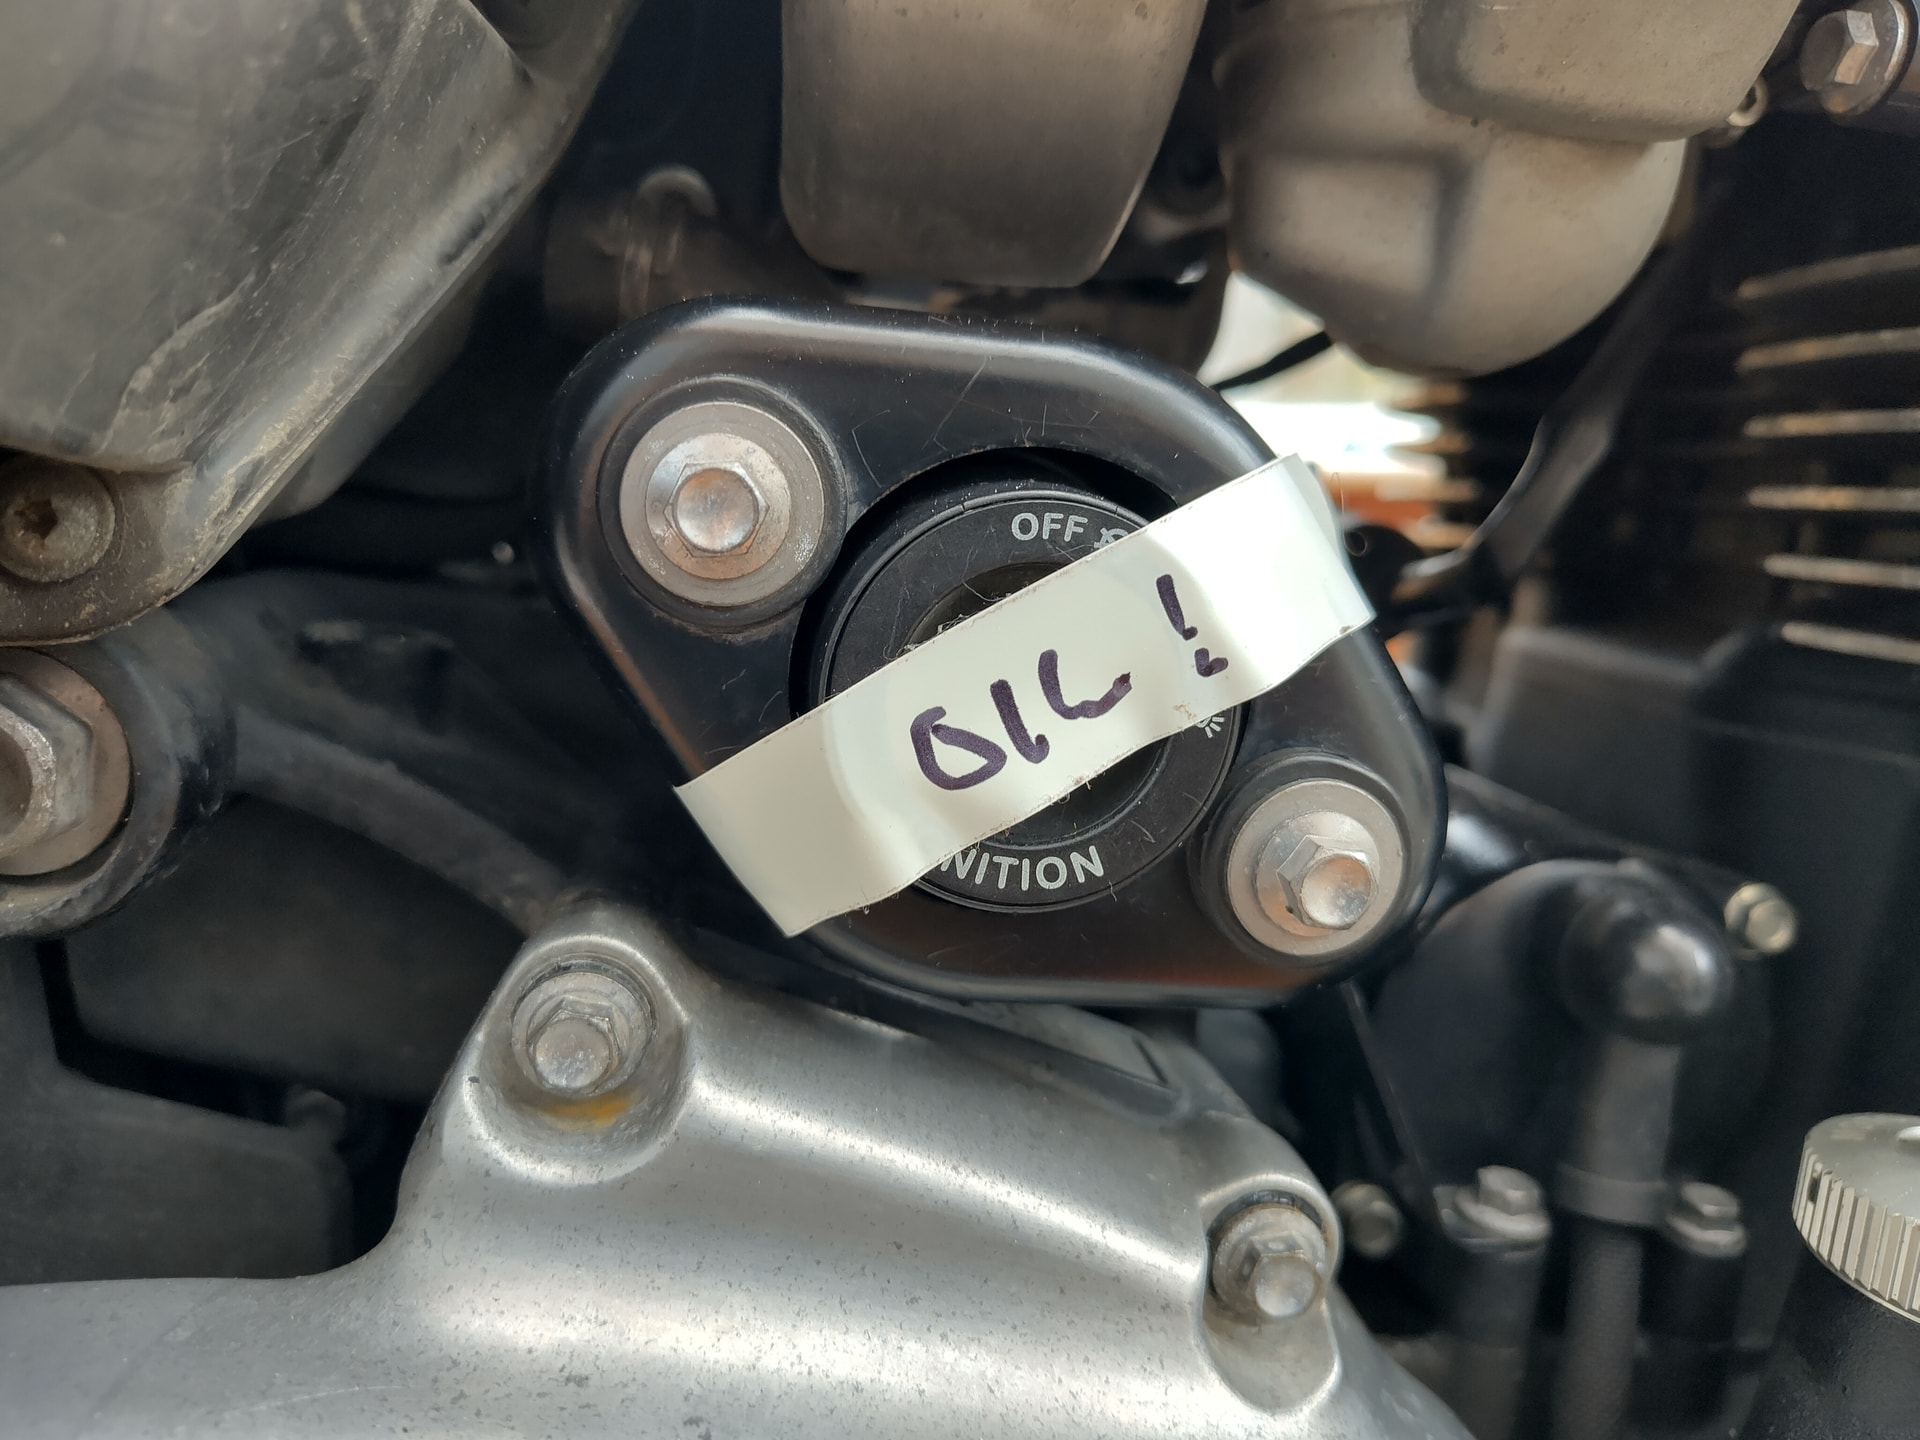
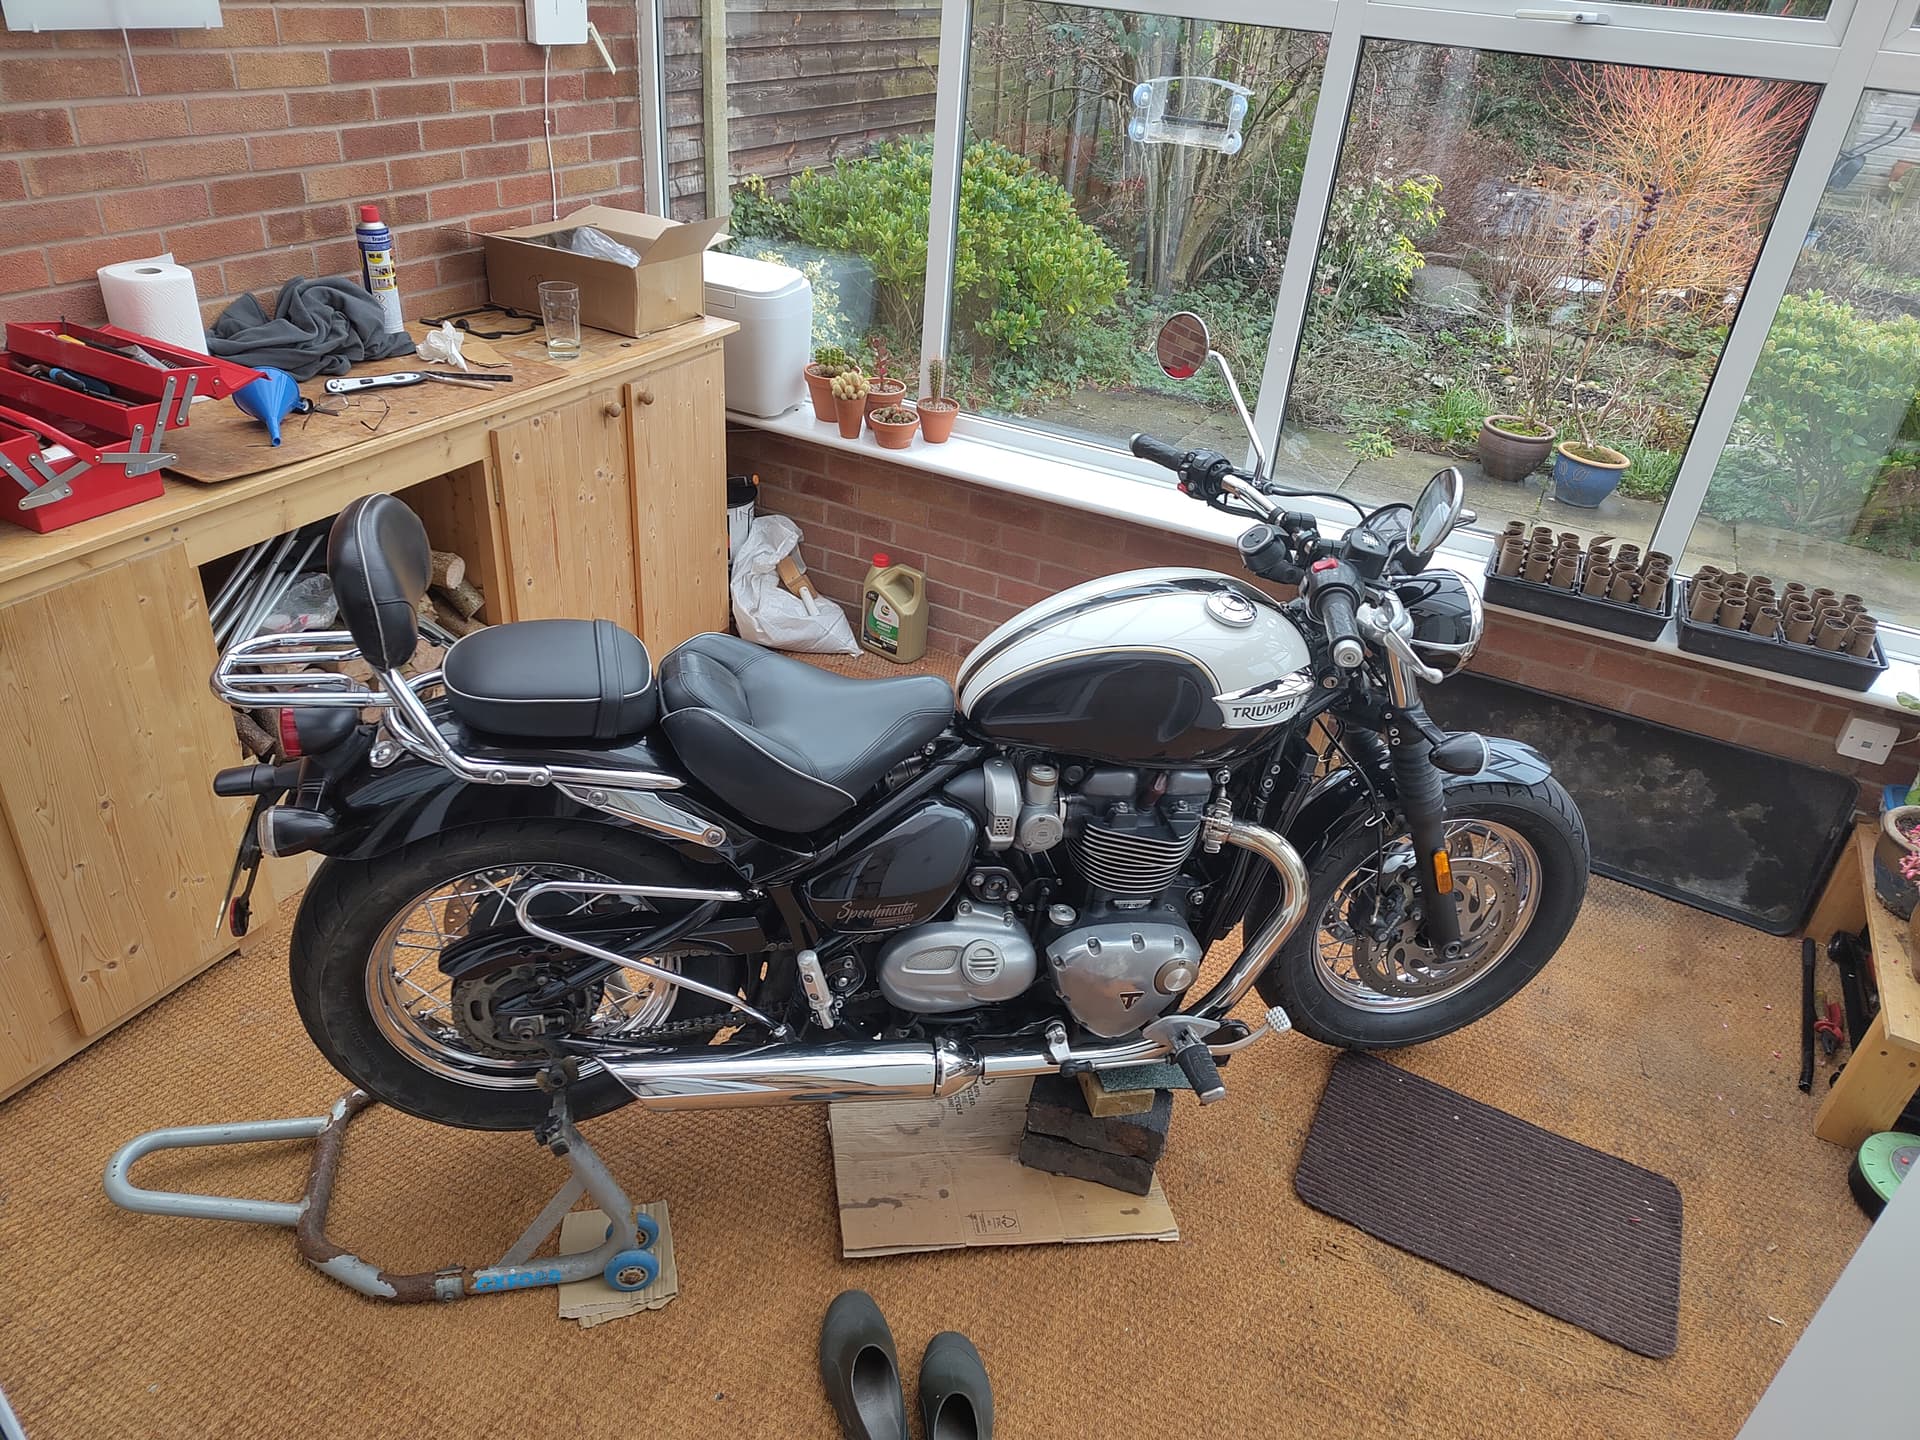
Whilst bike was still outside the first job was to drop oil out the engine. I’ve always though it strange that the standard procedure is to warm the oil by running the engine for a while then wait for oil to drain back down to the sump. Surely, if bike has been sitting idle overnight and the oil fully settled it makes sense to just drain the oil cold. I’ve seen other people suggest that’s OK so I decided to do it that way this time.
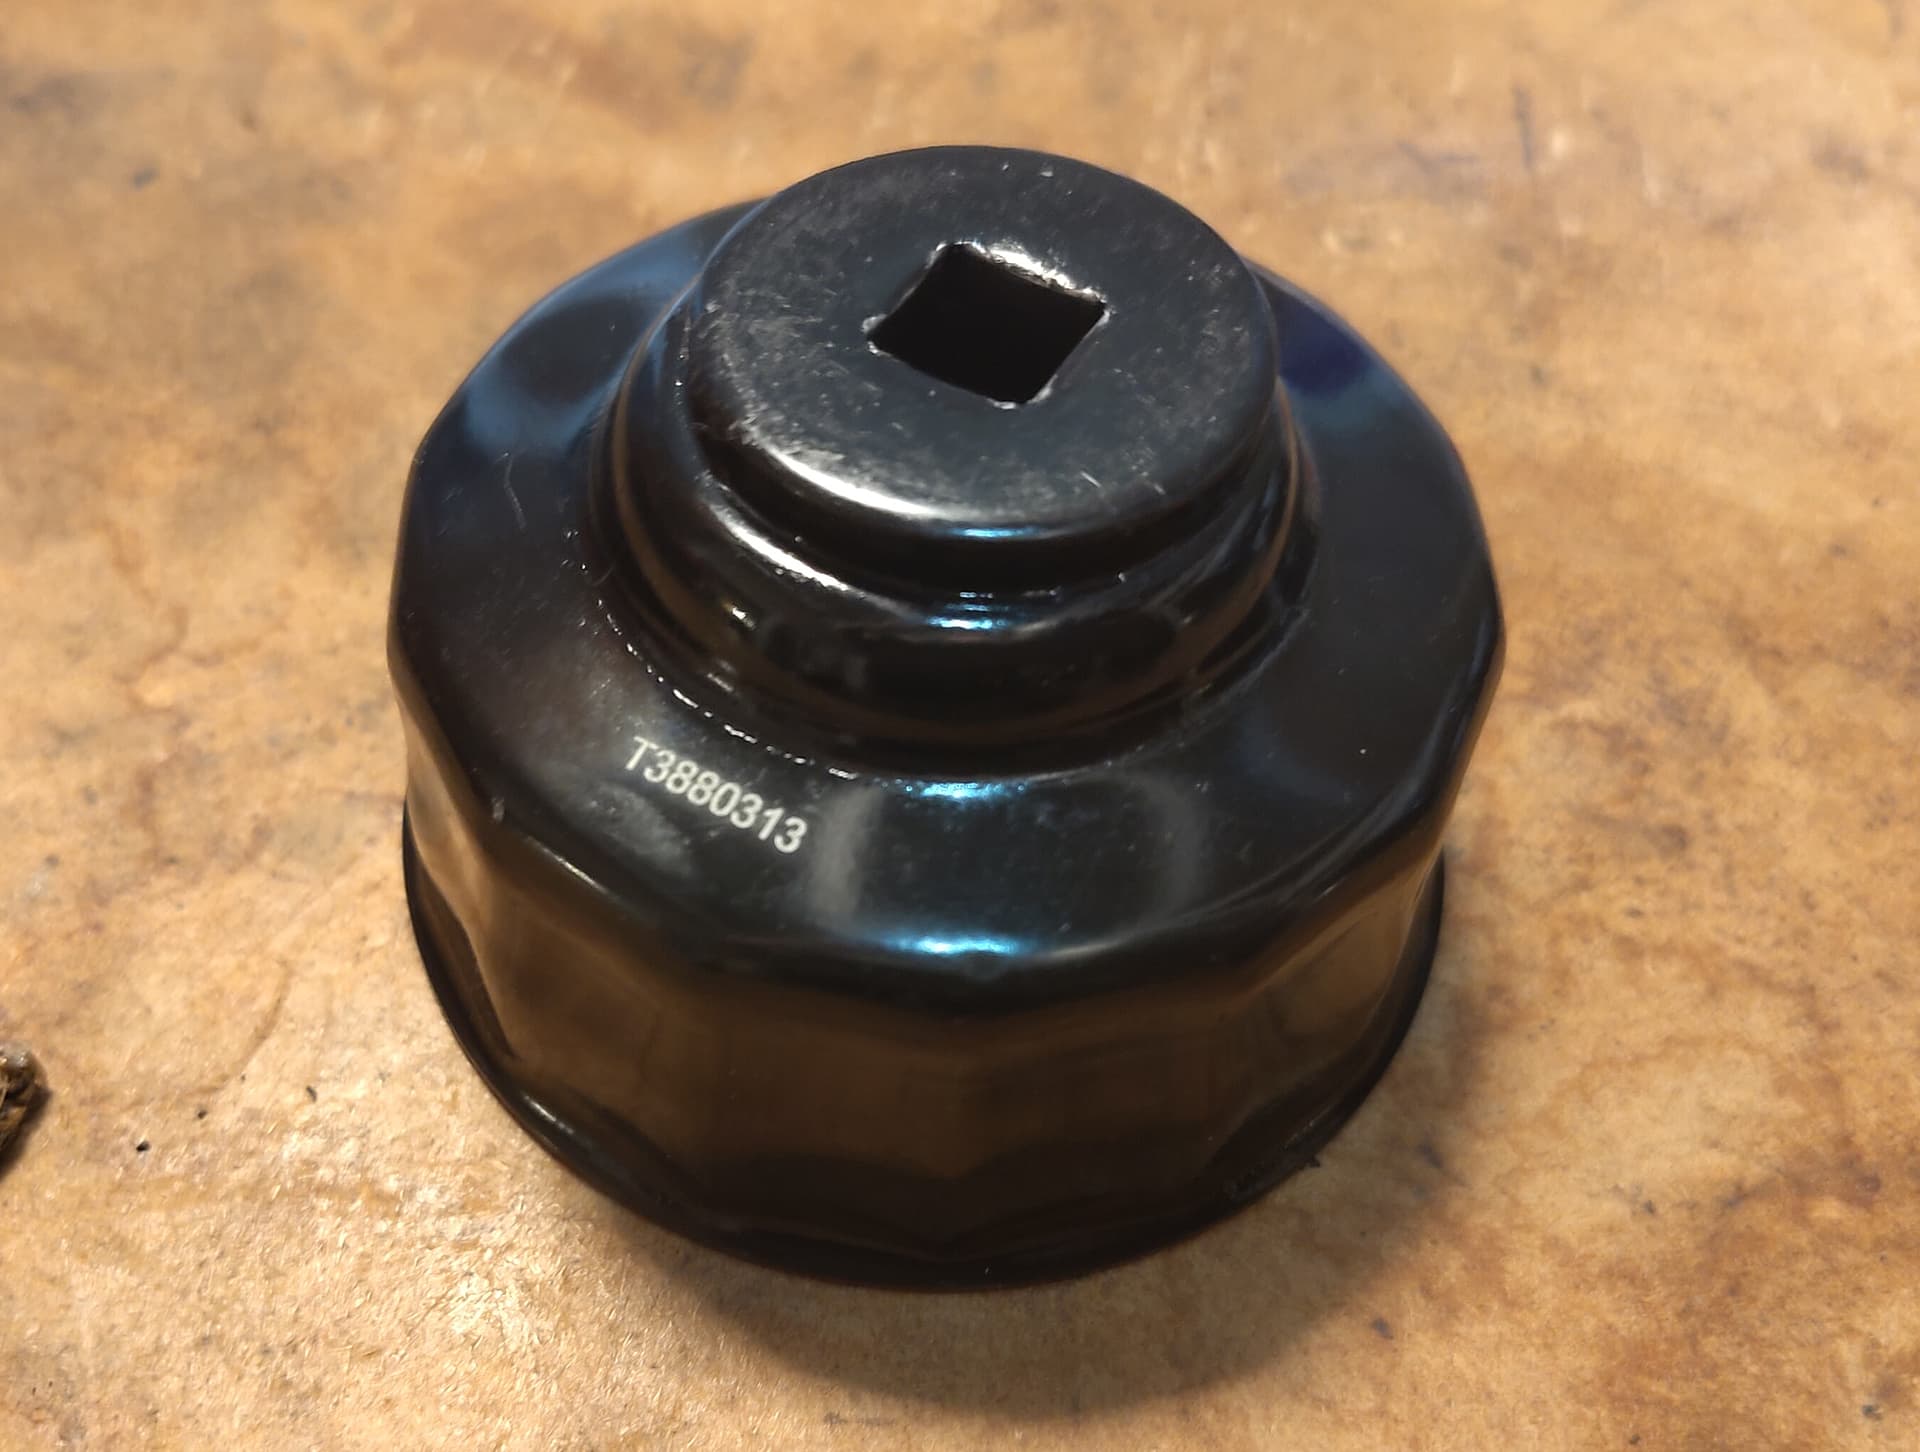
Once the oil was drained, I put back the sump plug with a new washer, and after filling a new oil filter with oil put than in too, using the nice oil filter socket from Triumph.
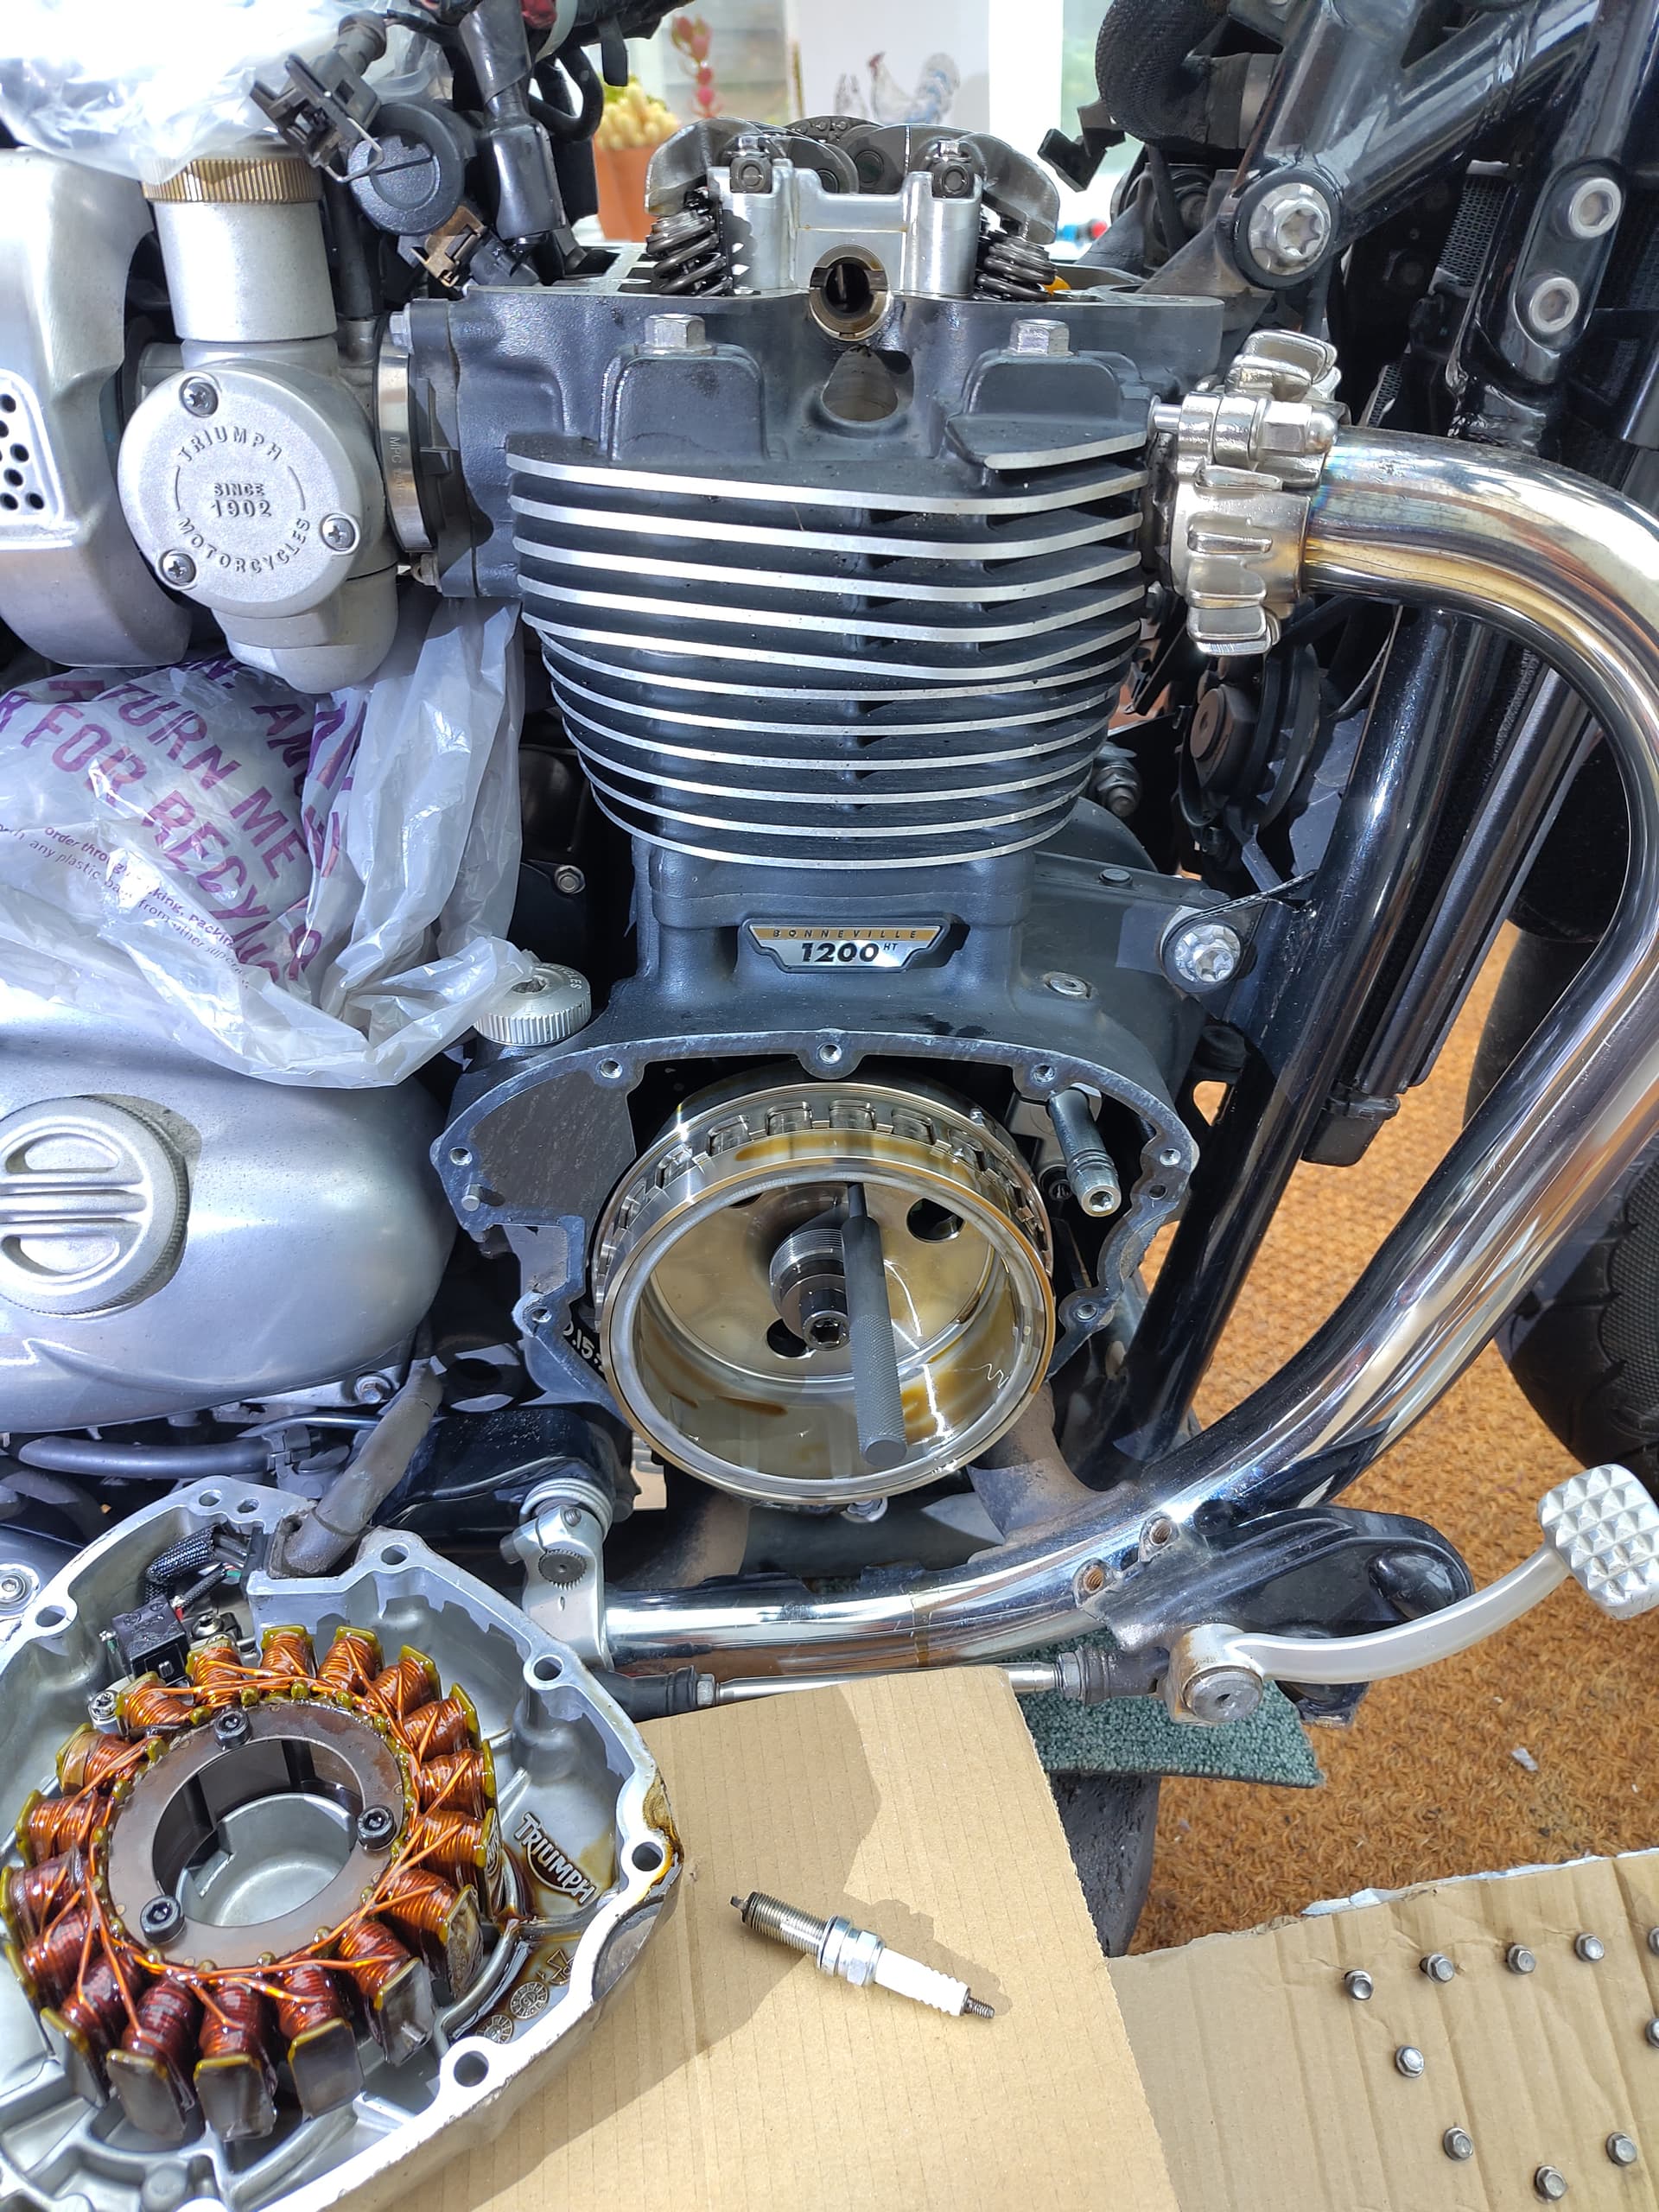
I didn’t put fresh oil into the engine because to check the cam-chain you need to take the alternator cover off. Last time I did this I also didn’t put back the oil filter and drain plug which I soon regretted after leaving a trail of oil dribbles in the ‘workshop’, which is where it went now.
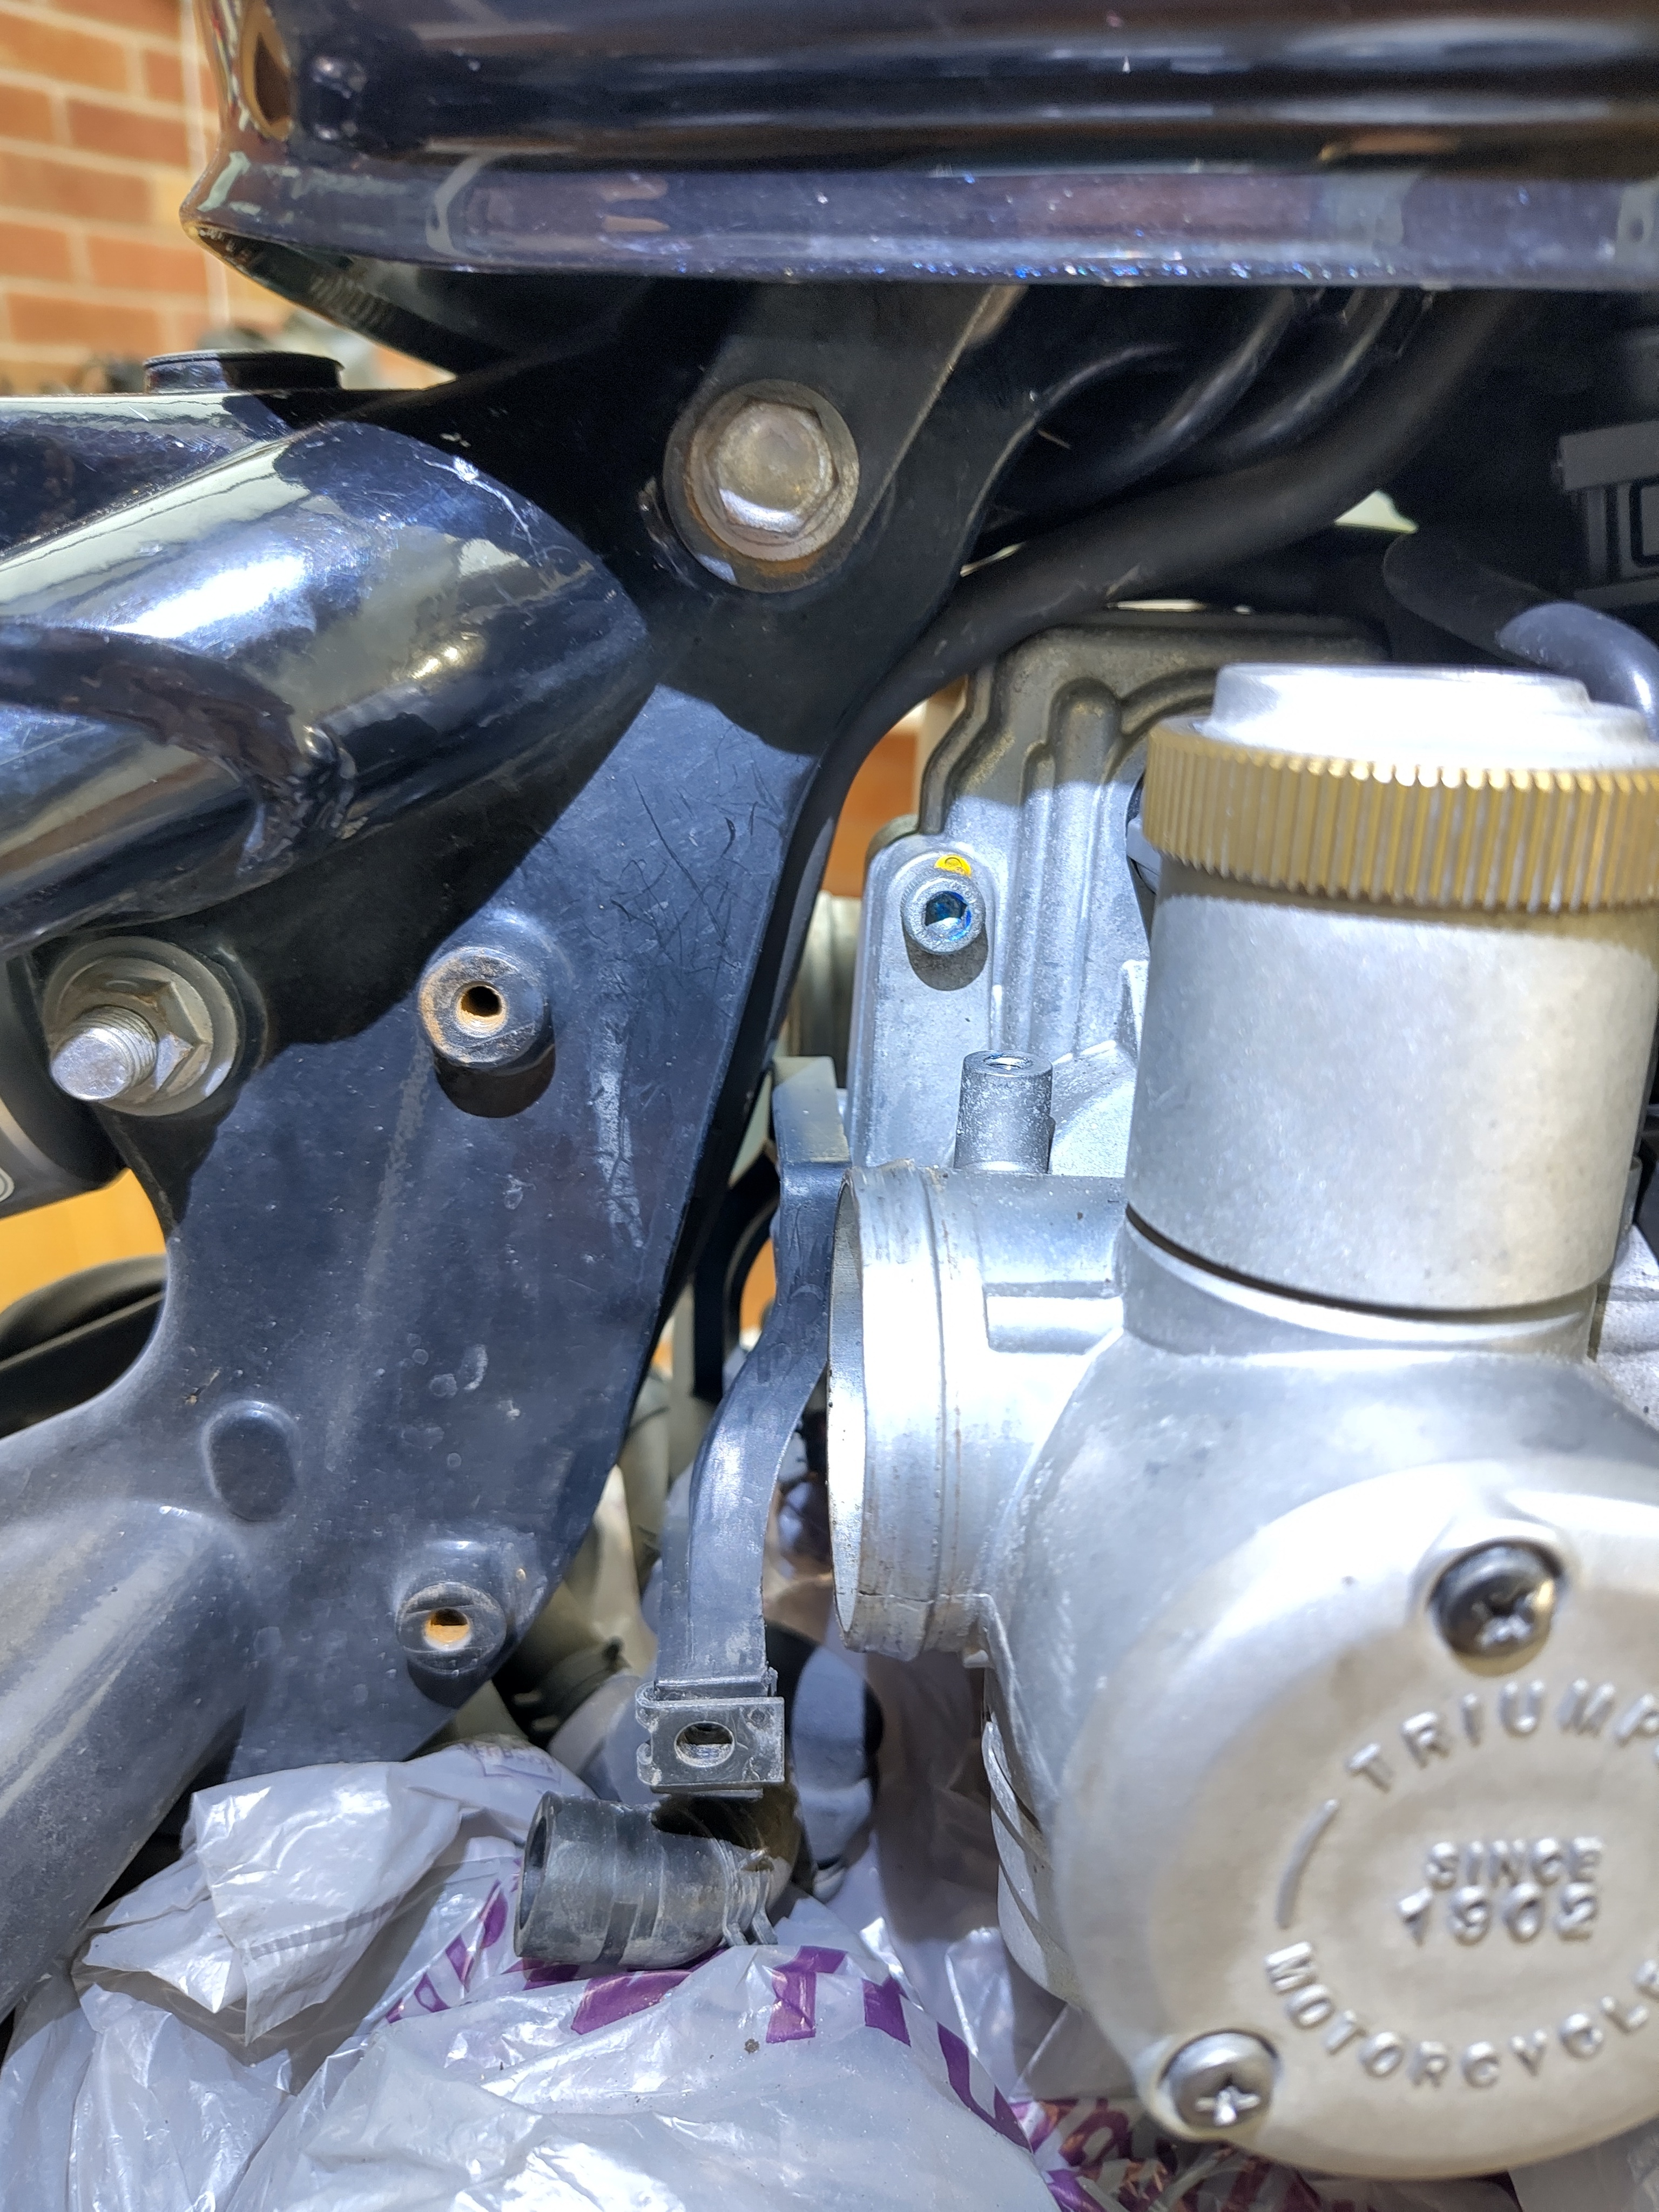
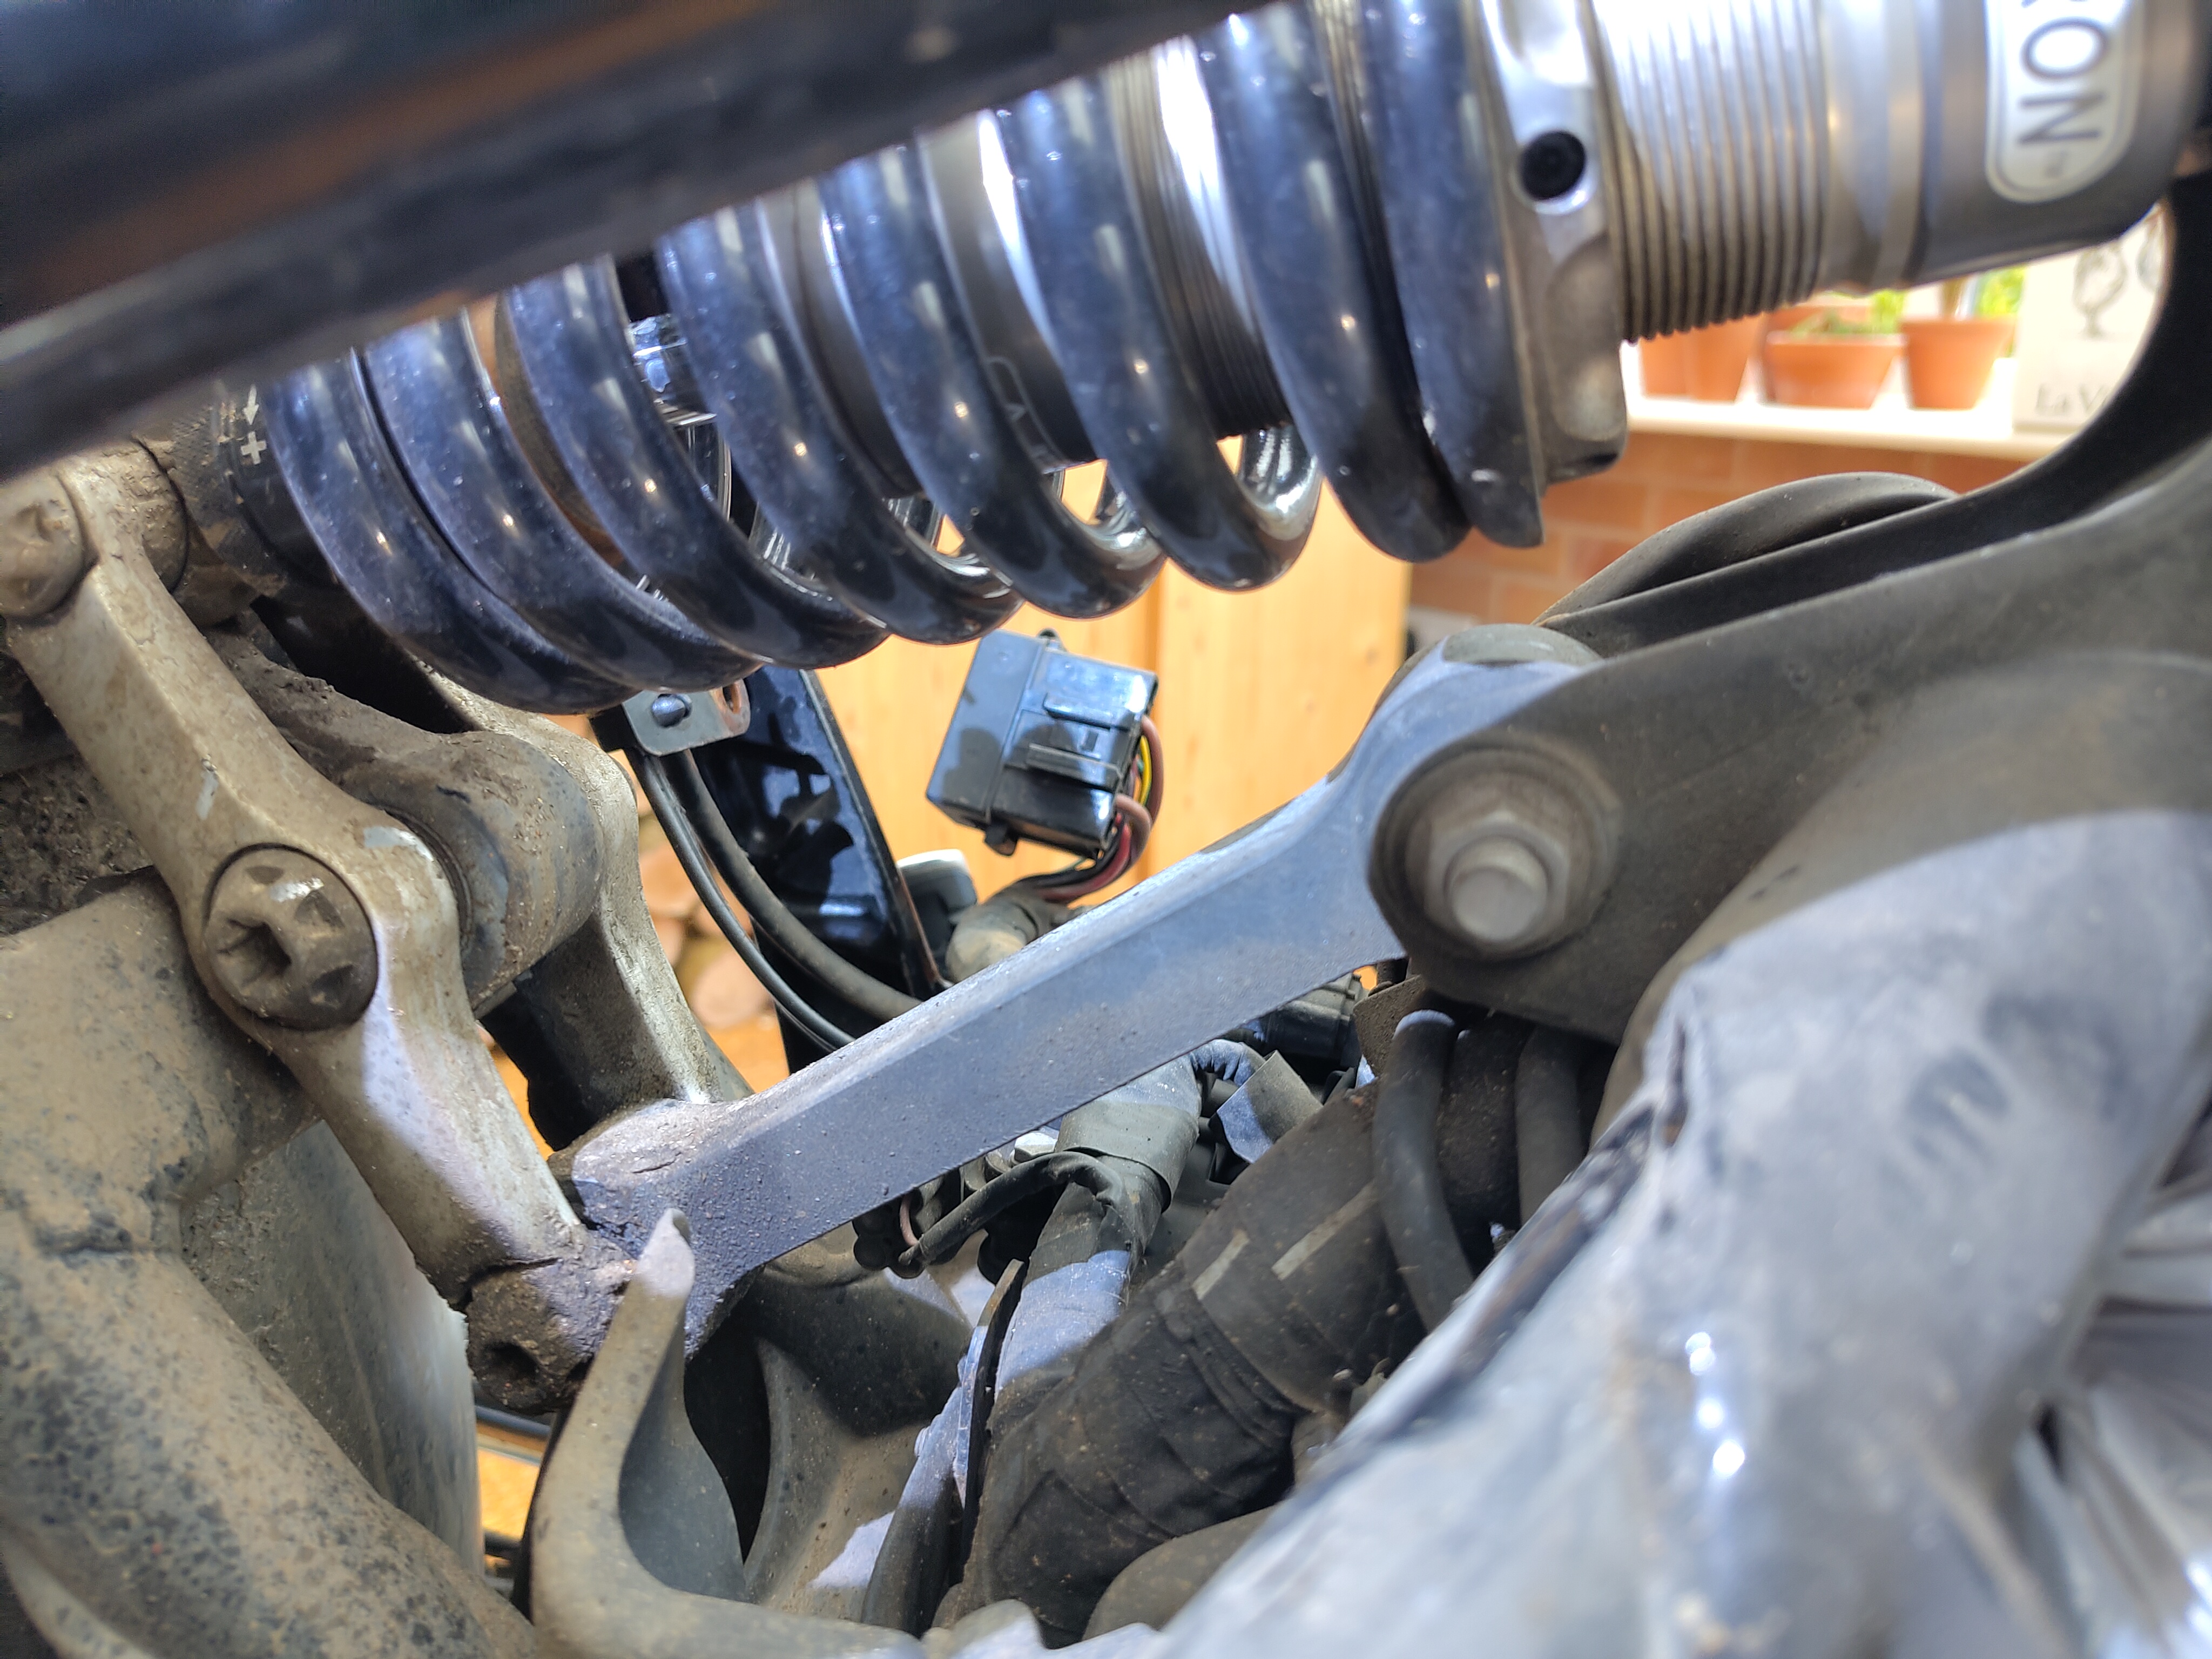
Removing the petrol tank bolts and propping up the back end gets access to the fuel hose and the white electrical connectors for the pump and fuel gauge.
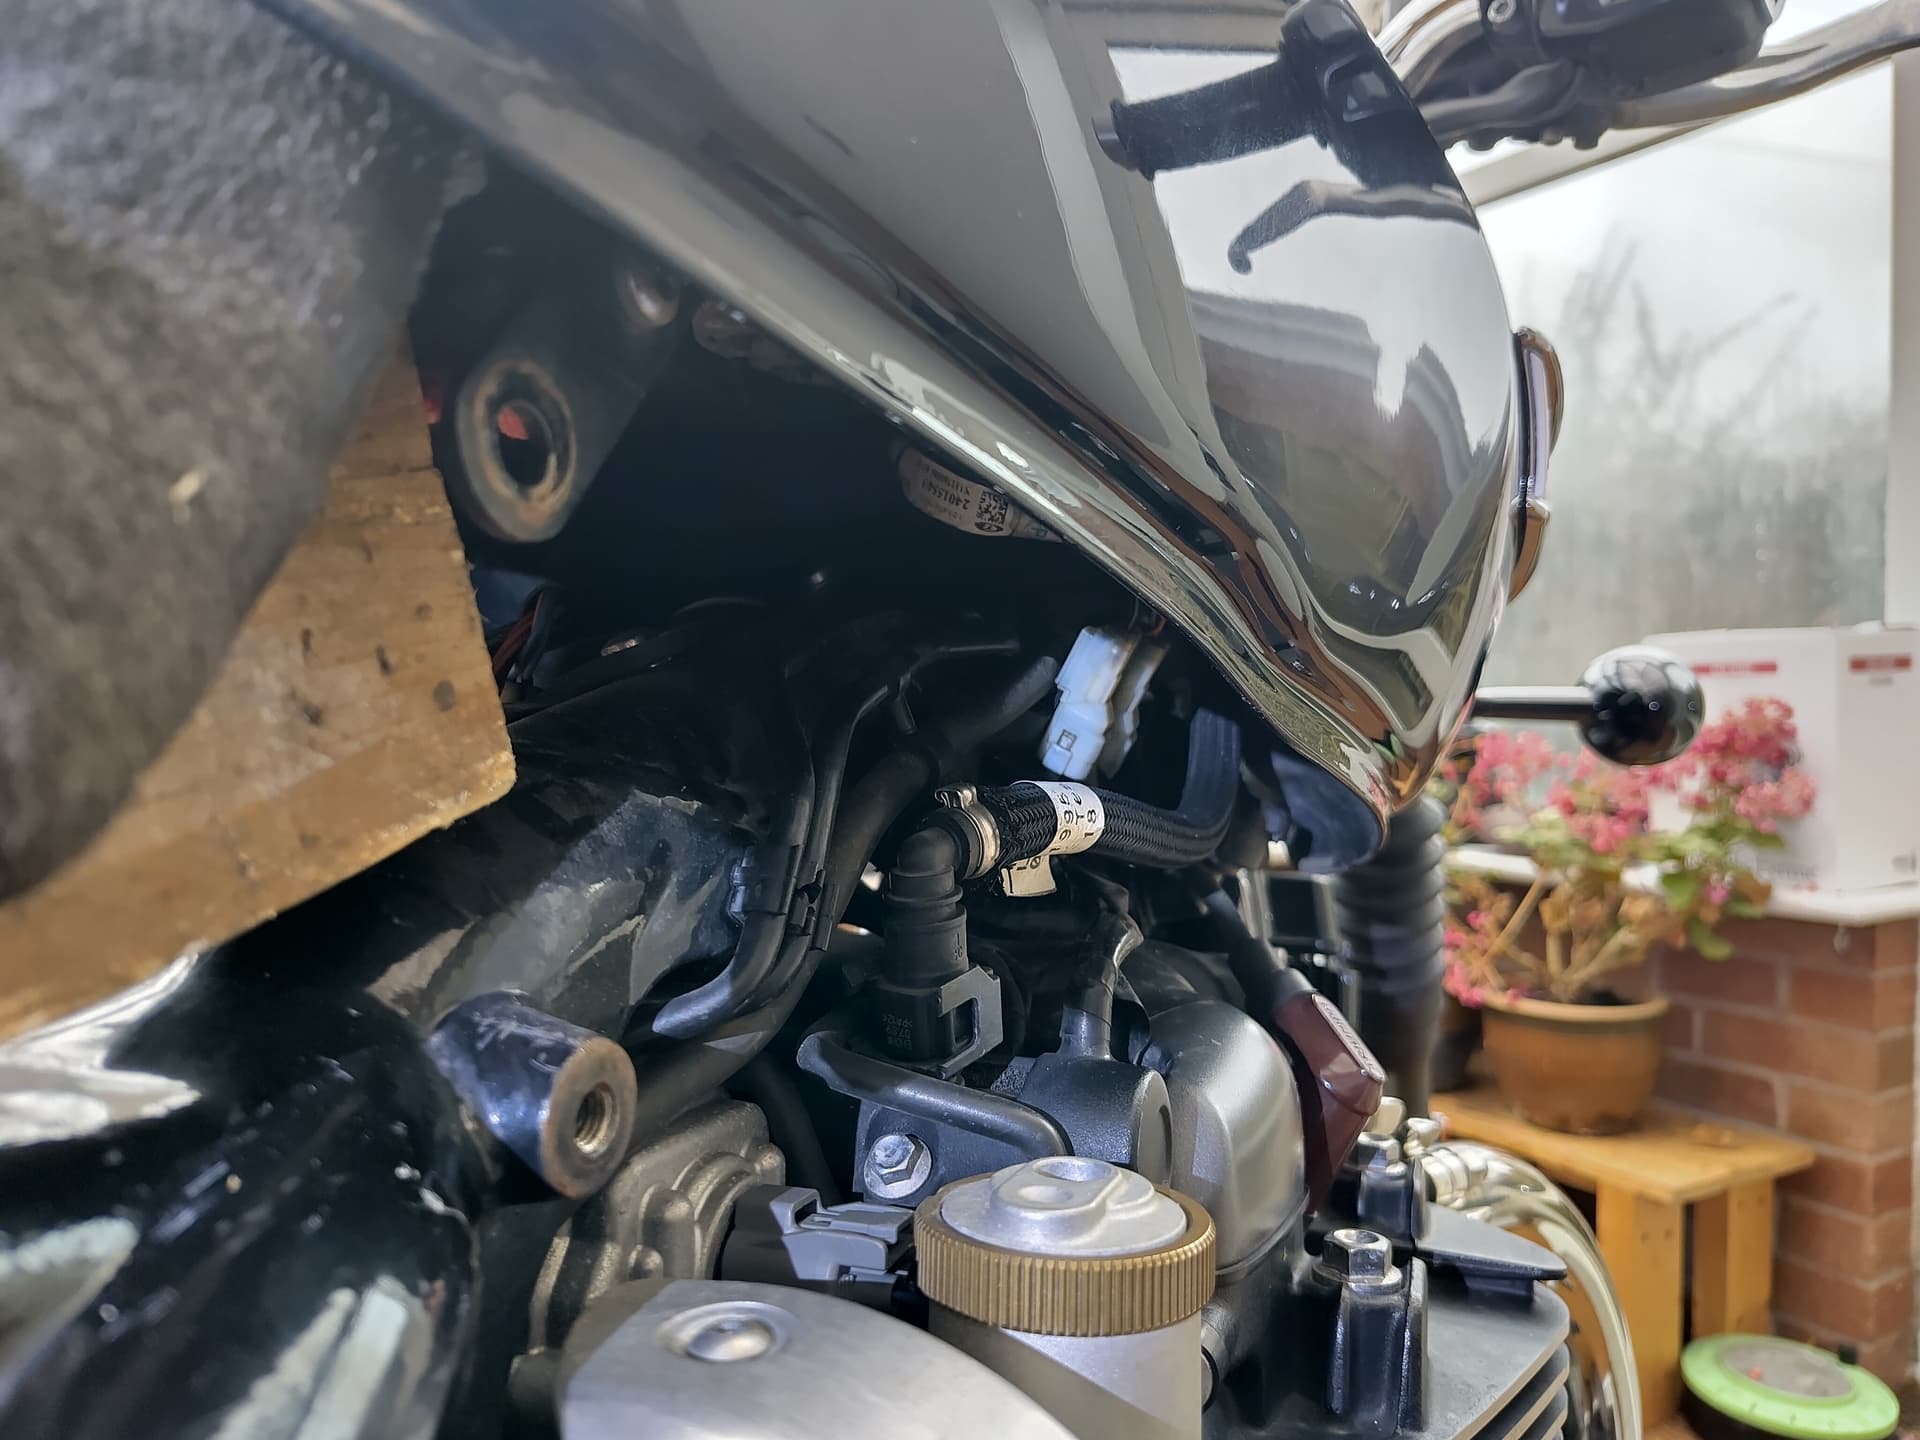
The connectors are pushed onto mounting tabs and lifting them up and off gets lots more room to set about disconnecting them. They are held together by a small clip that is operated by a tiny plastic lever on the long side, you can just about press that with your thumbnail whilst pulling apart the connector halves.
For the fuel hose, there is a sliding cover at the end which reveals ‘buttons’ on opposite sides of the connector for which it’s handy to have special pliers to press in together.
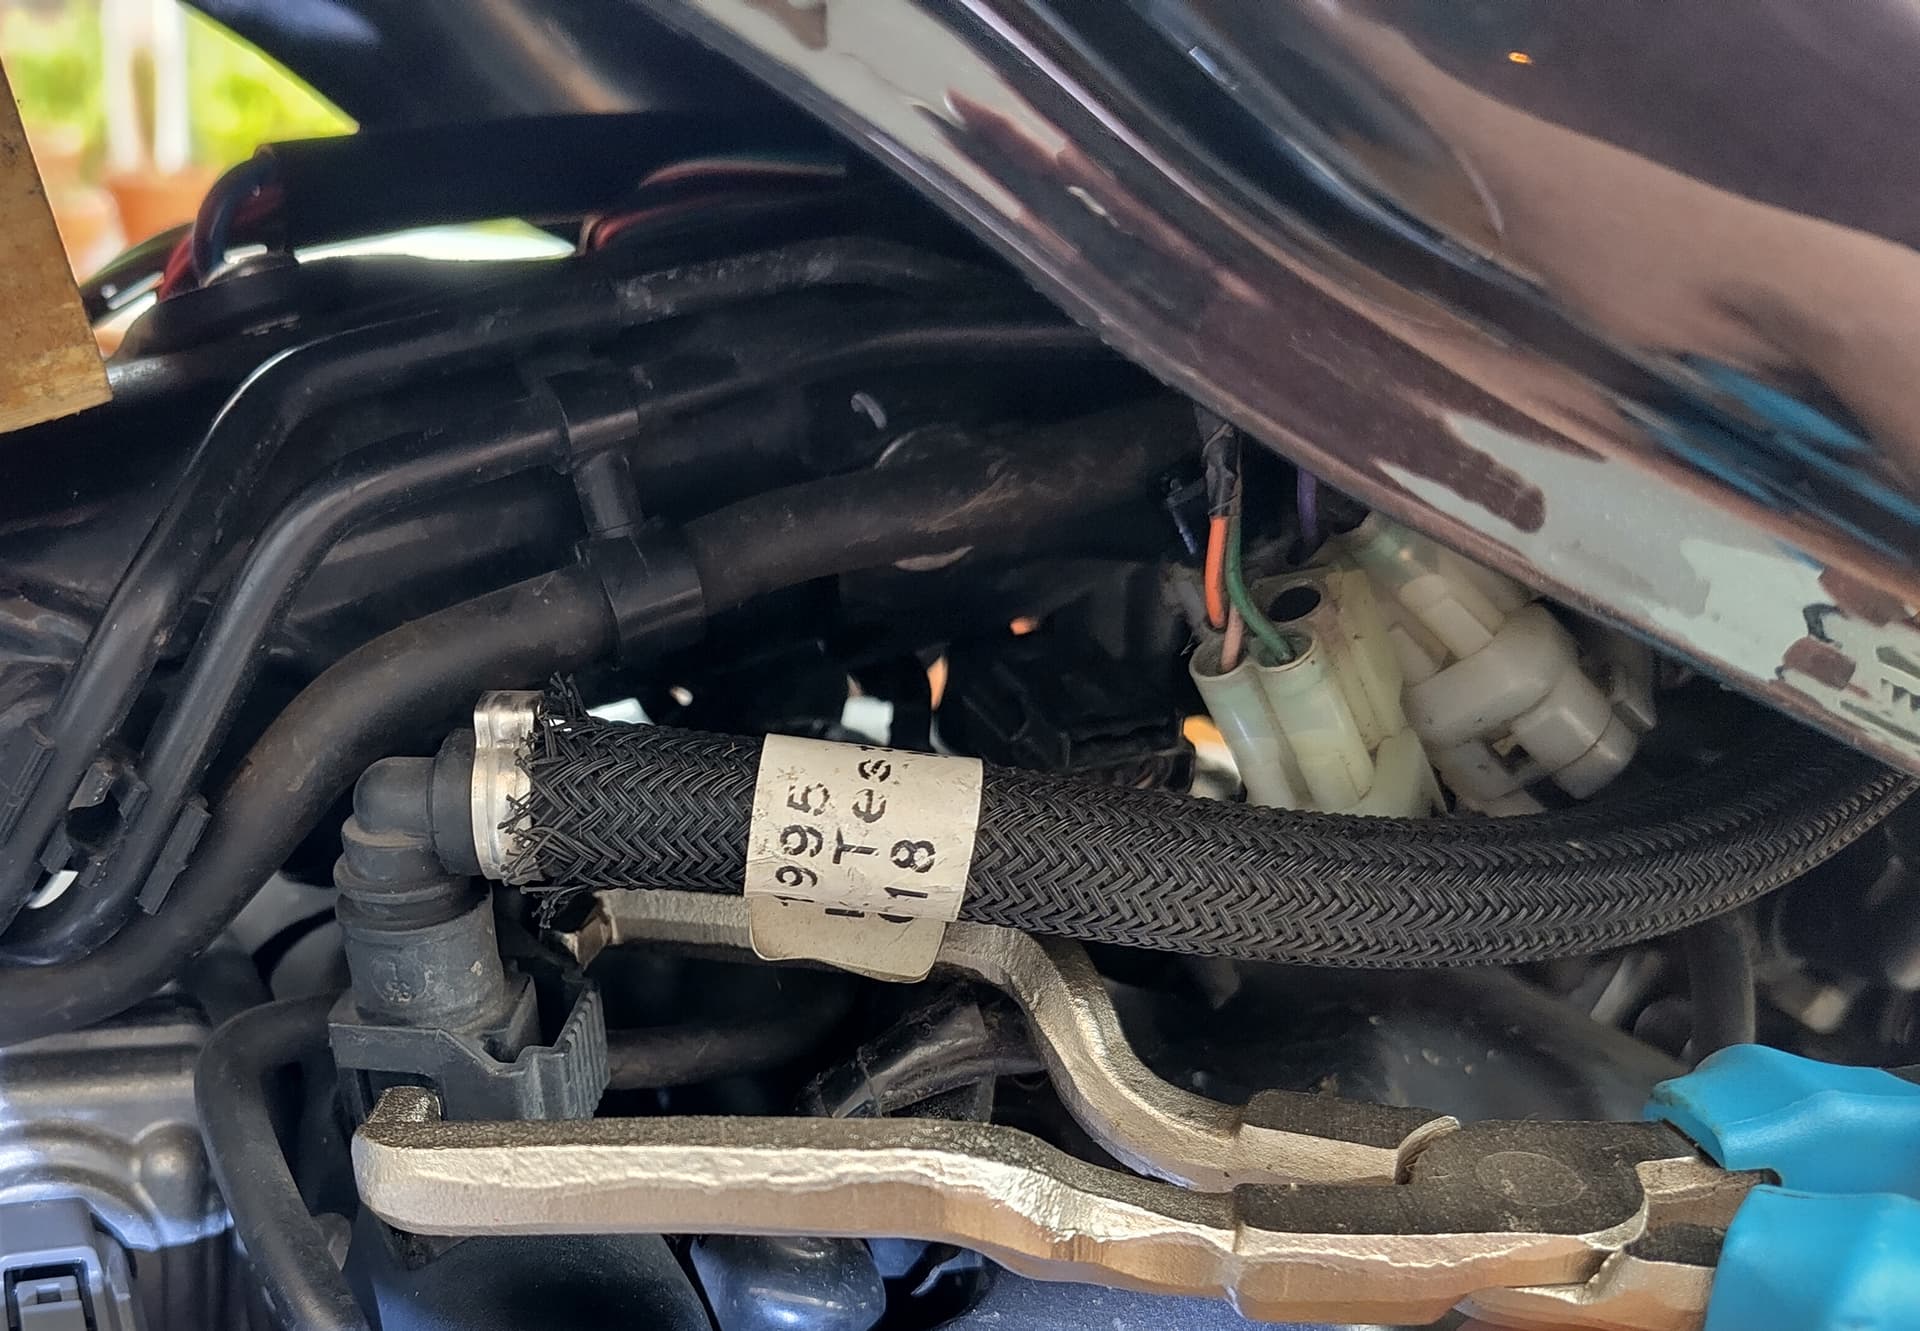
Whilst squeezing the buttons gently to disengage the internal catch, a large force is still needed with your other hand to pull the hose connector straight up. It’s important to pull the connector straight up without wiggling to avoid the danger of braking the plastic tube it connects to.
After pulling off the rubber breather hose on the other side of the tank it can be lifted off. I had used most of the fuel on my last ride, but there was still a litre or so which I now syphoned out the tank before turning it upside down on a cushion.
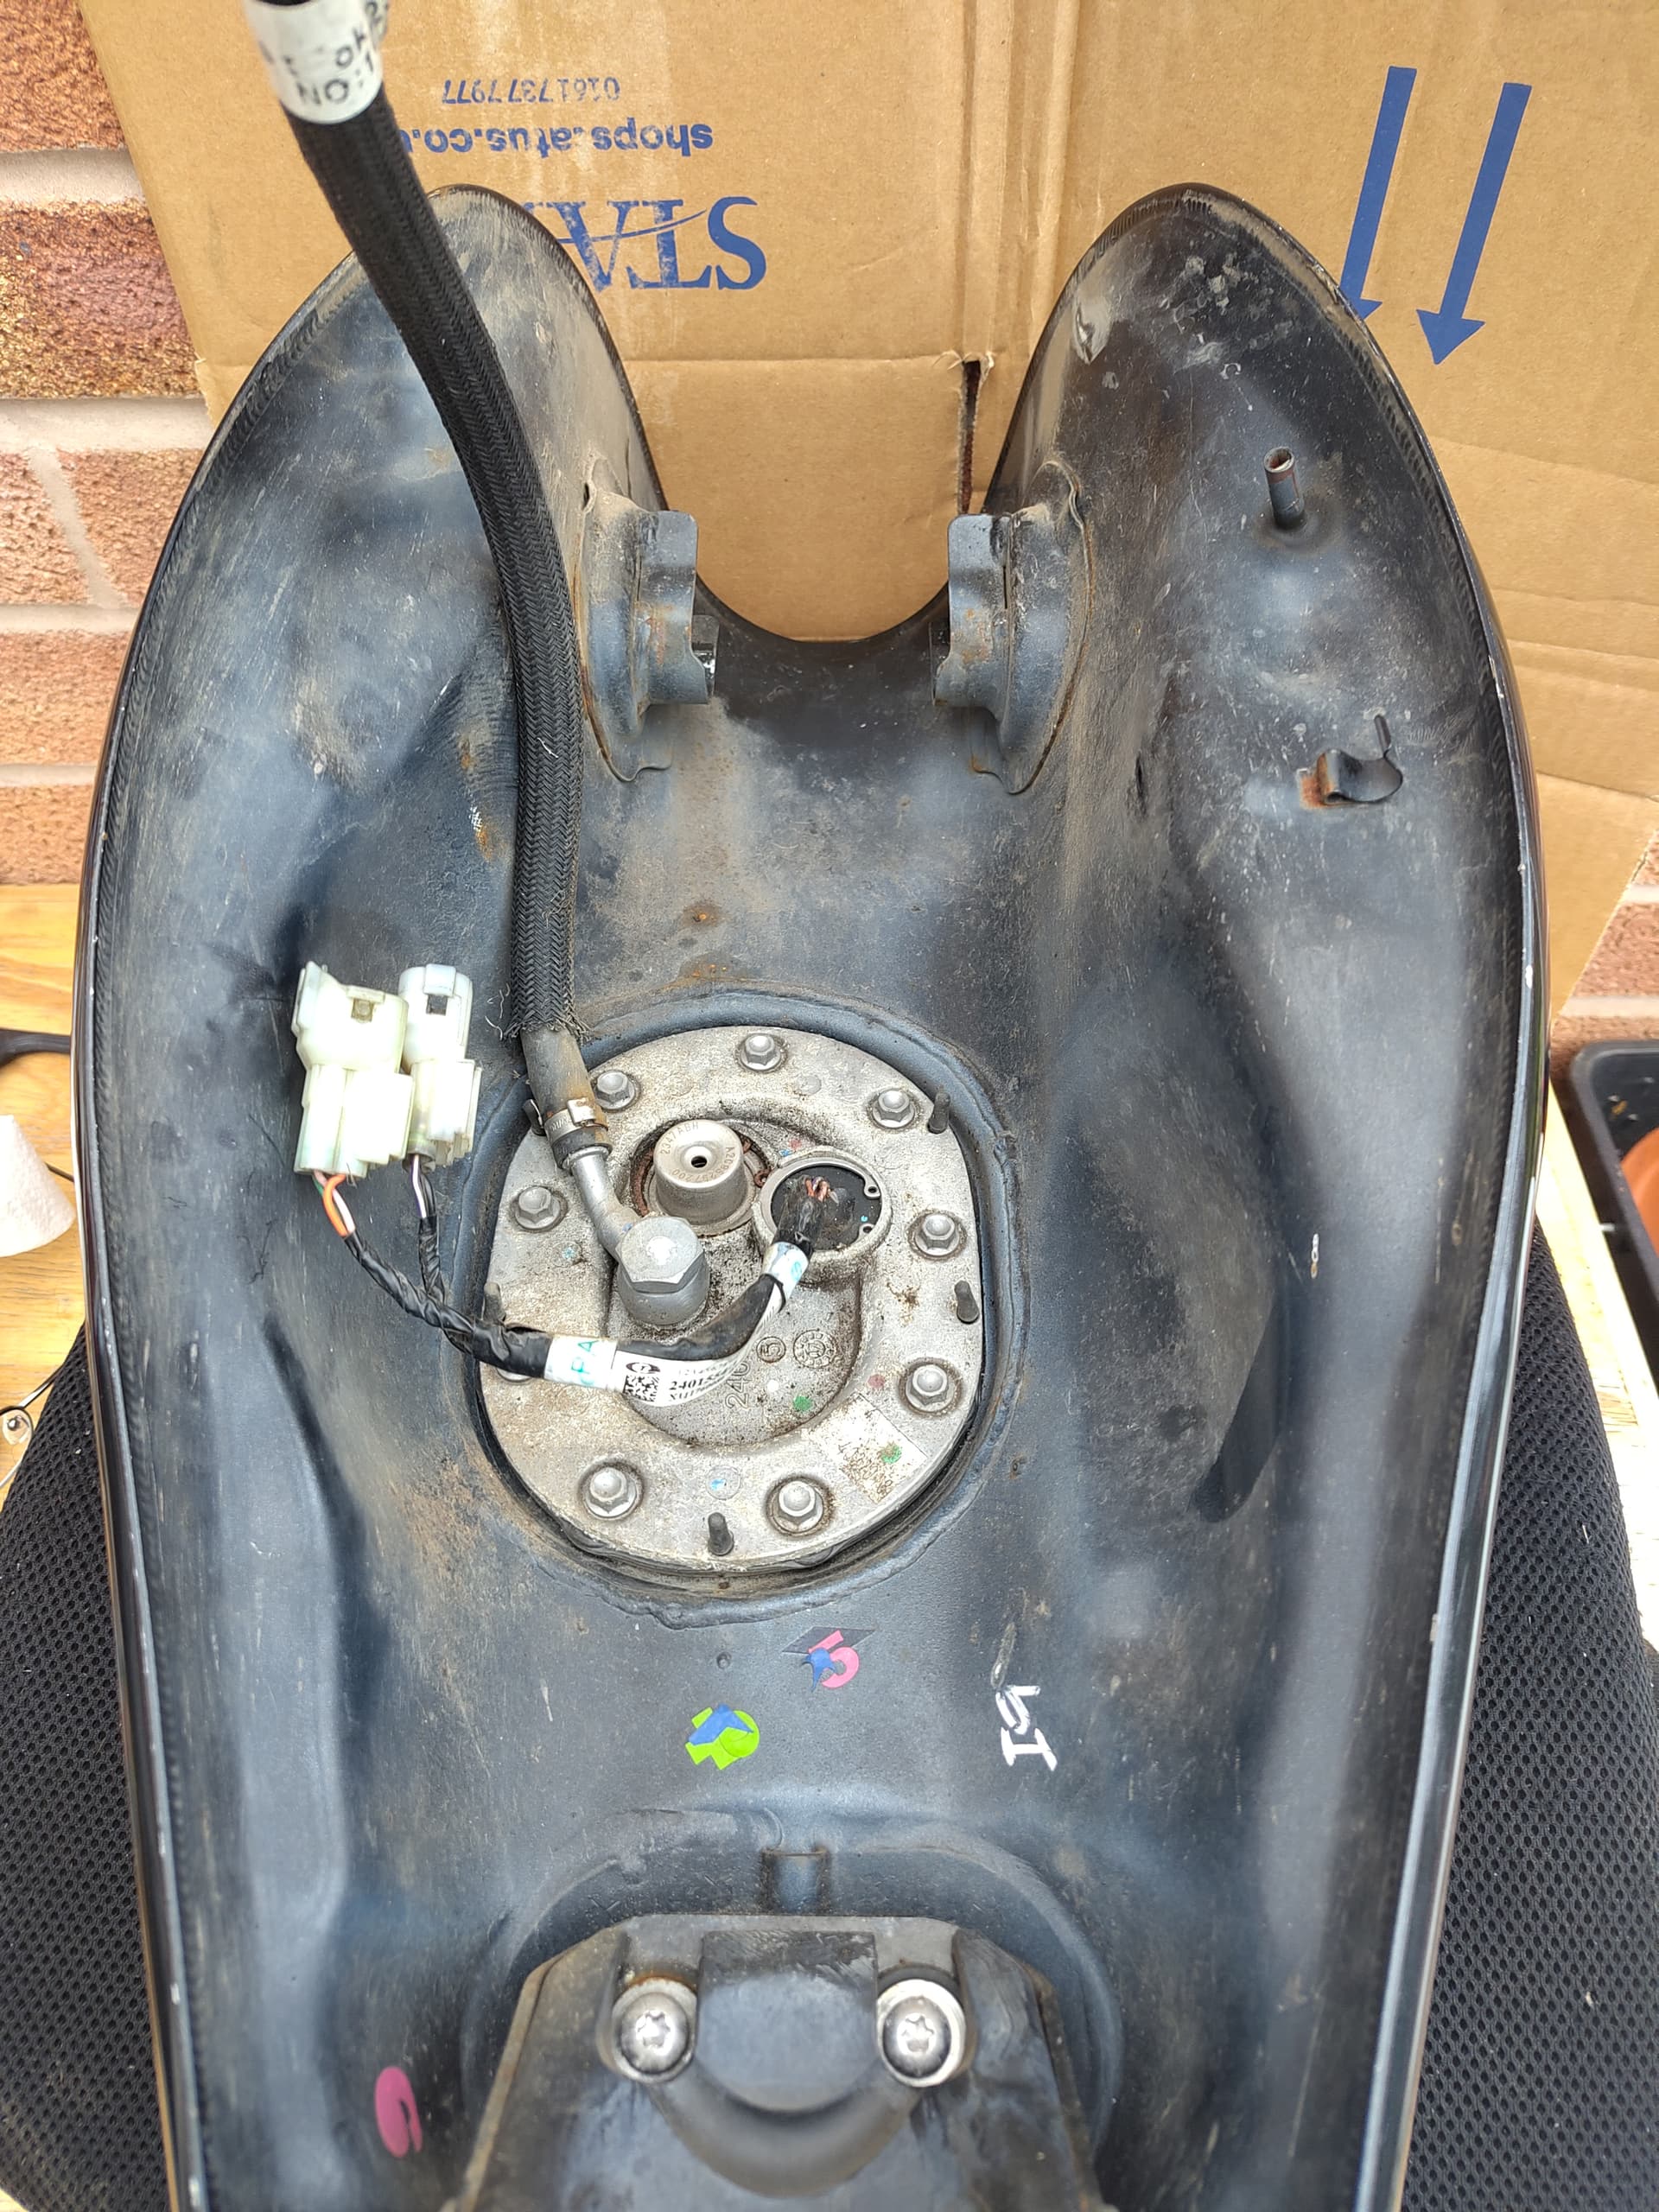
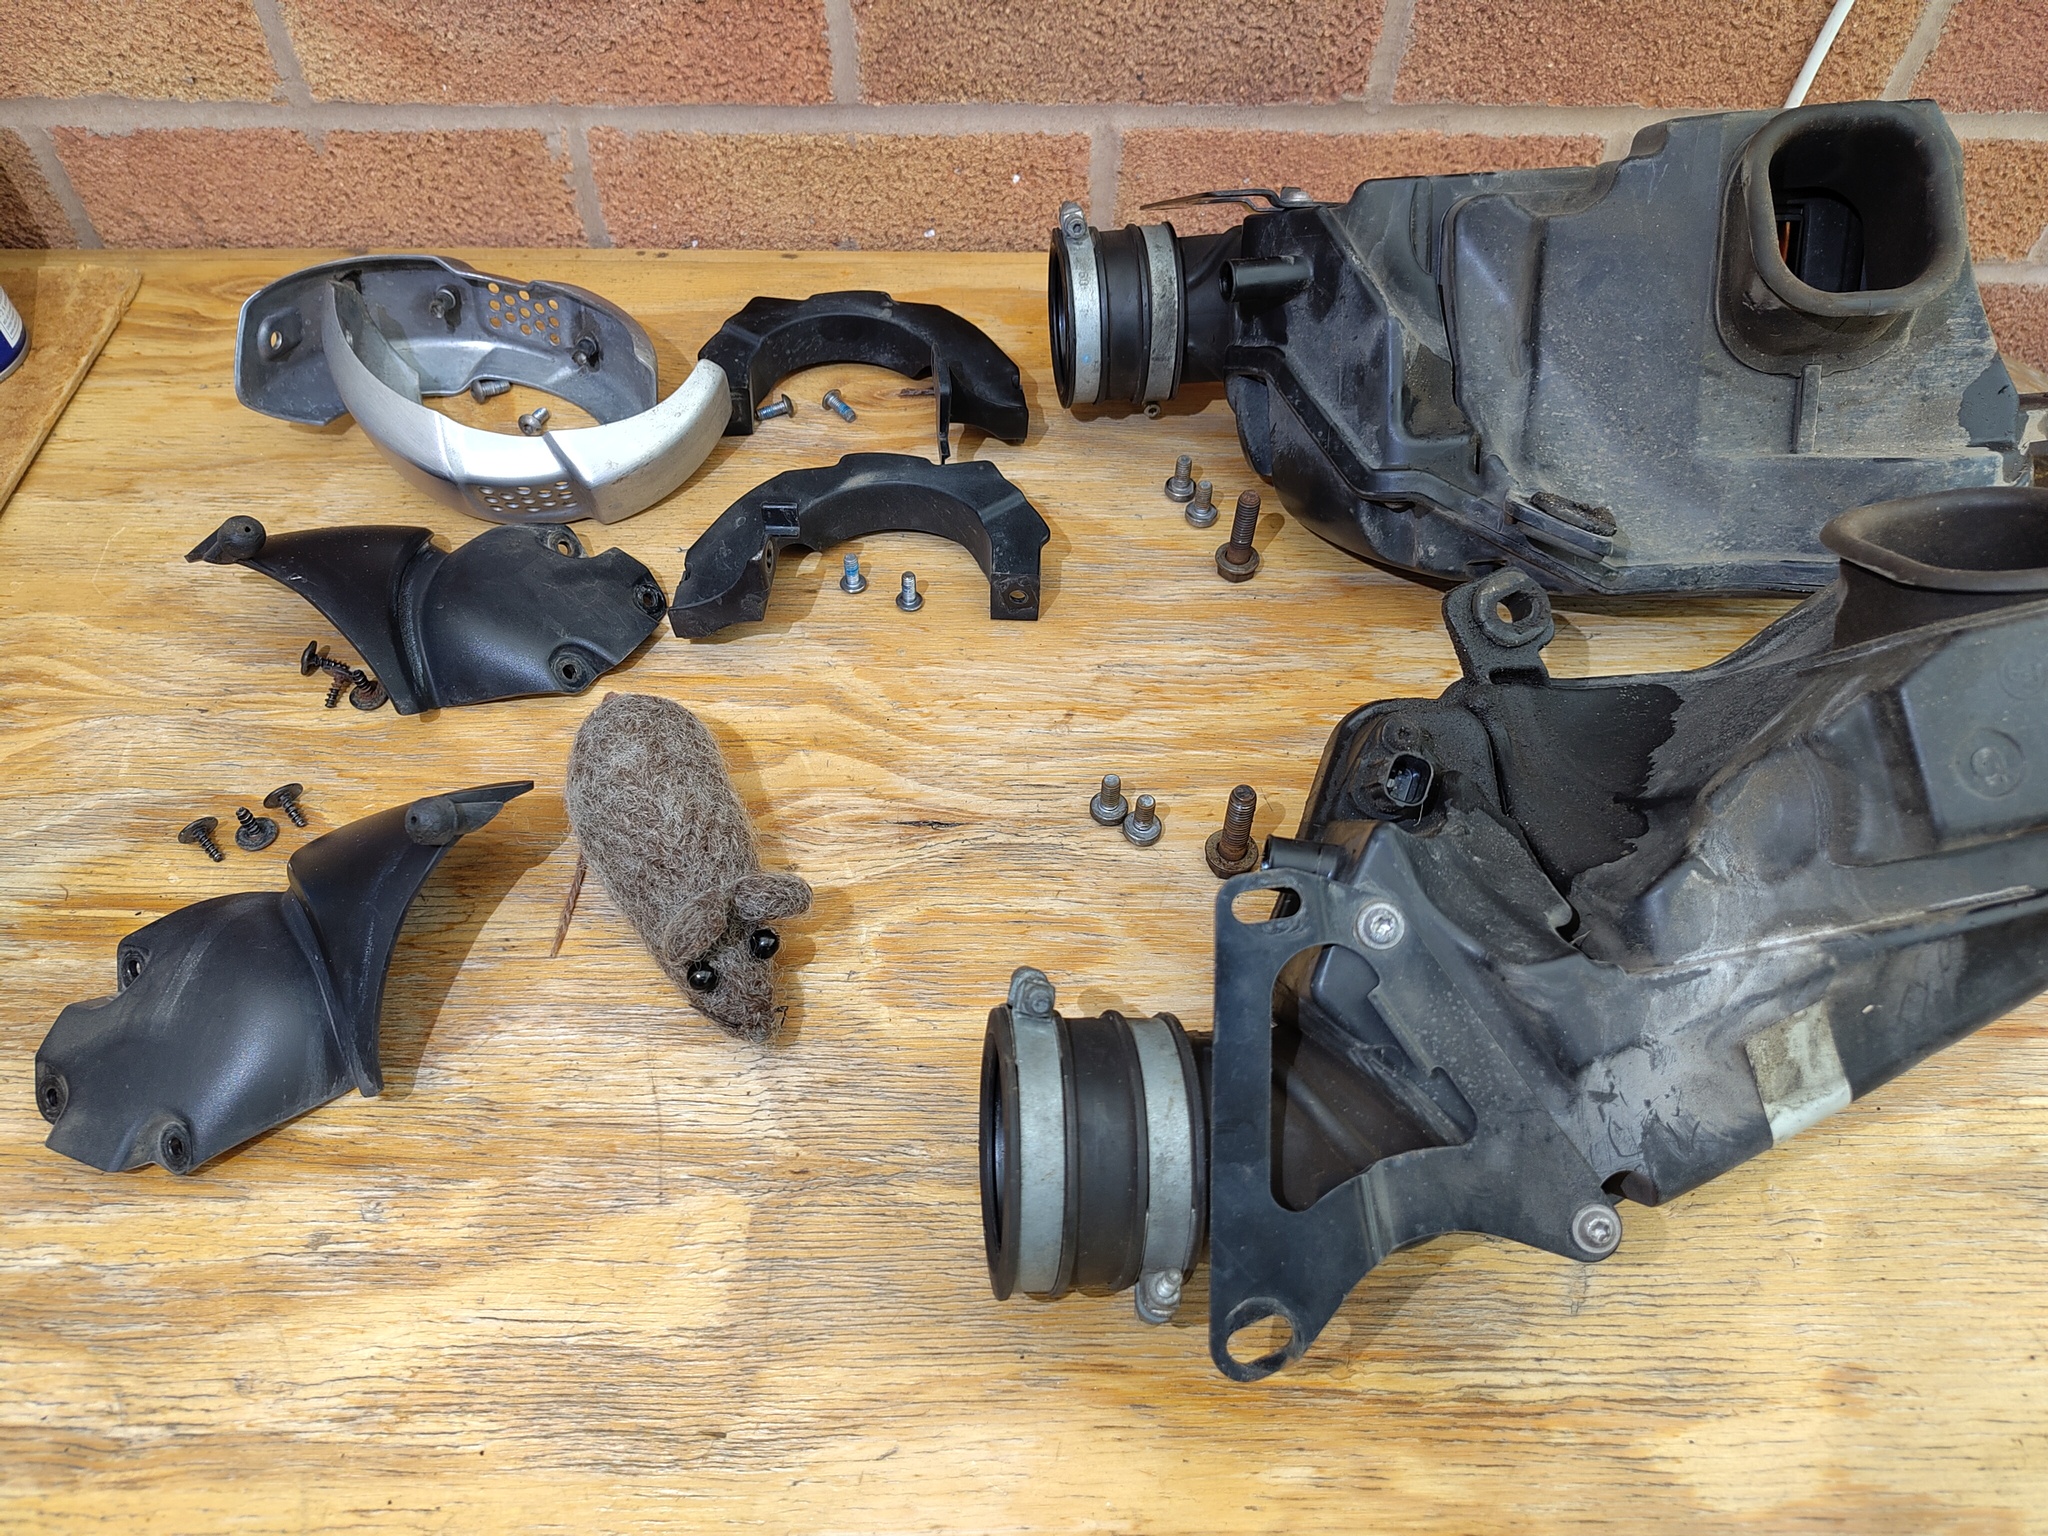
To help avoid getting muck in the tank I blew off any loose dirt then gave it a good clean before removing those 9 bolts fixing the mounting plate for the fuel pump. After much wiggling and cursing all the gubbins started emerging.
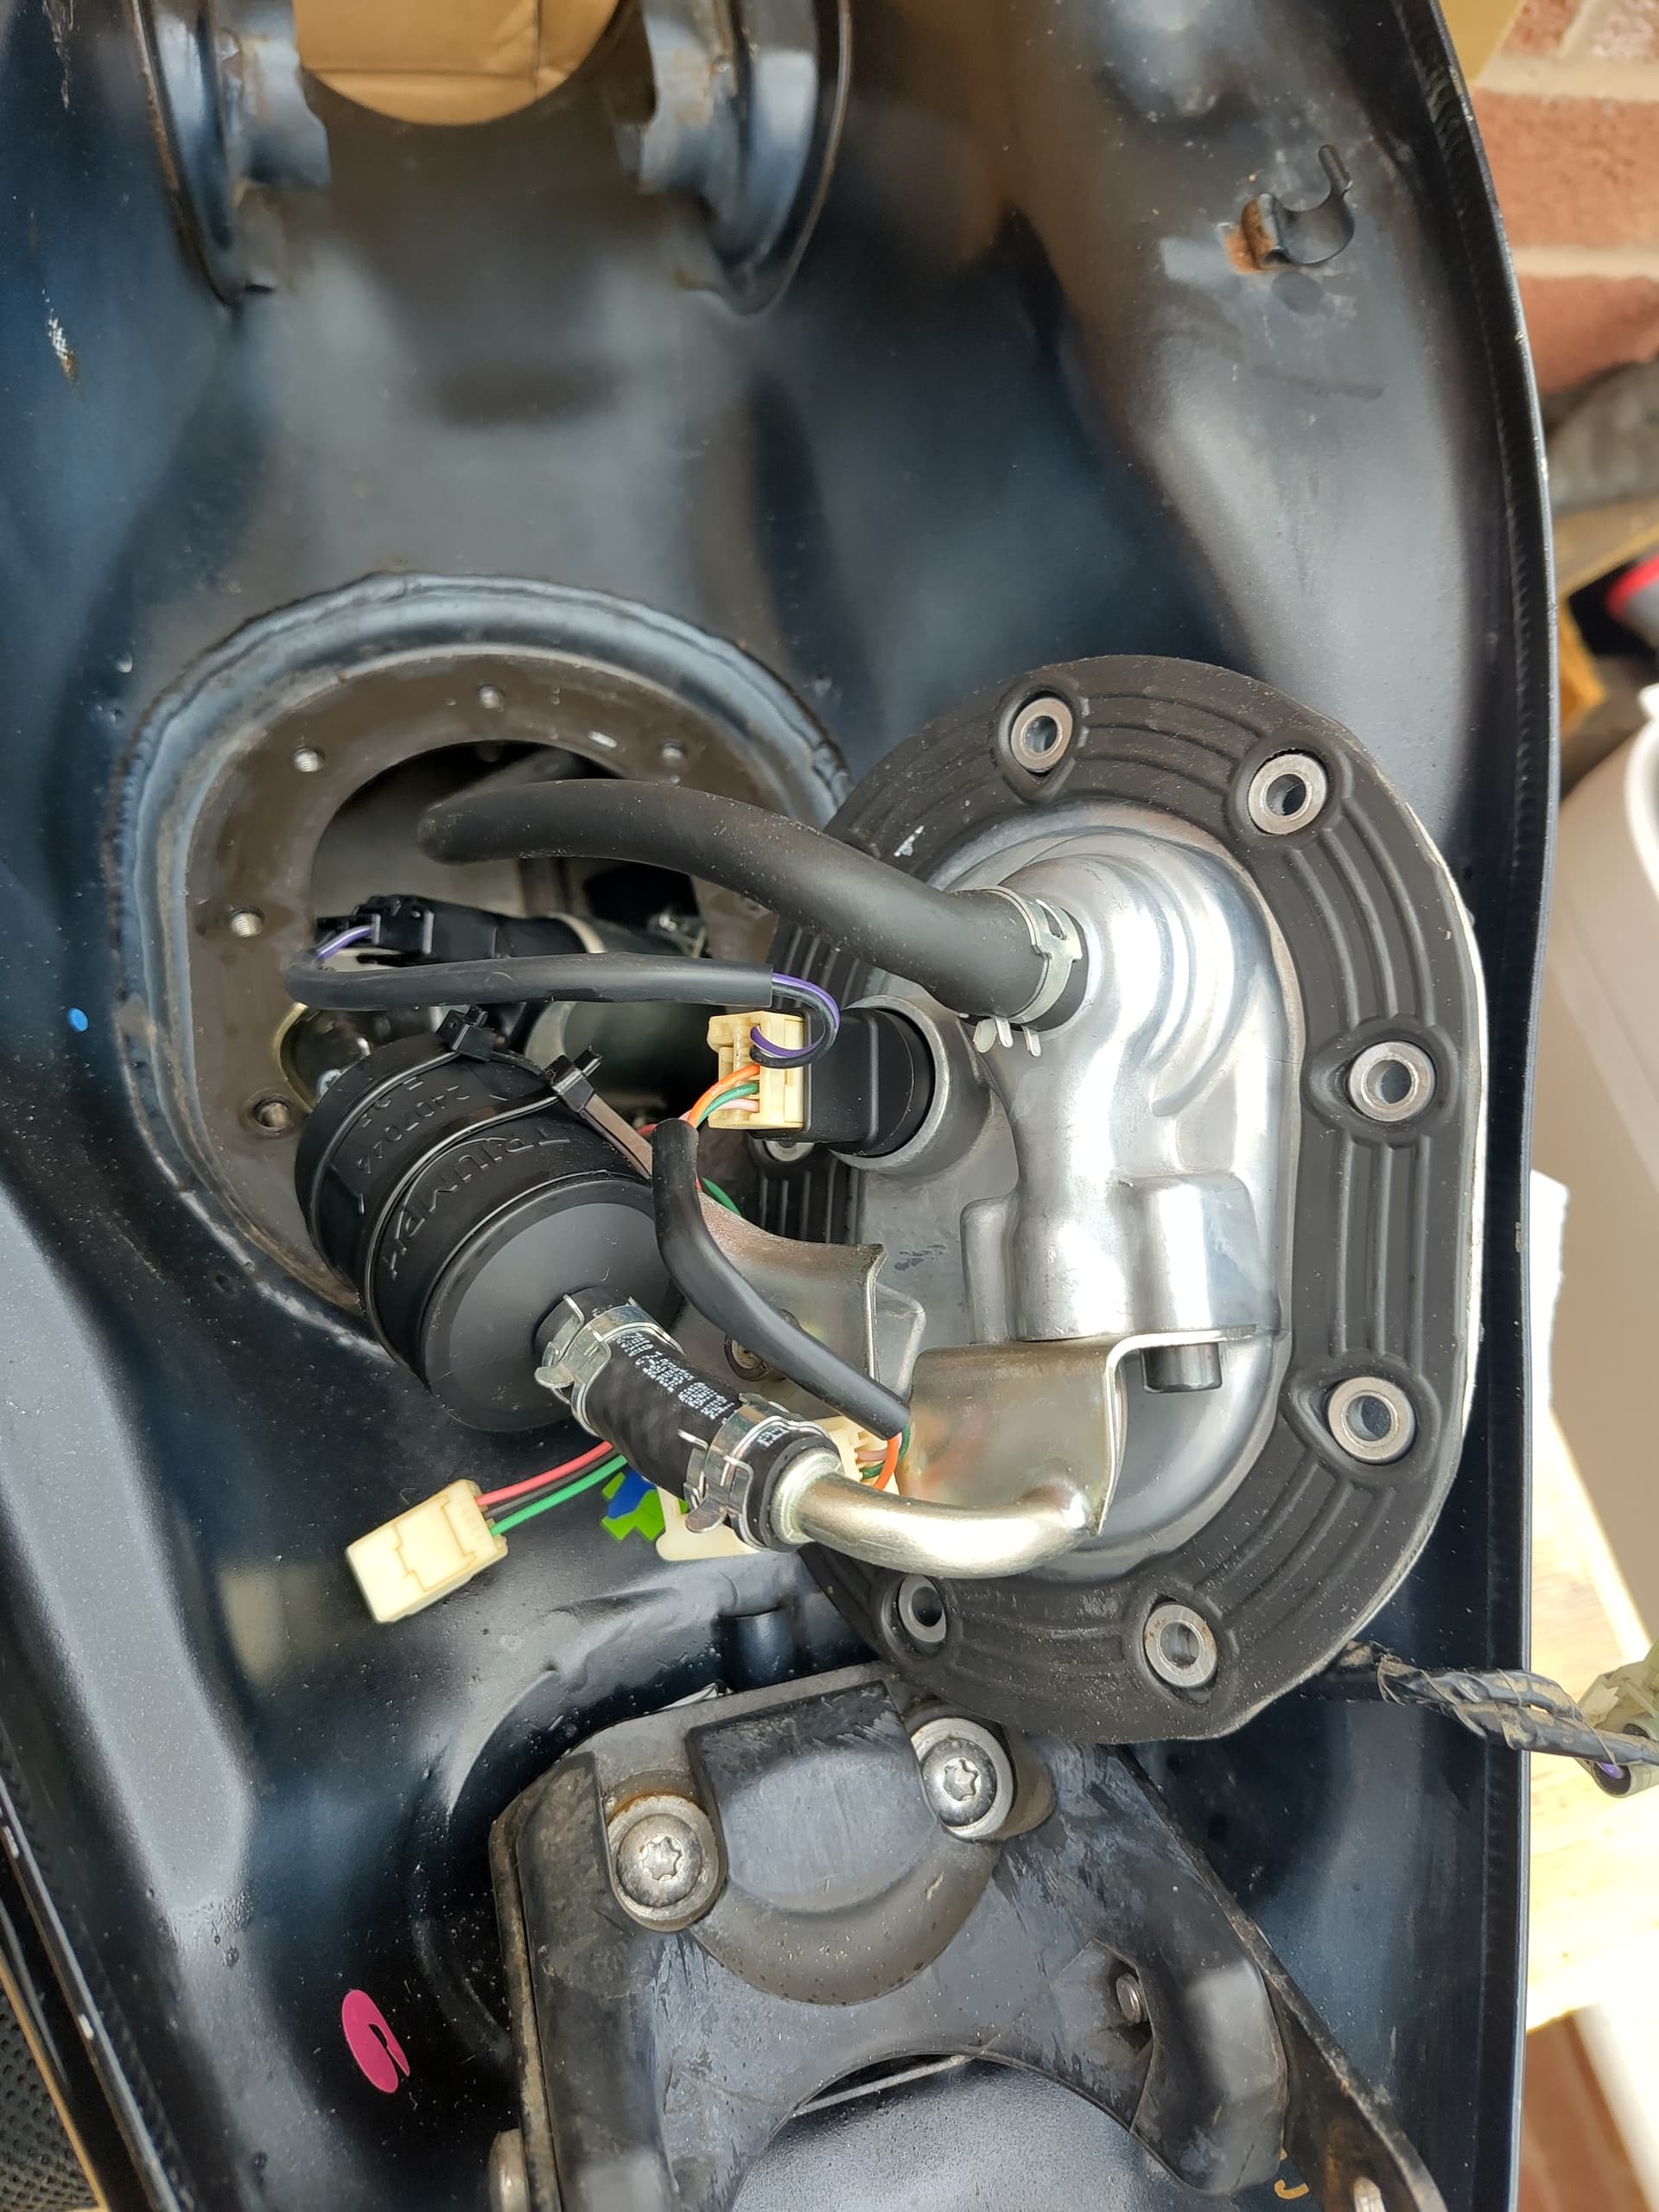
There was a connector for the fuel level sensor than needed unclipping before I could get things completely out.
Fuel filter is held in with a couple of cable-ties with spring clips holding on the rubber hoses.
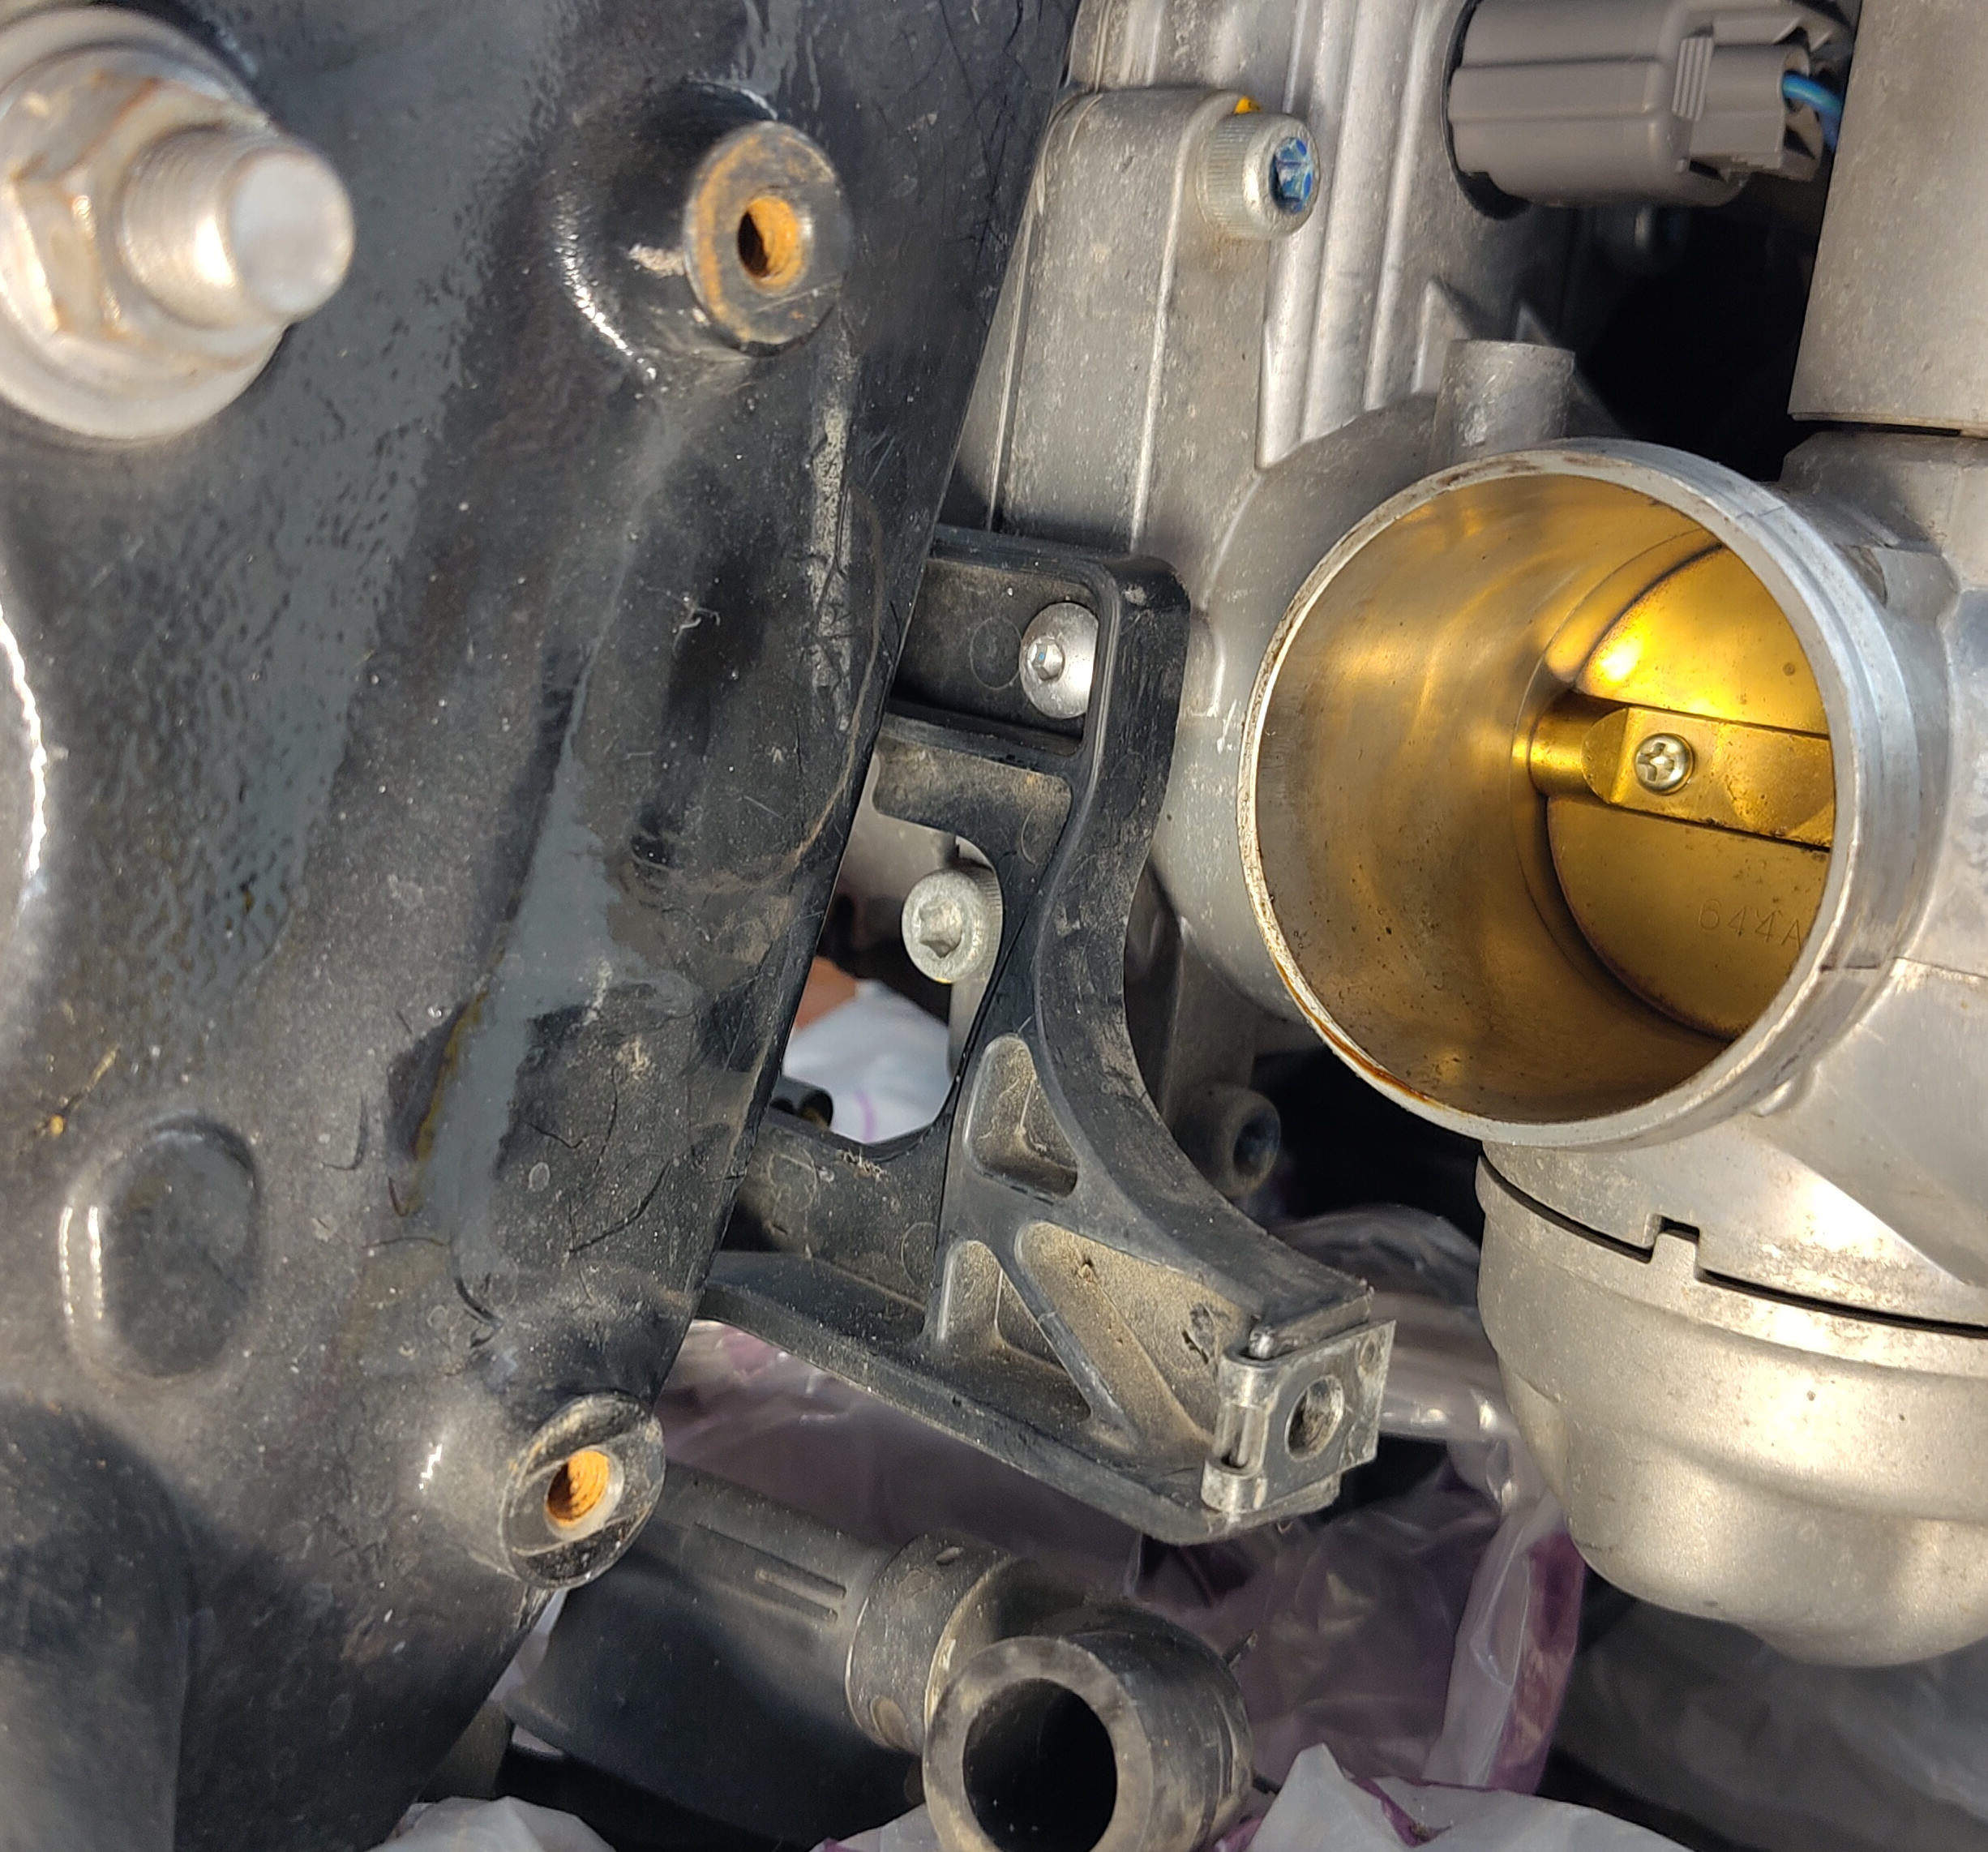
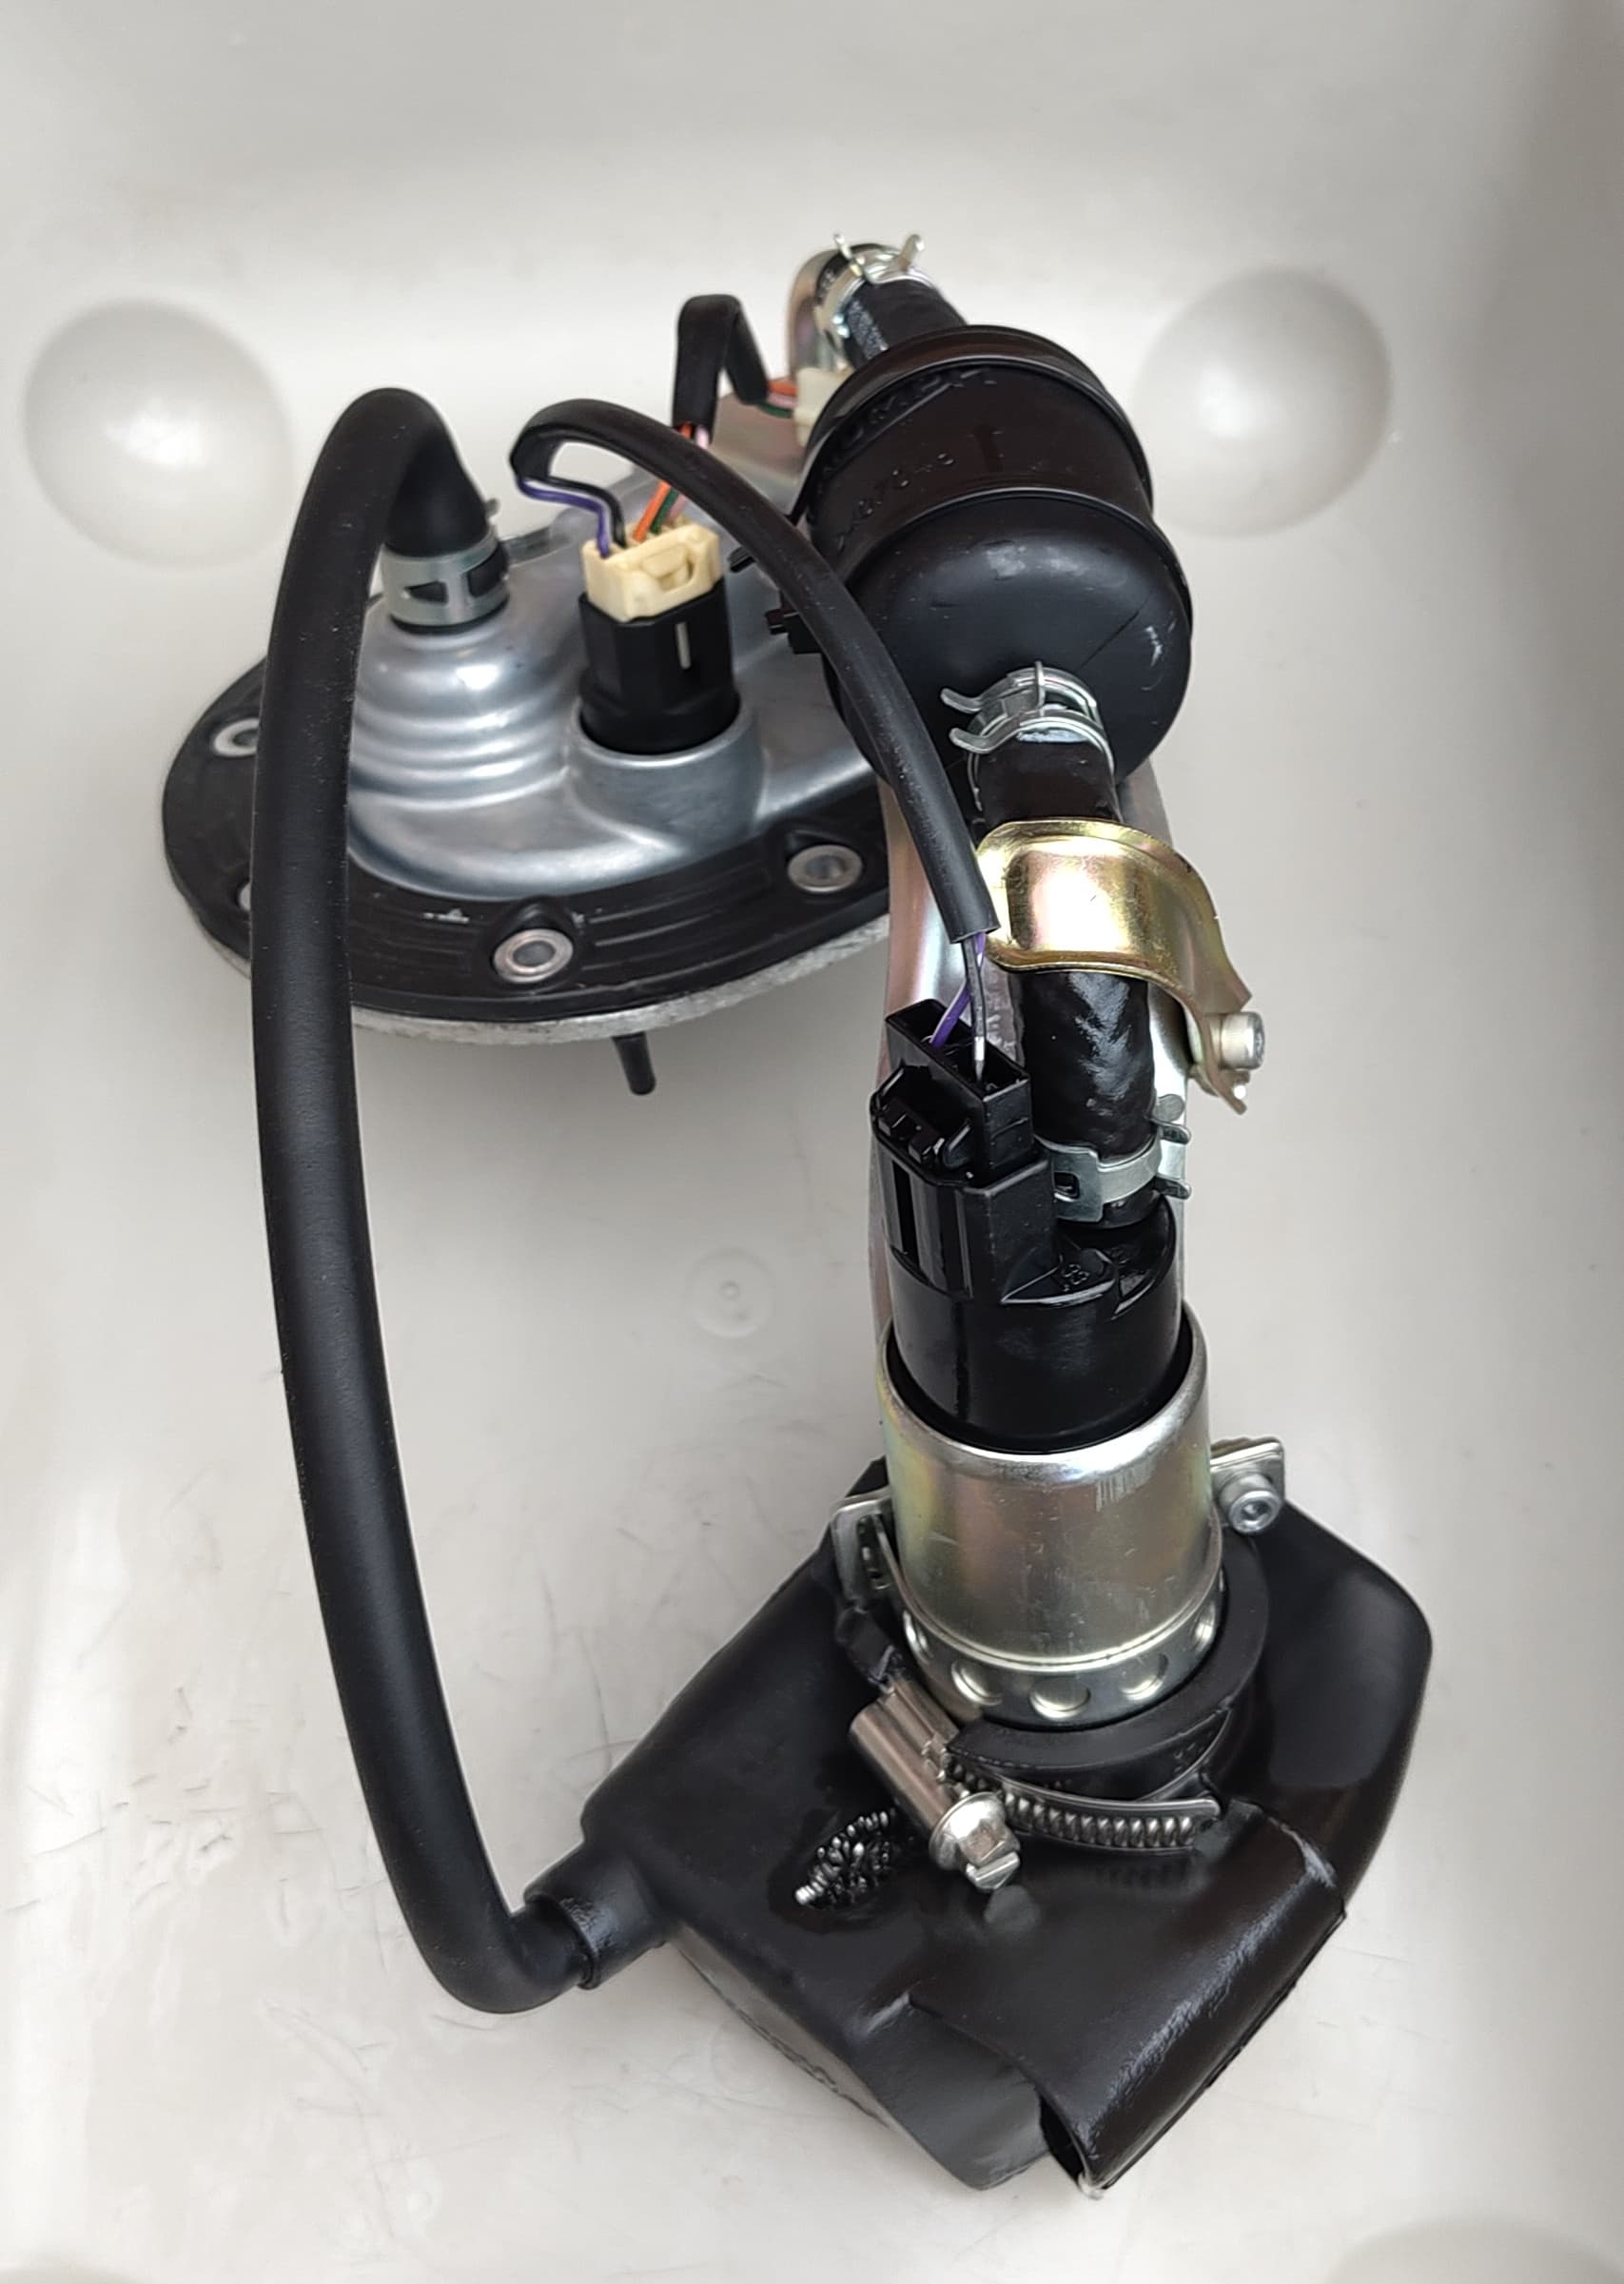
To get the fuel filter out I needed to remove the bronze coloured shield thing and then pull the hose off the fuel pump.
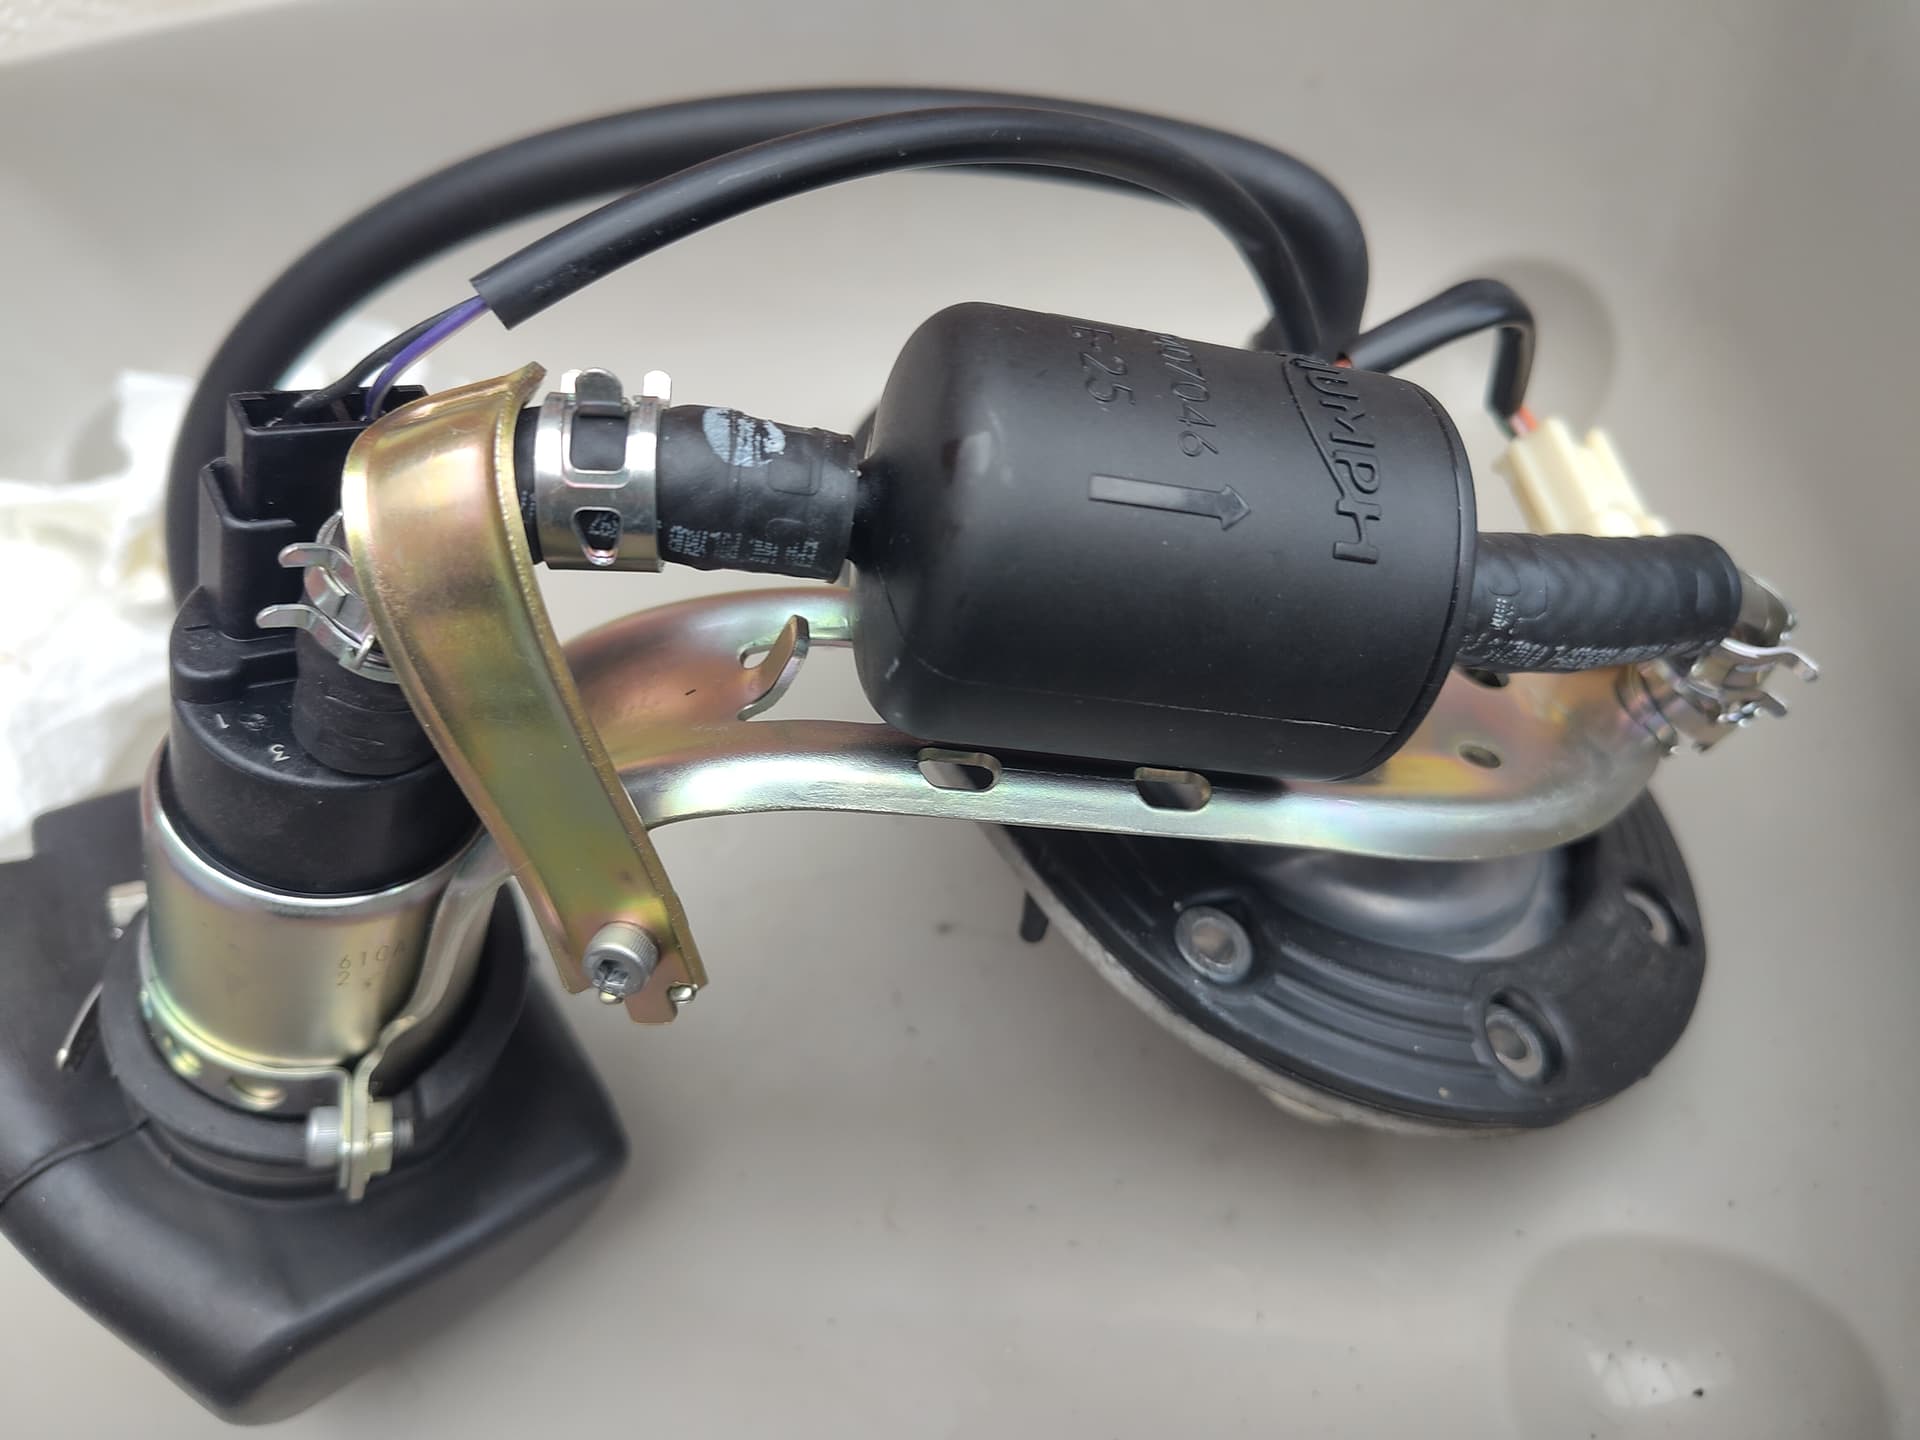
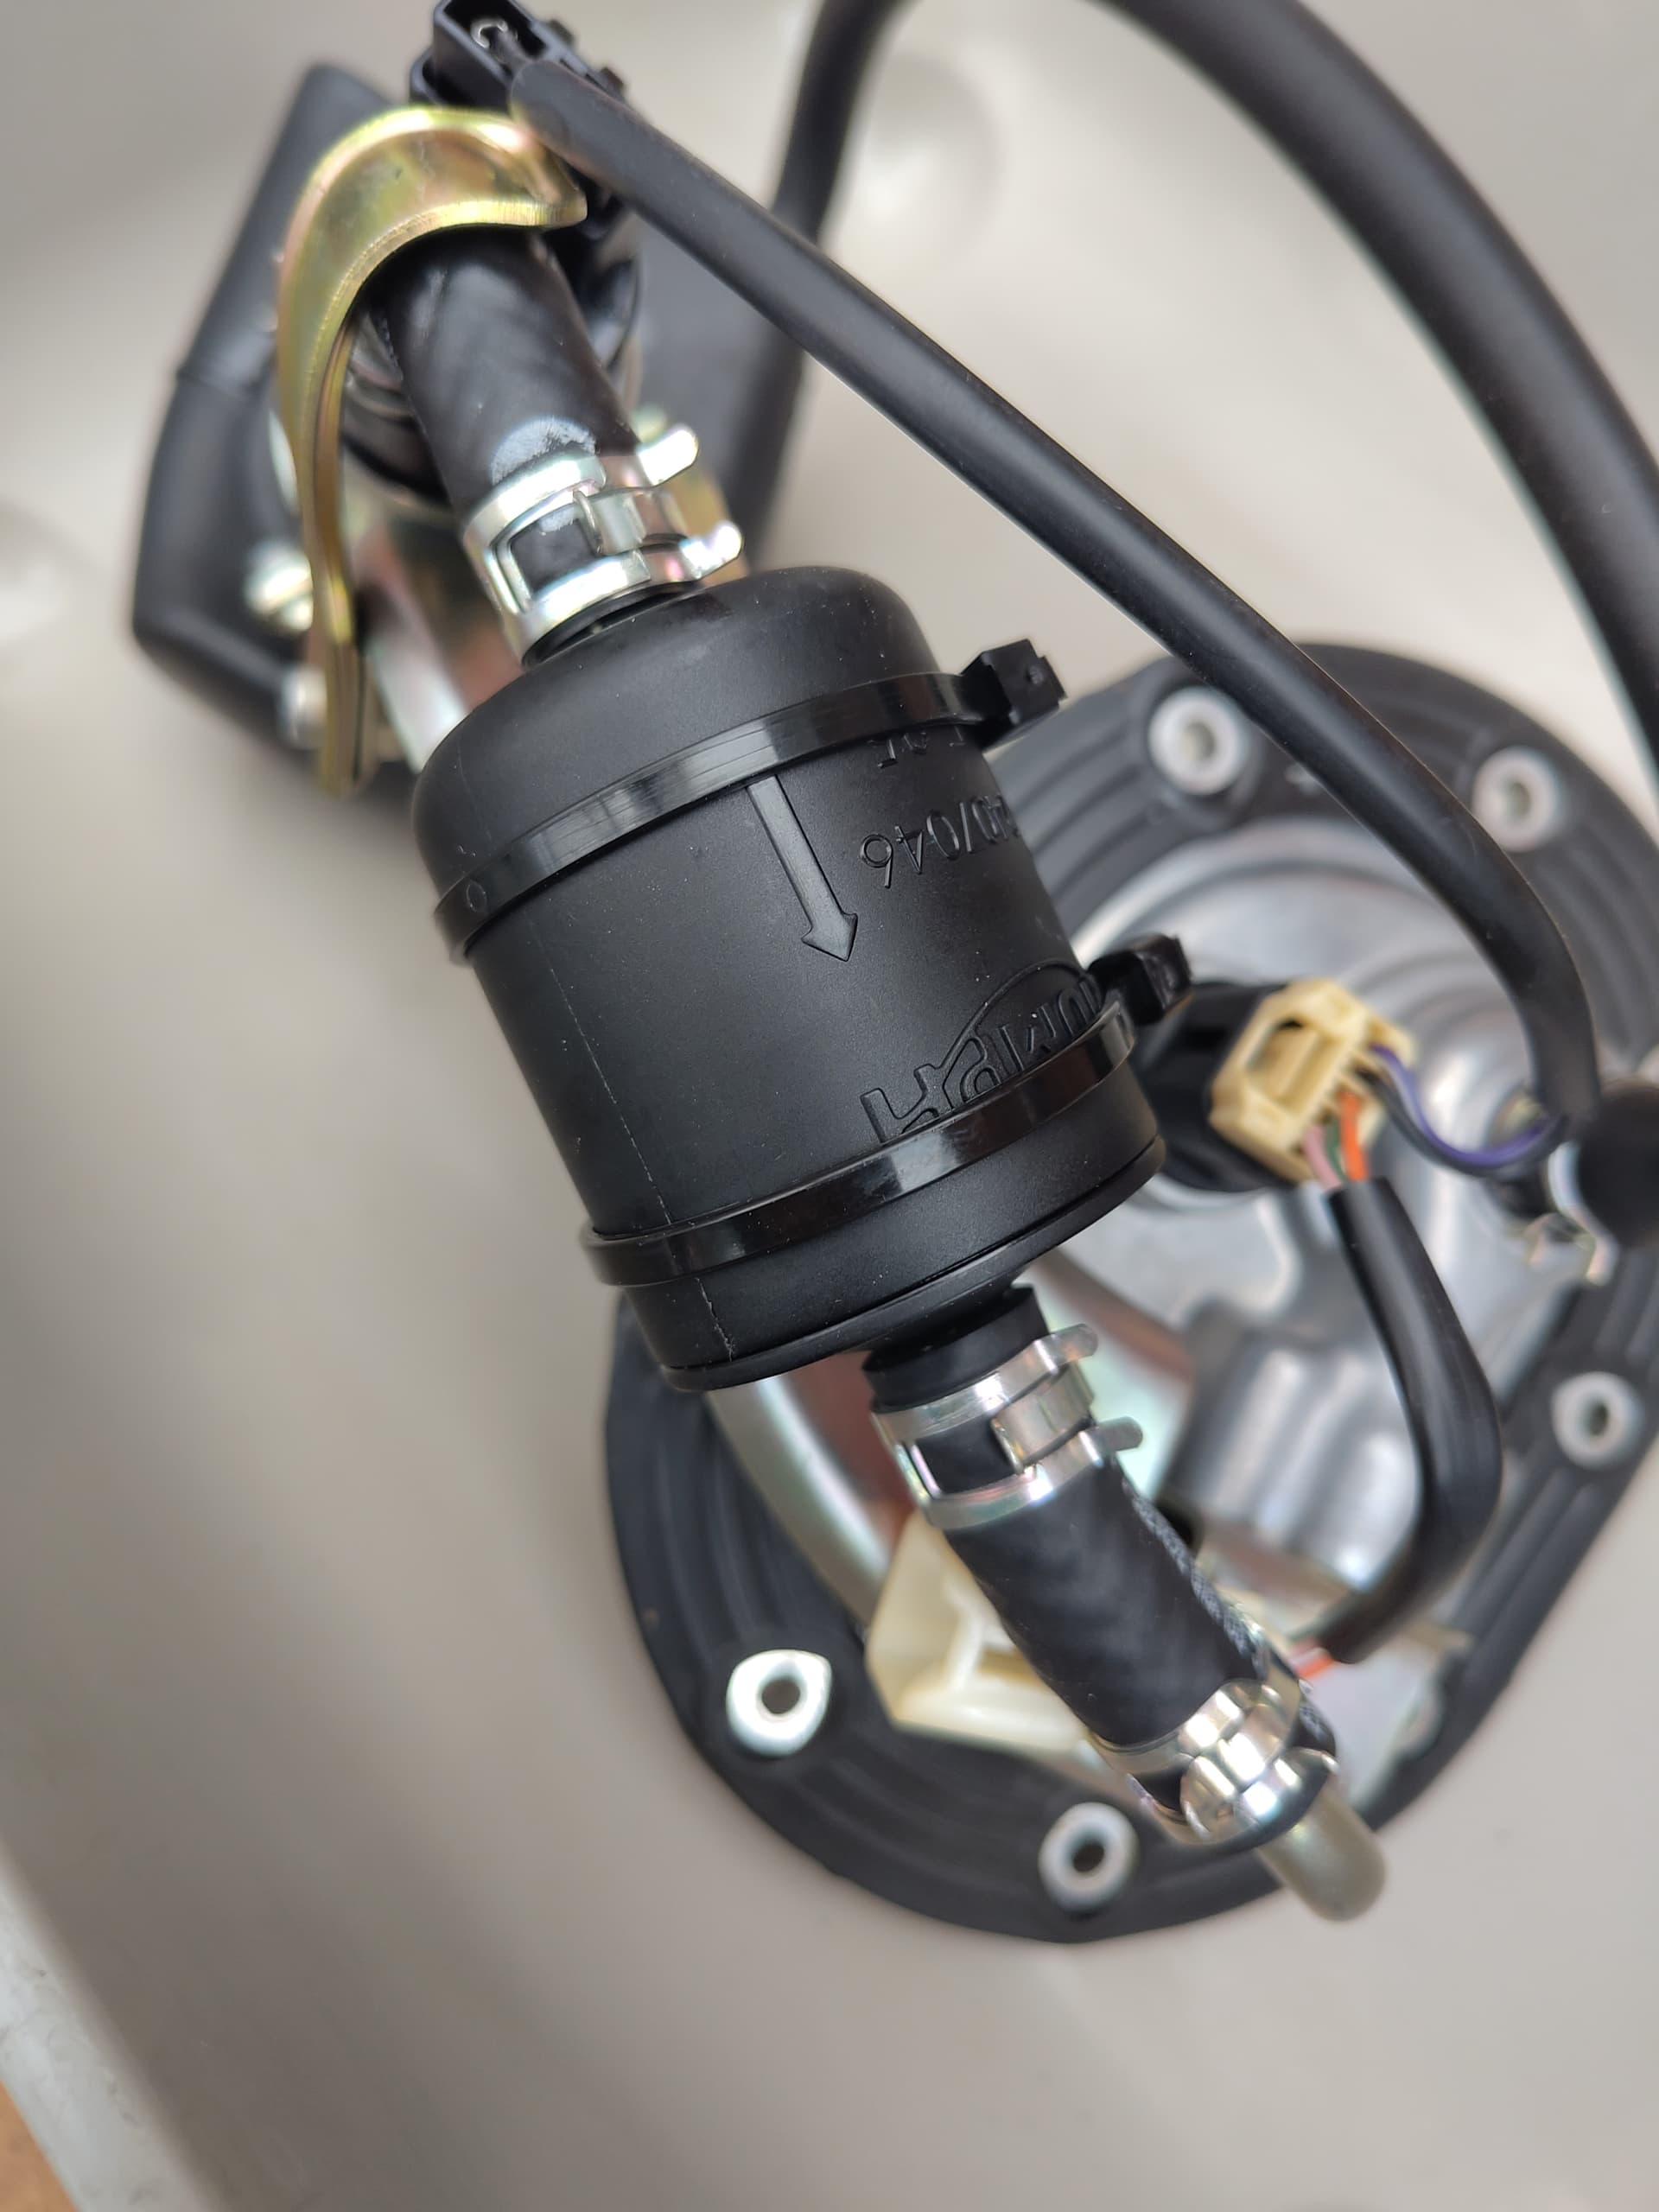
When putting in the new filter, make sure the flow direction arrow on it is the correct way around. And don’t forget the cable-ties like I did and only realised when looking at these photos.
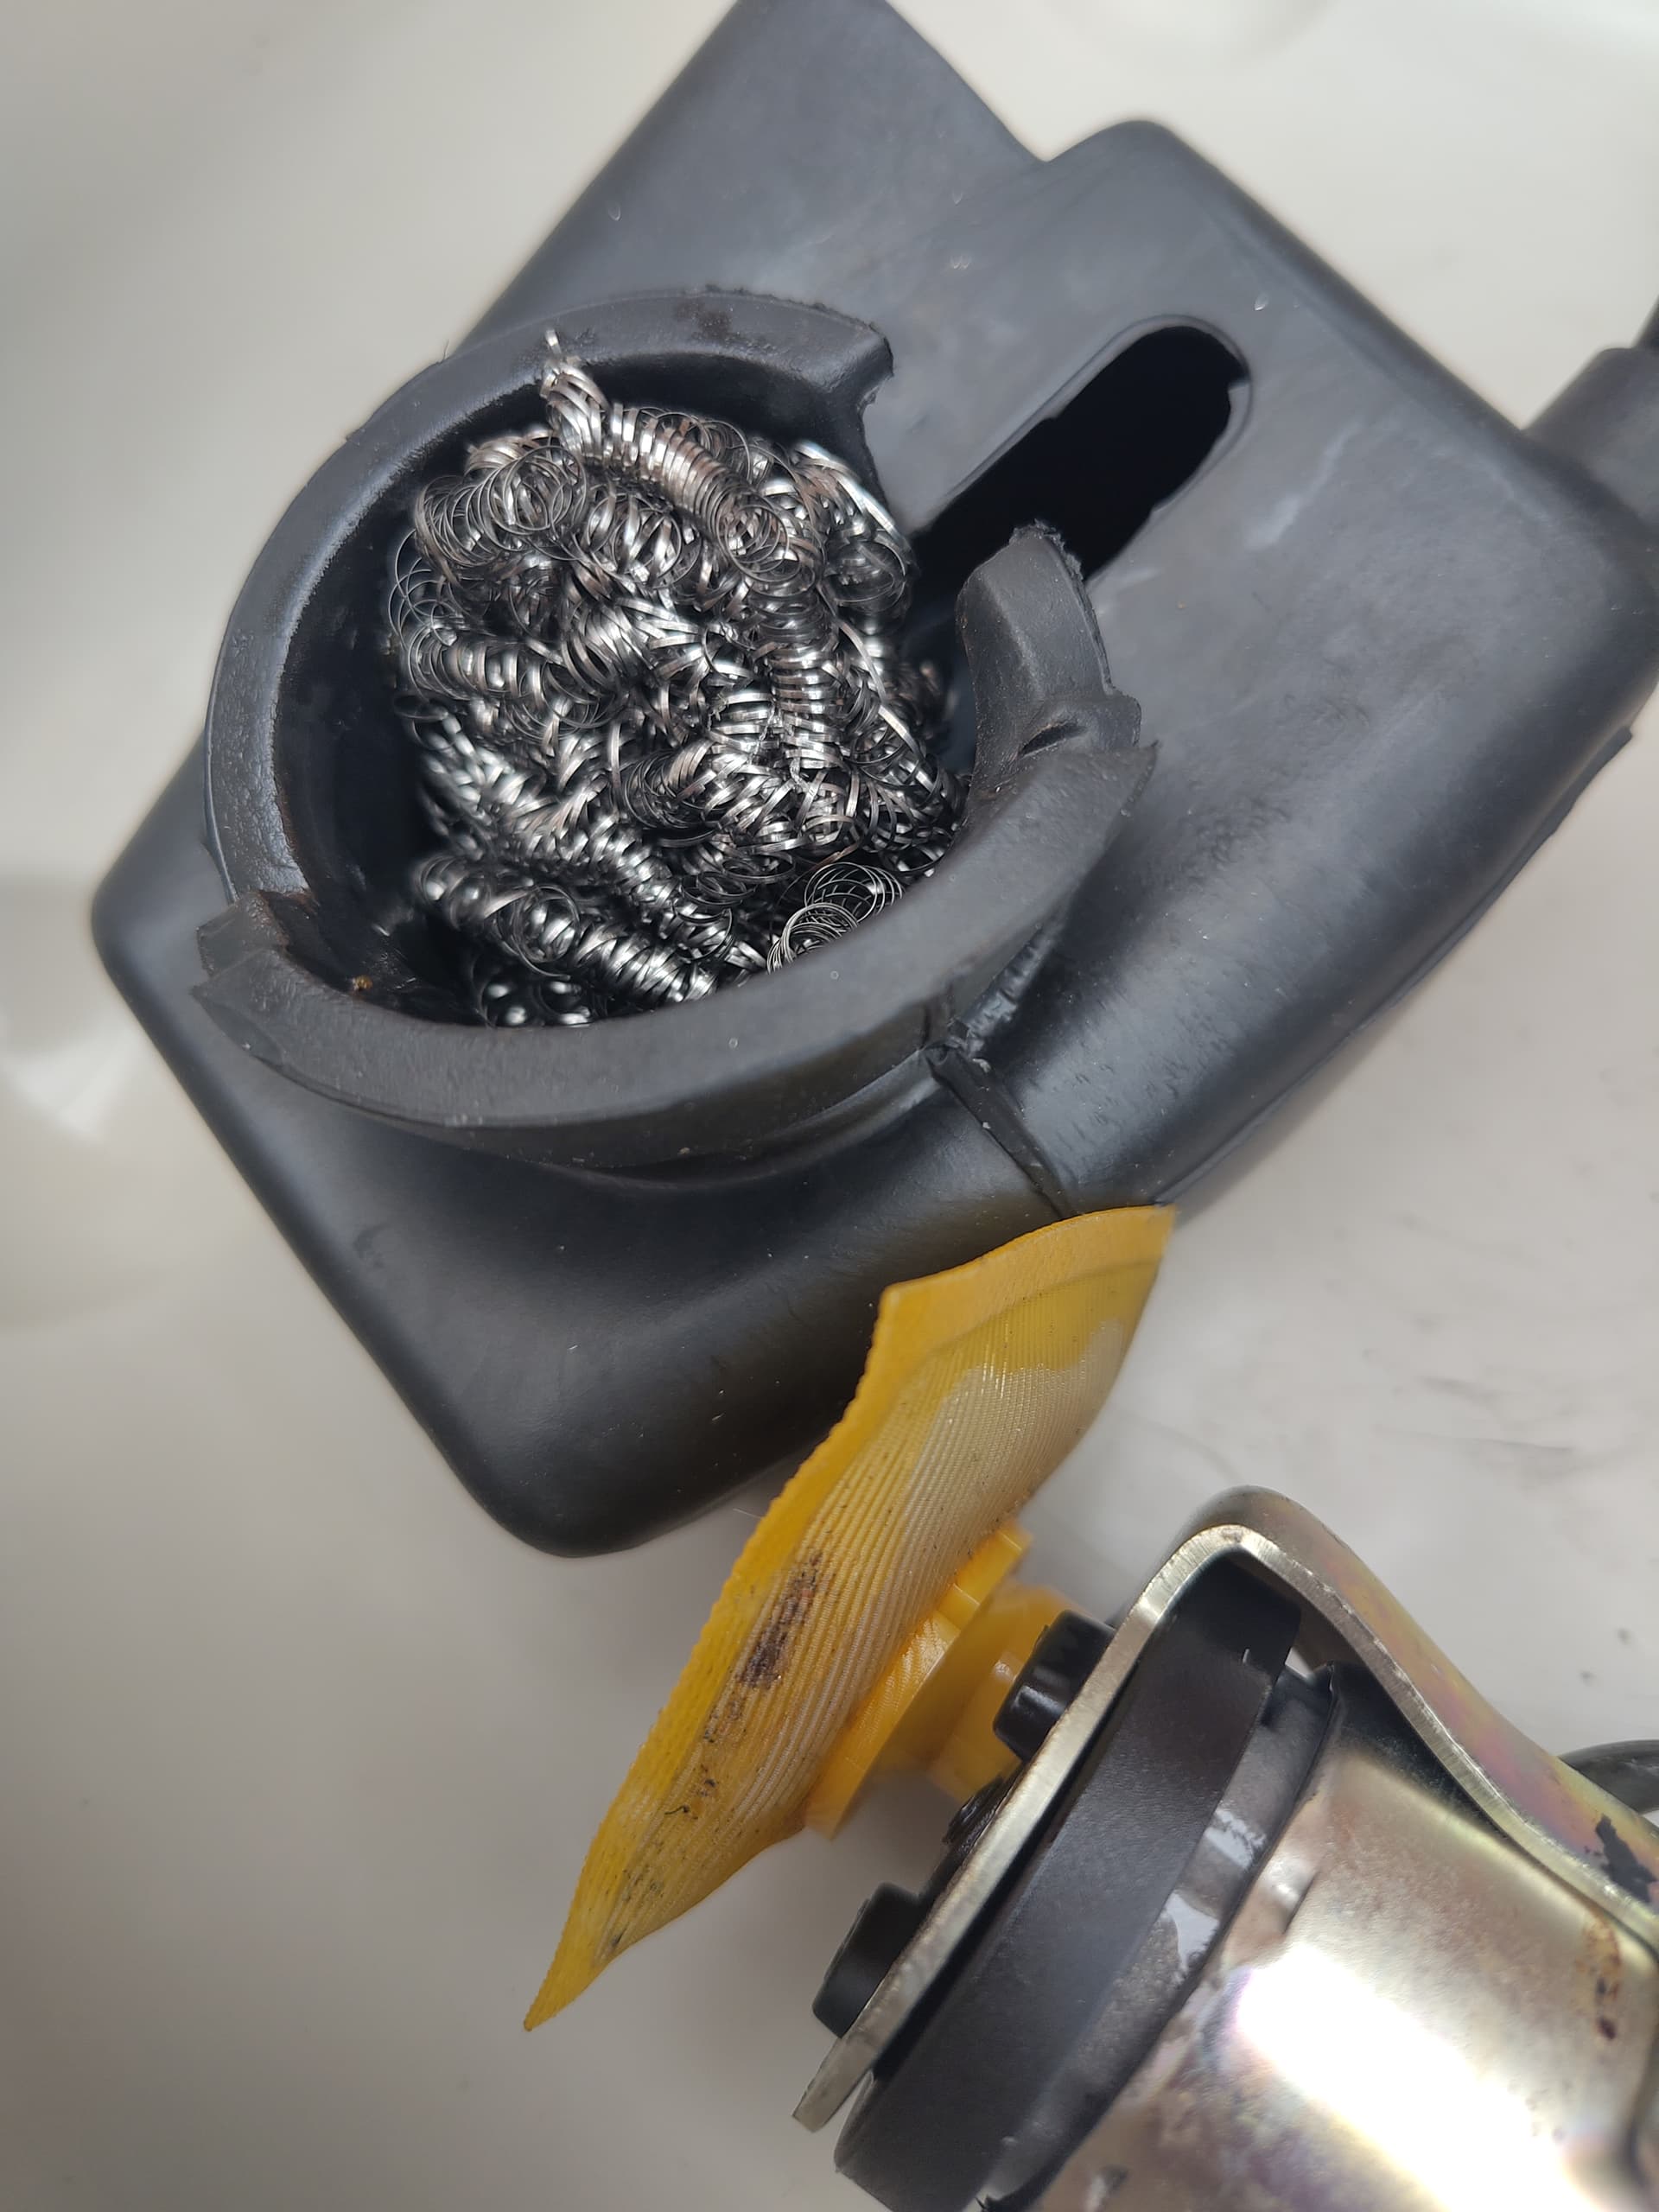
The other end of the fuel pump has rubber hood, inside of which is a filter that looks like a plastic teabag and a pan scourer. There was a little discolouration on the tea-bag but that didn’t brush off when I tried with a old toothbrush.
With the rubber hood back on, I replaced the rubber gasket on the mounting plate with a new one and proceeded with the struggle to re-insert the whole monstrosity back into the tank. This took a large amount of wriggling, with some strategic application of force, and in general a right pig to do. I did remember to re-attach the electrical connector for the fuel gauge, but it was only when looking at the Haynes manual for torque setting I spotted where it said to take note of the routing of the fuel gauge wires. Doh! So I had to get the whole thing out to move the wires, I think this is correct.
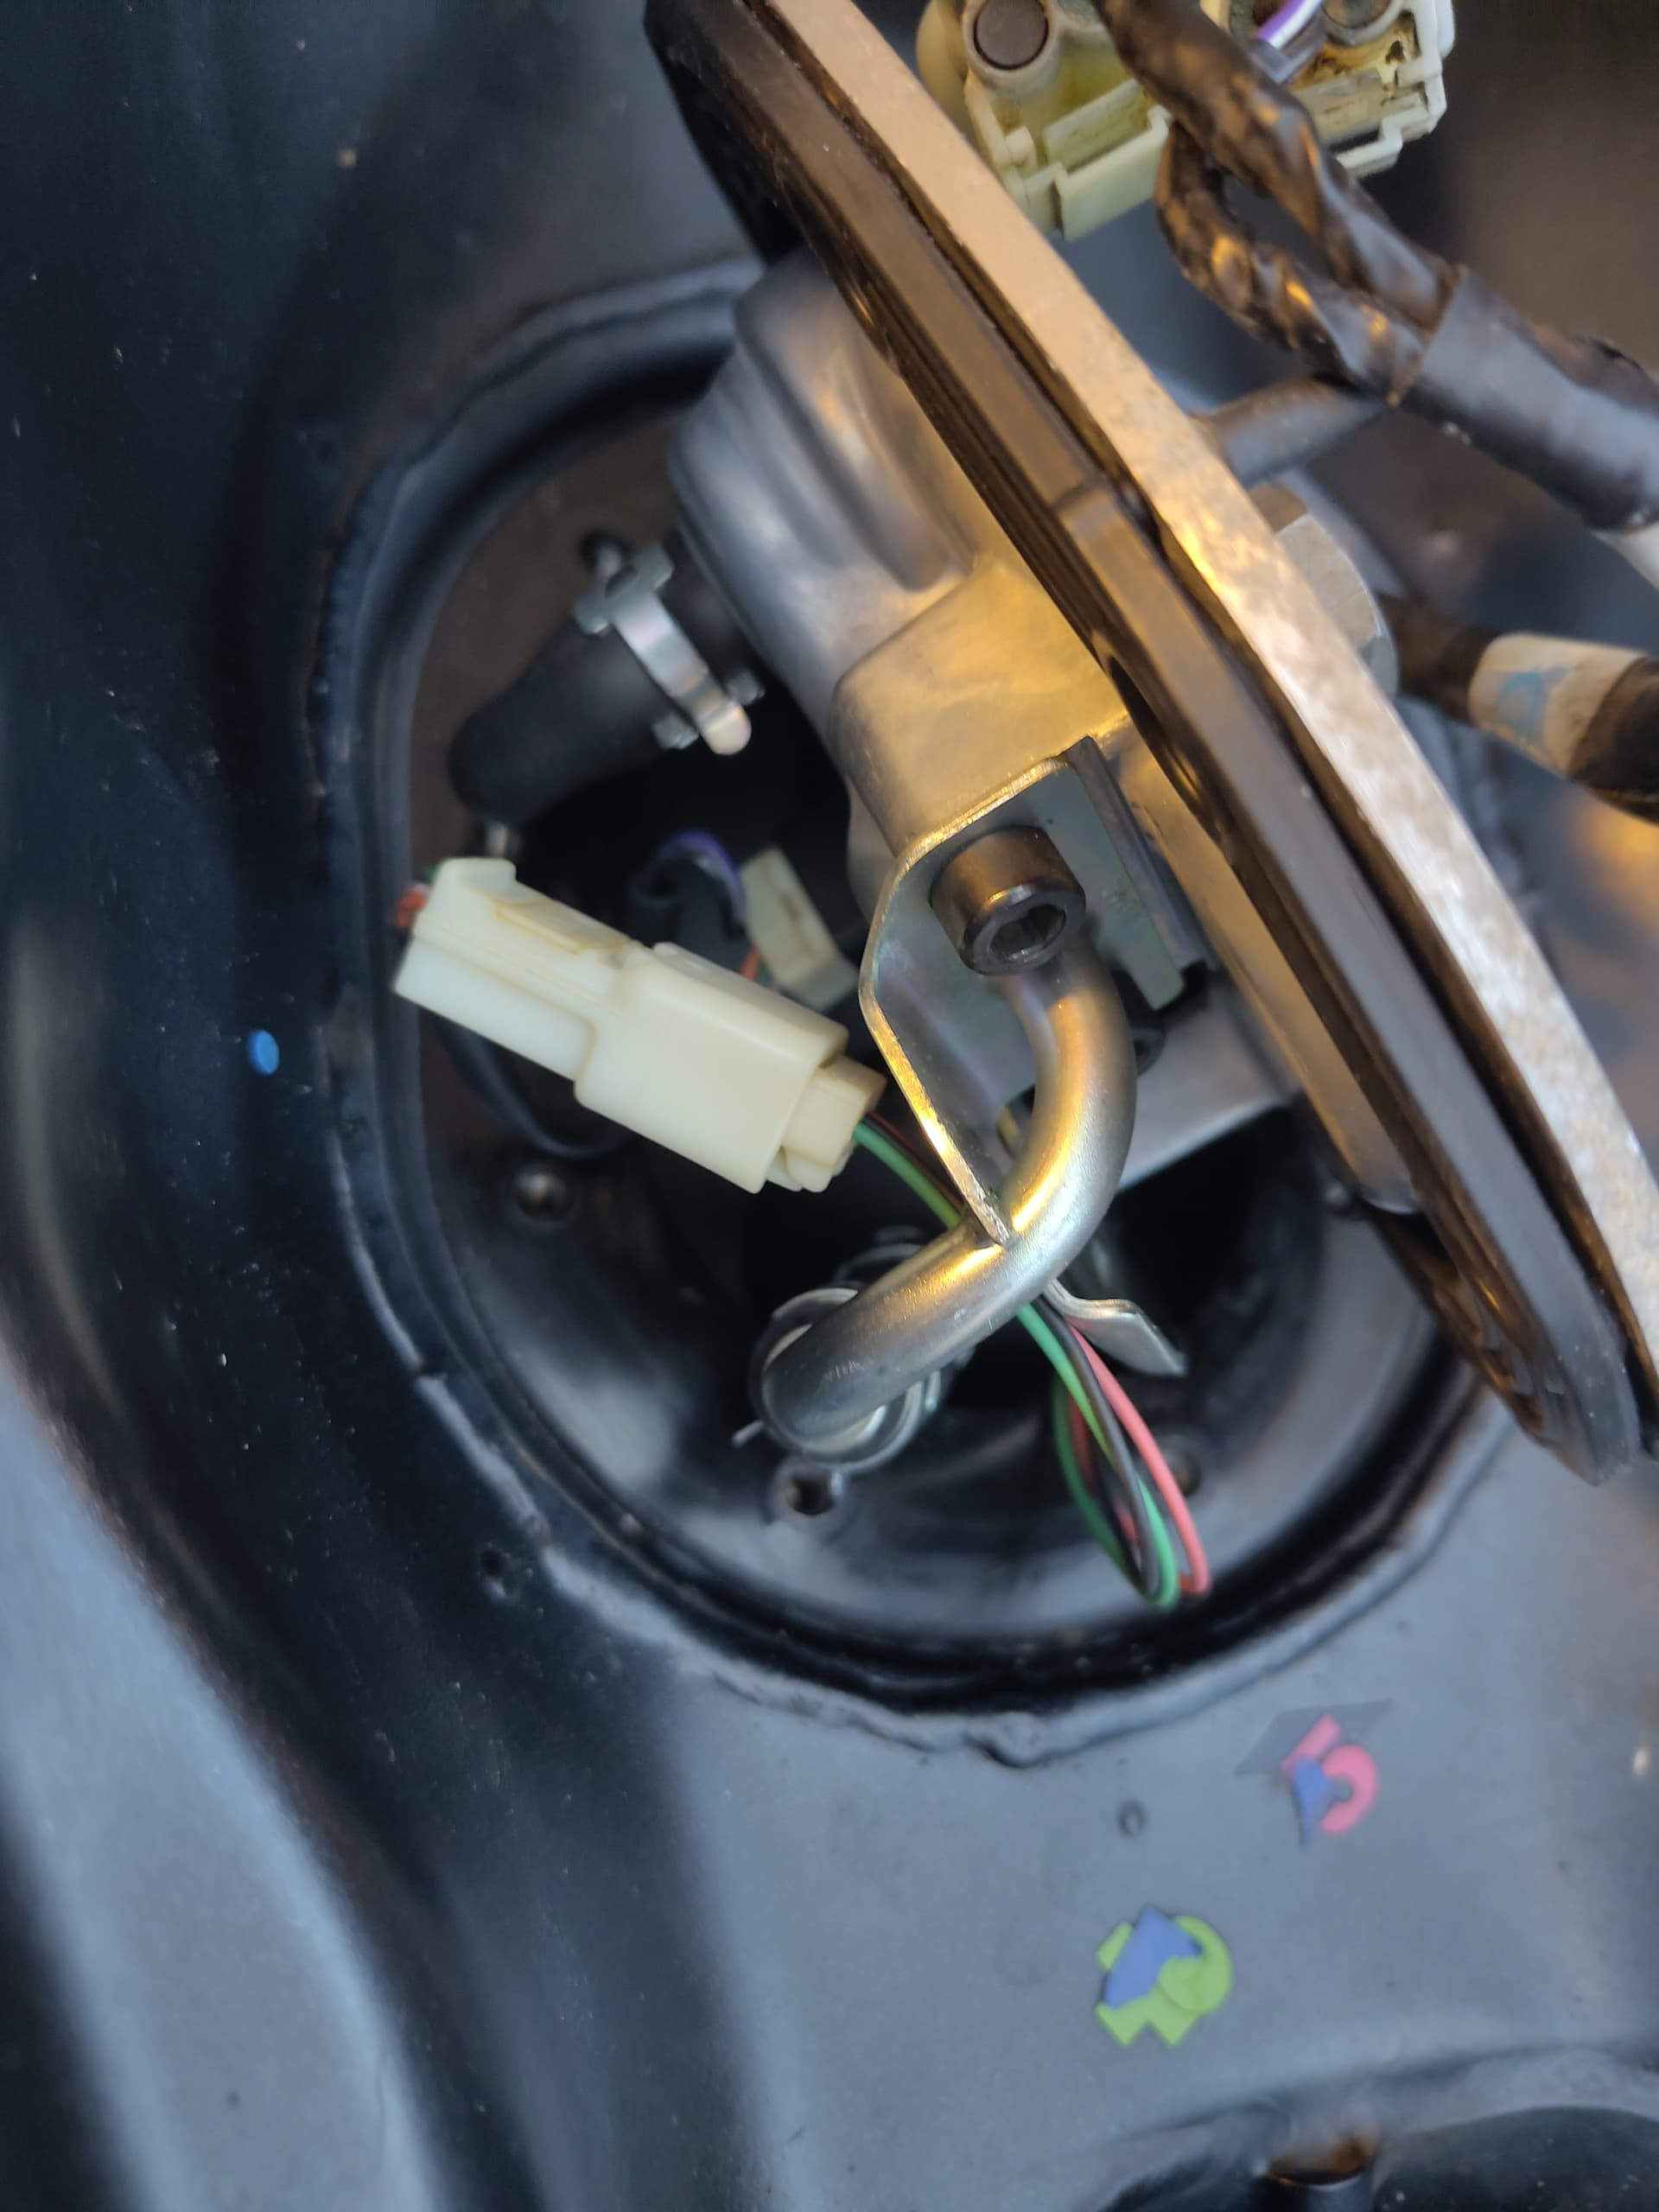
I suspect it’s that white connector that sits on the bottom of the tank making rattling noises when moving the bike around with a low fuel level.
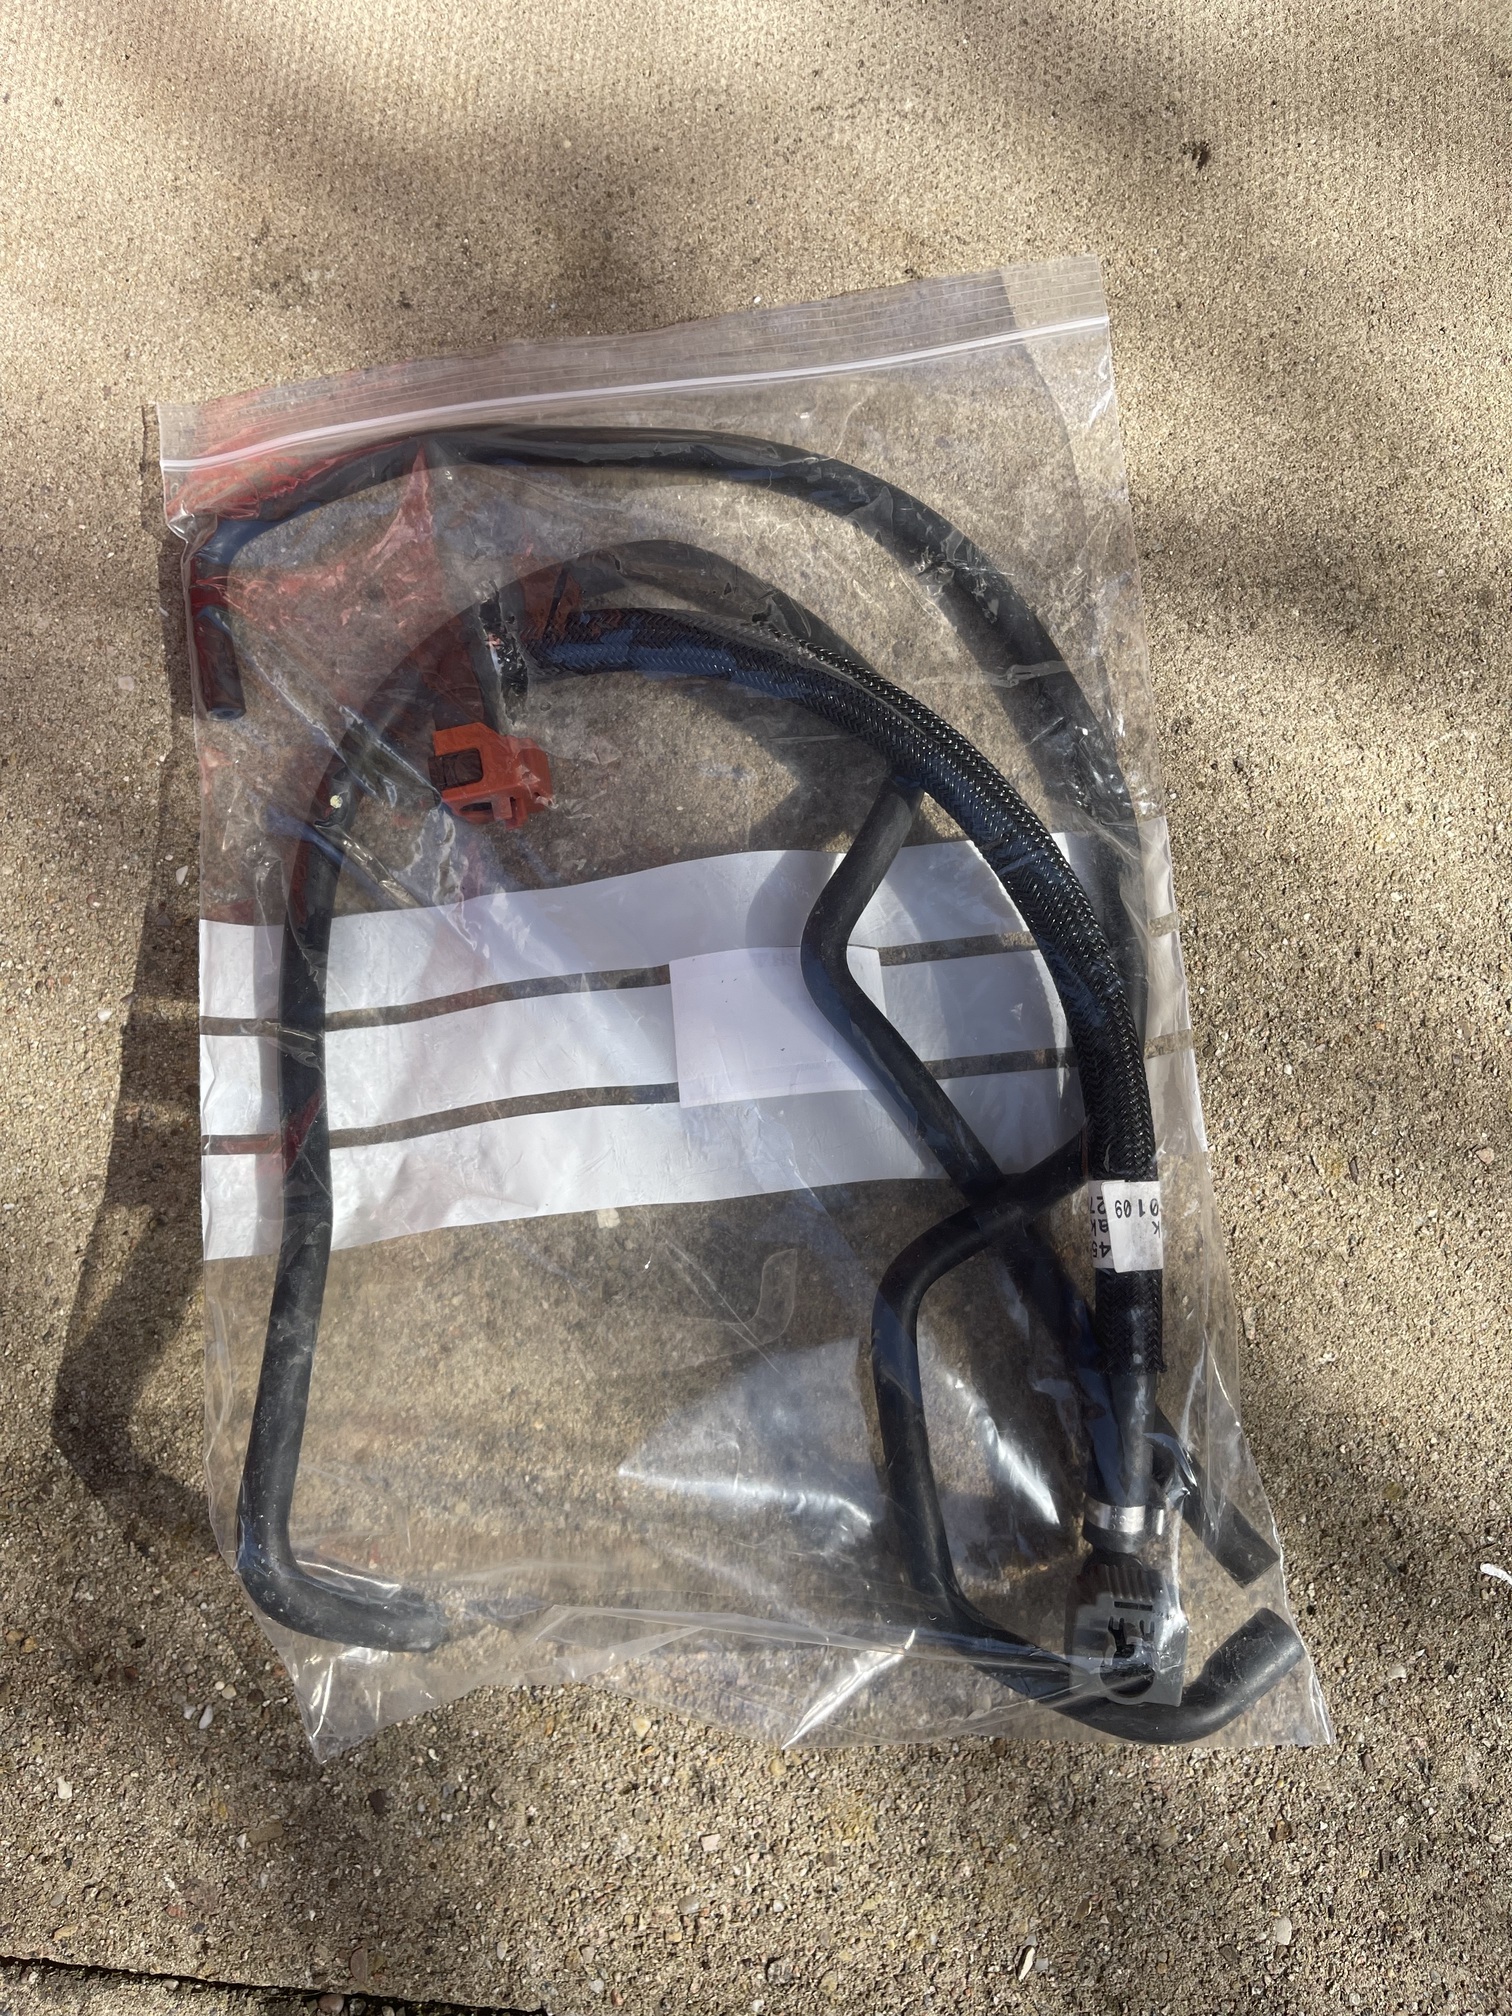
After getting things out for the third time for the the missing cable-ties I replaced the fuel hose with a new one, together with two new washers for the banjo bolt. Haynes manual doesn’t seem to have torque setting for that (or any mention of replacing the hose for that matter) so I’m going to have to get a months subscription to Triumph’s online service manual again. Hopefully that has the torque value.
Edit: Yes Triumphs service manual specified 15Nm for that banjo bold. And the same 5Nm for the mounting plate bolts as the Haynes manual said.