Another thought!
Do I look at the crank,rods ,bearings, the seals on the ends of the crank are fine?
Another thought!
Do I look at the crank,rods ,bearings, the seals on the ends of the crank are fine?
Definitely small ends and circlips.
Was that the follow up to new boots and panties?
I’m Partial to Your Abracadabra
So getting back to it, after too long skiving.
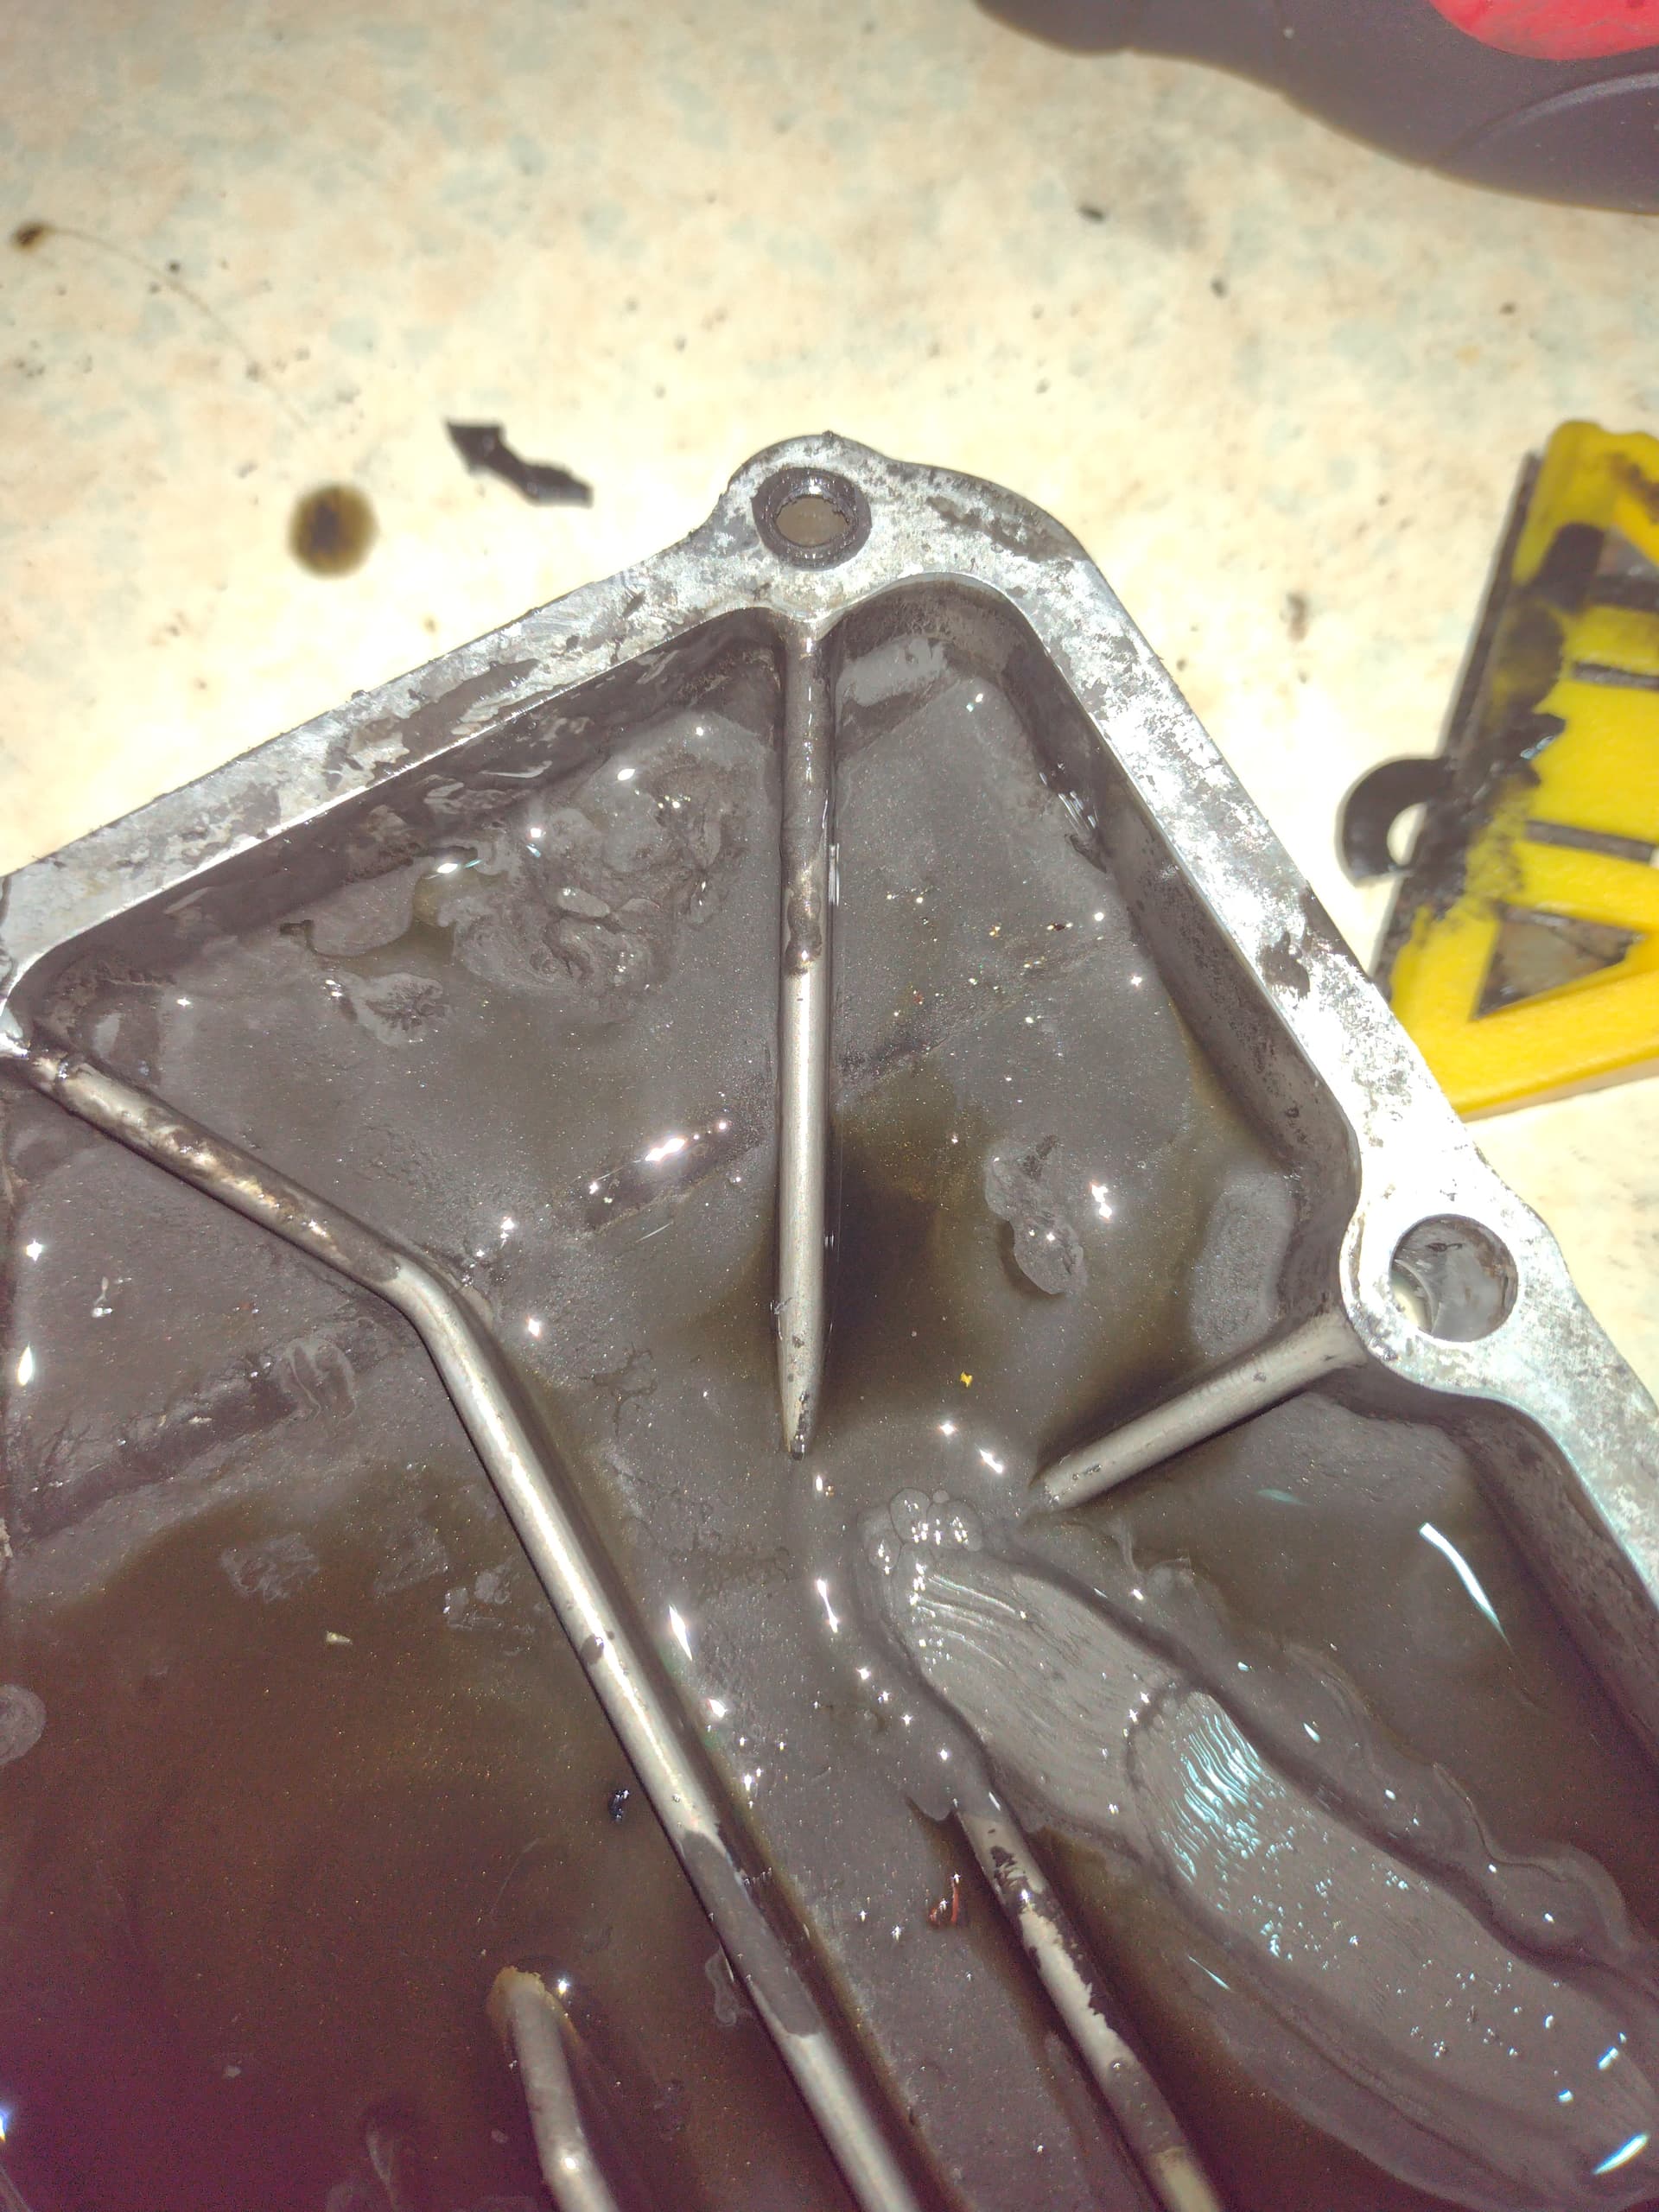
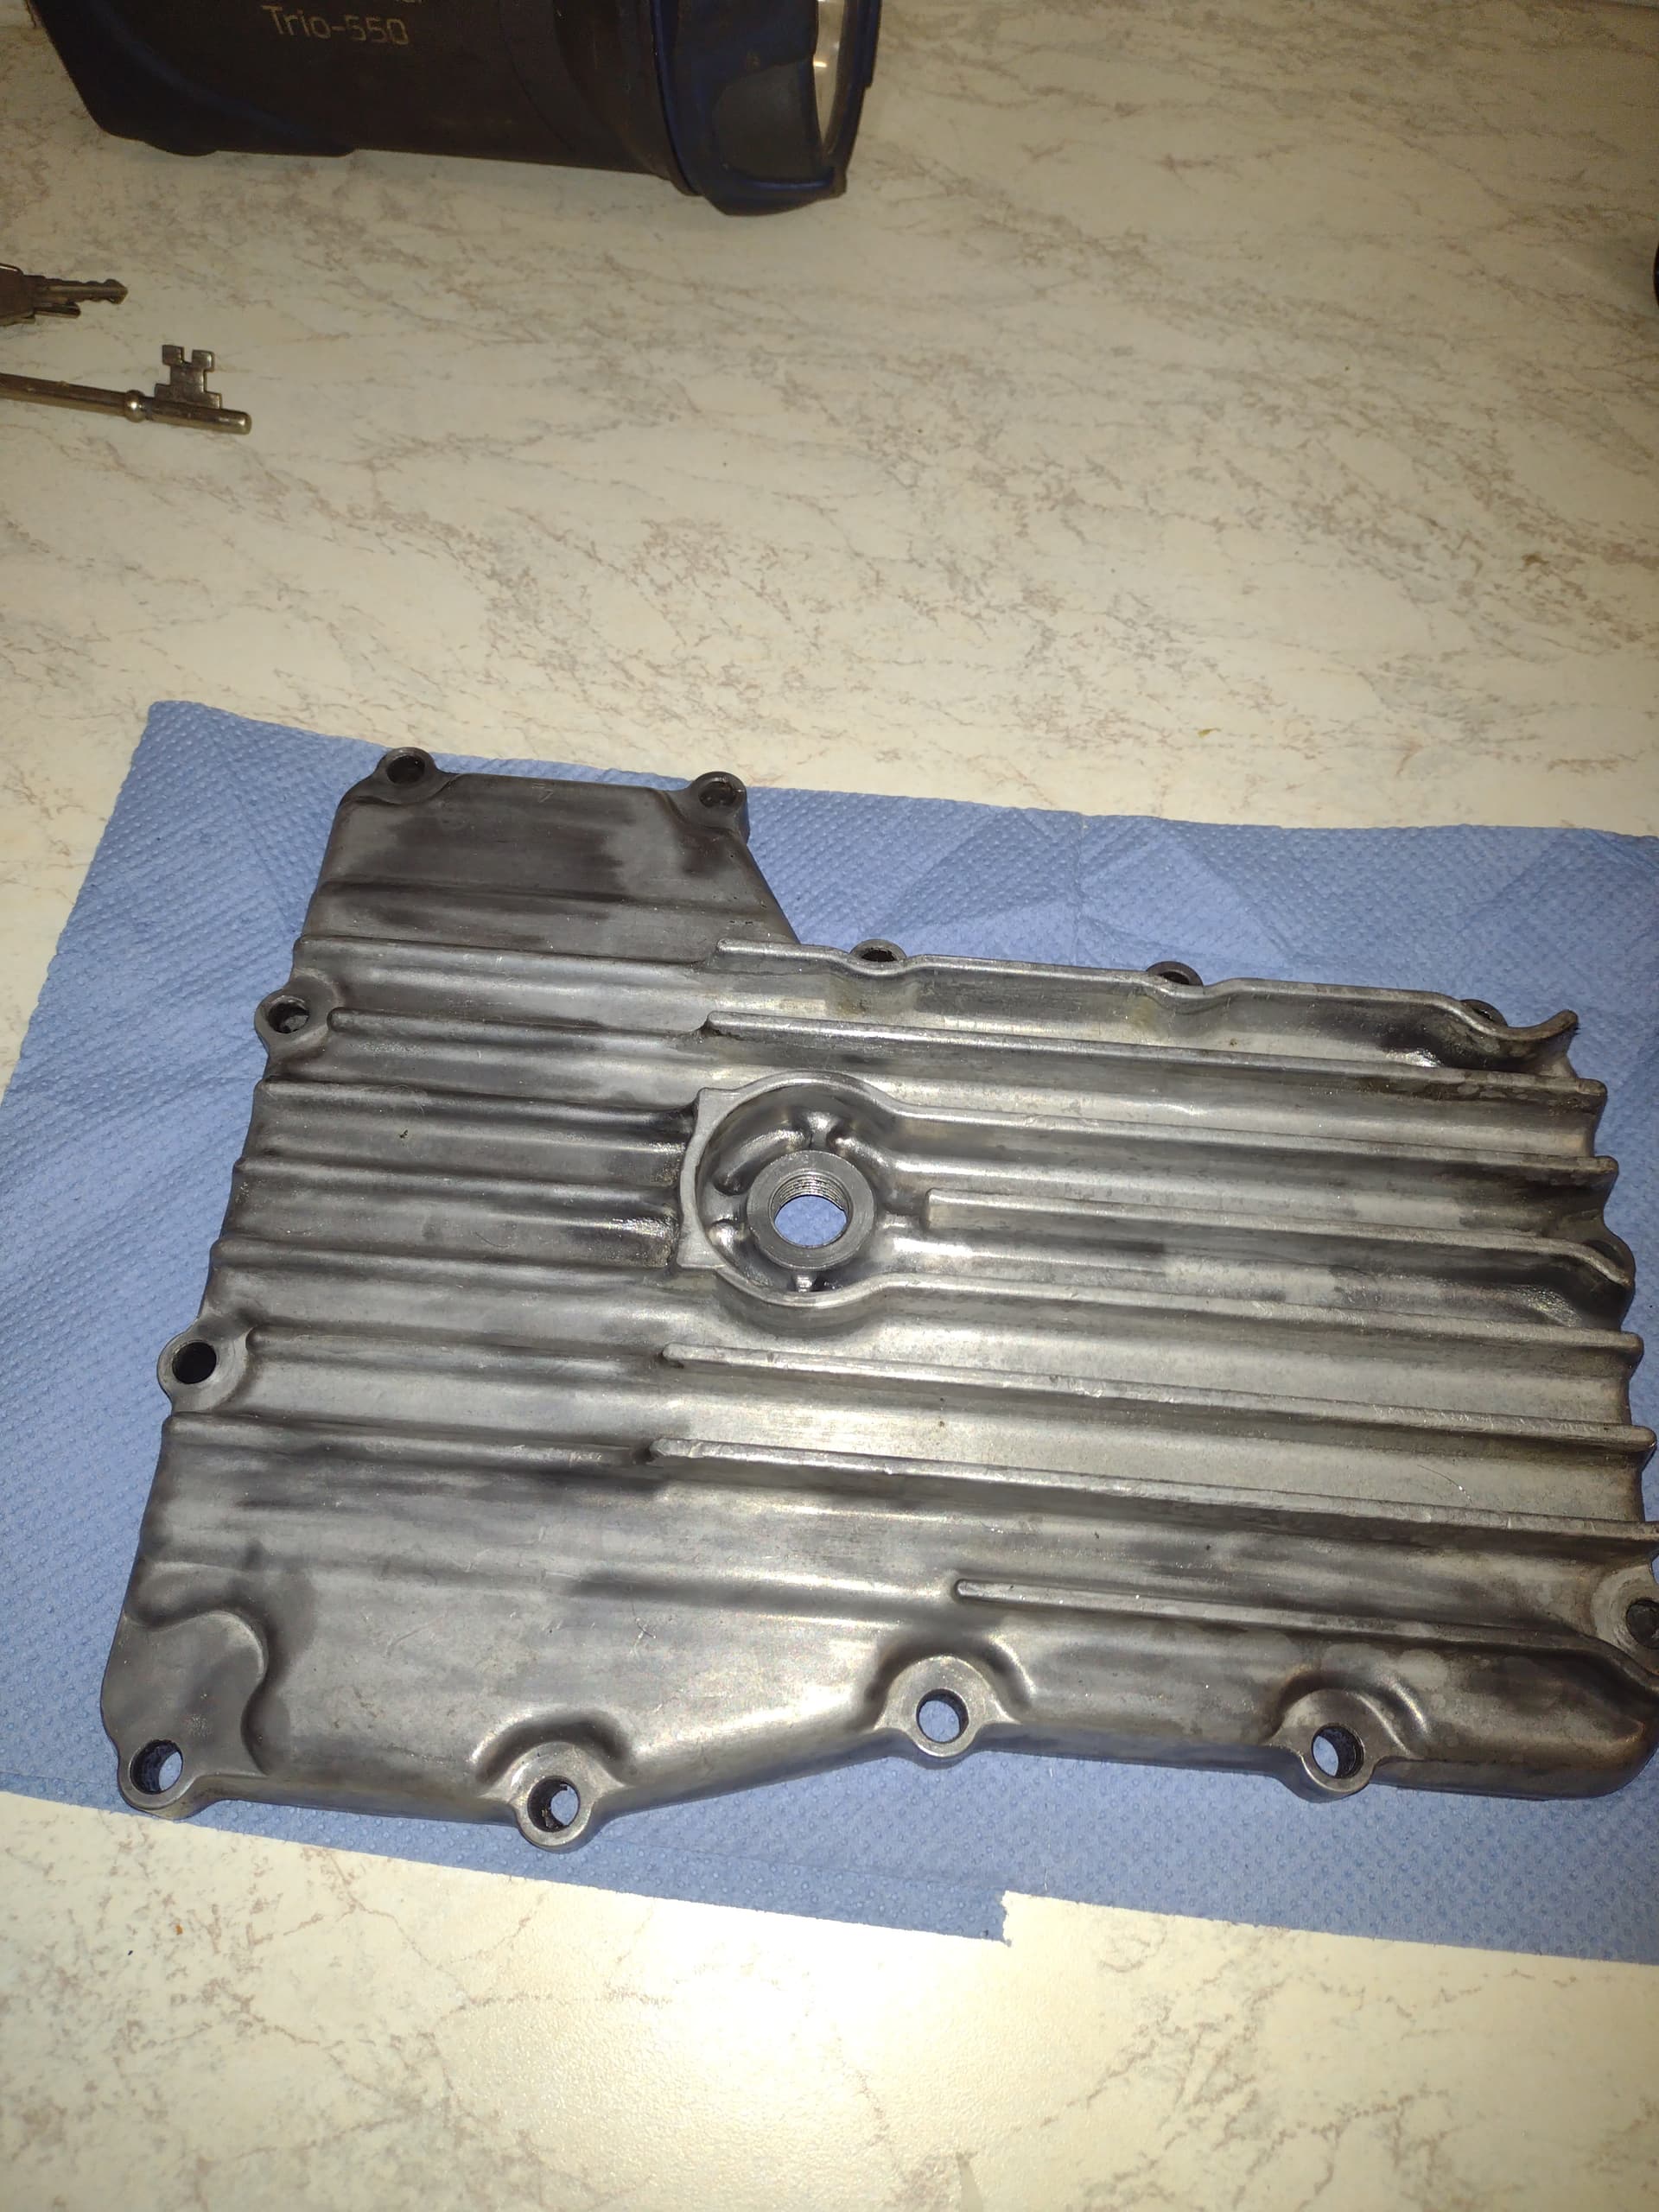
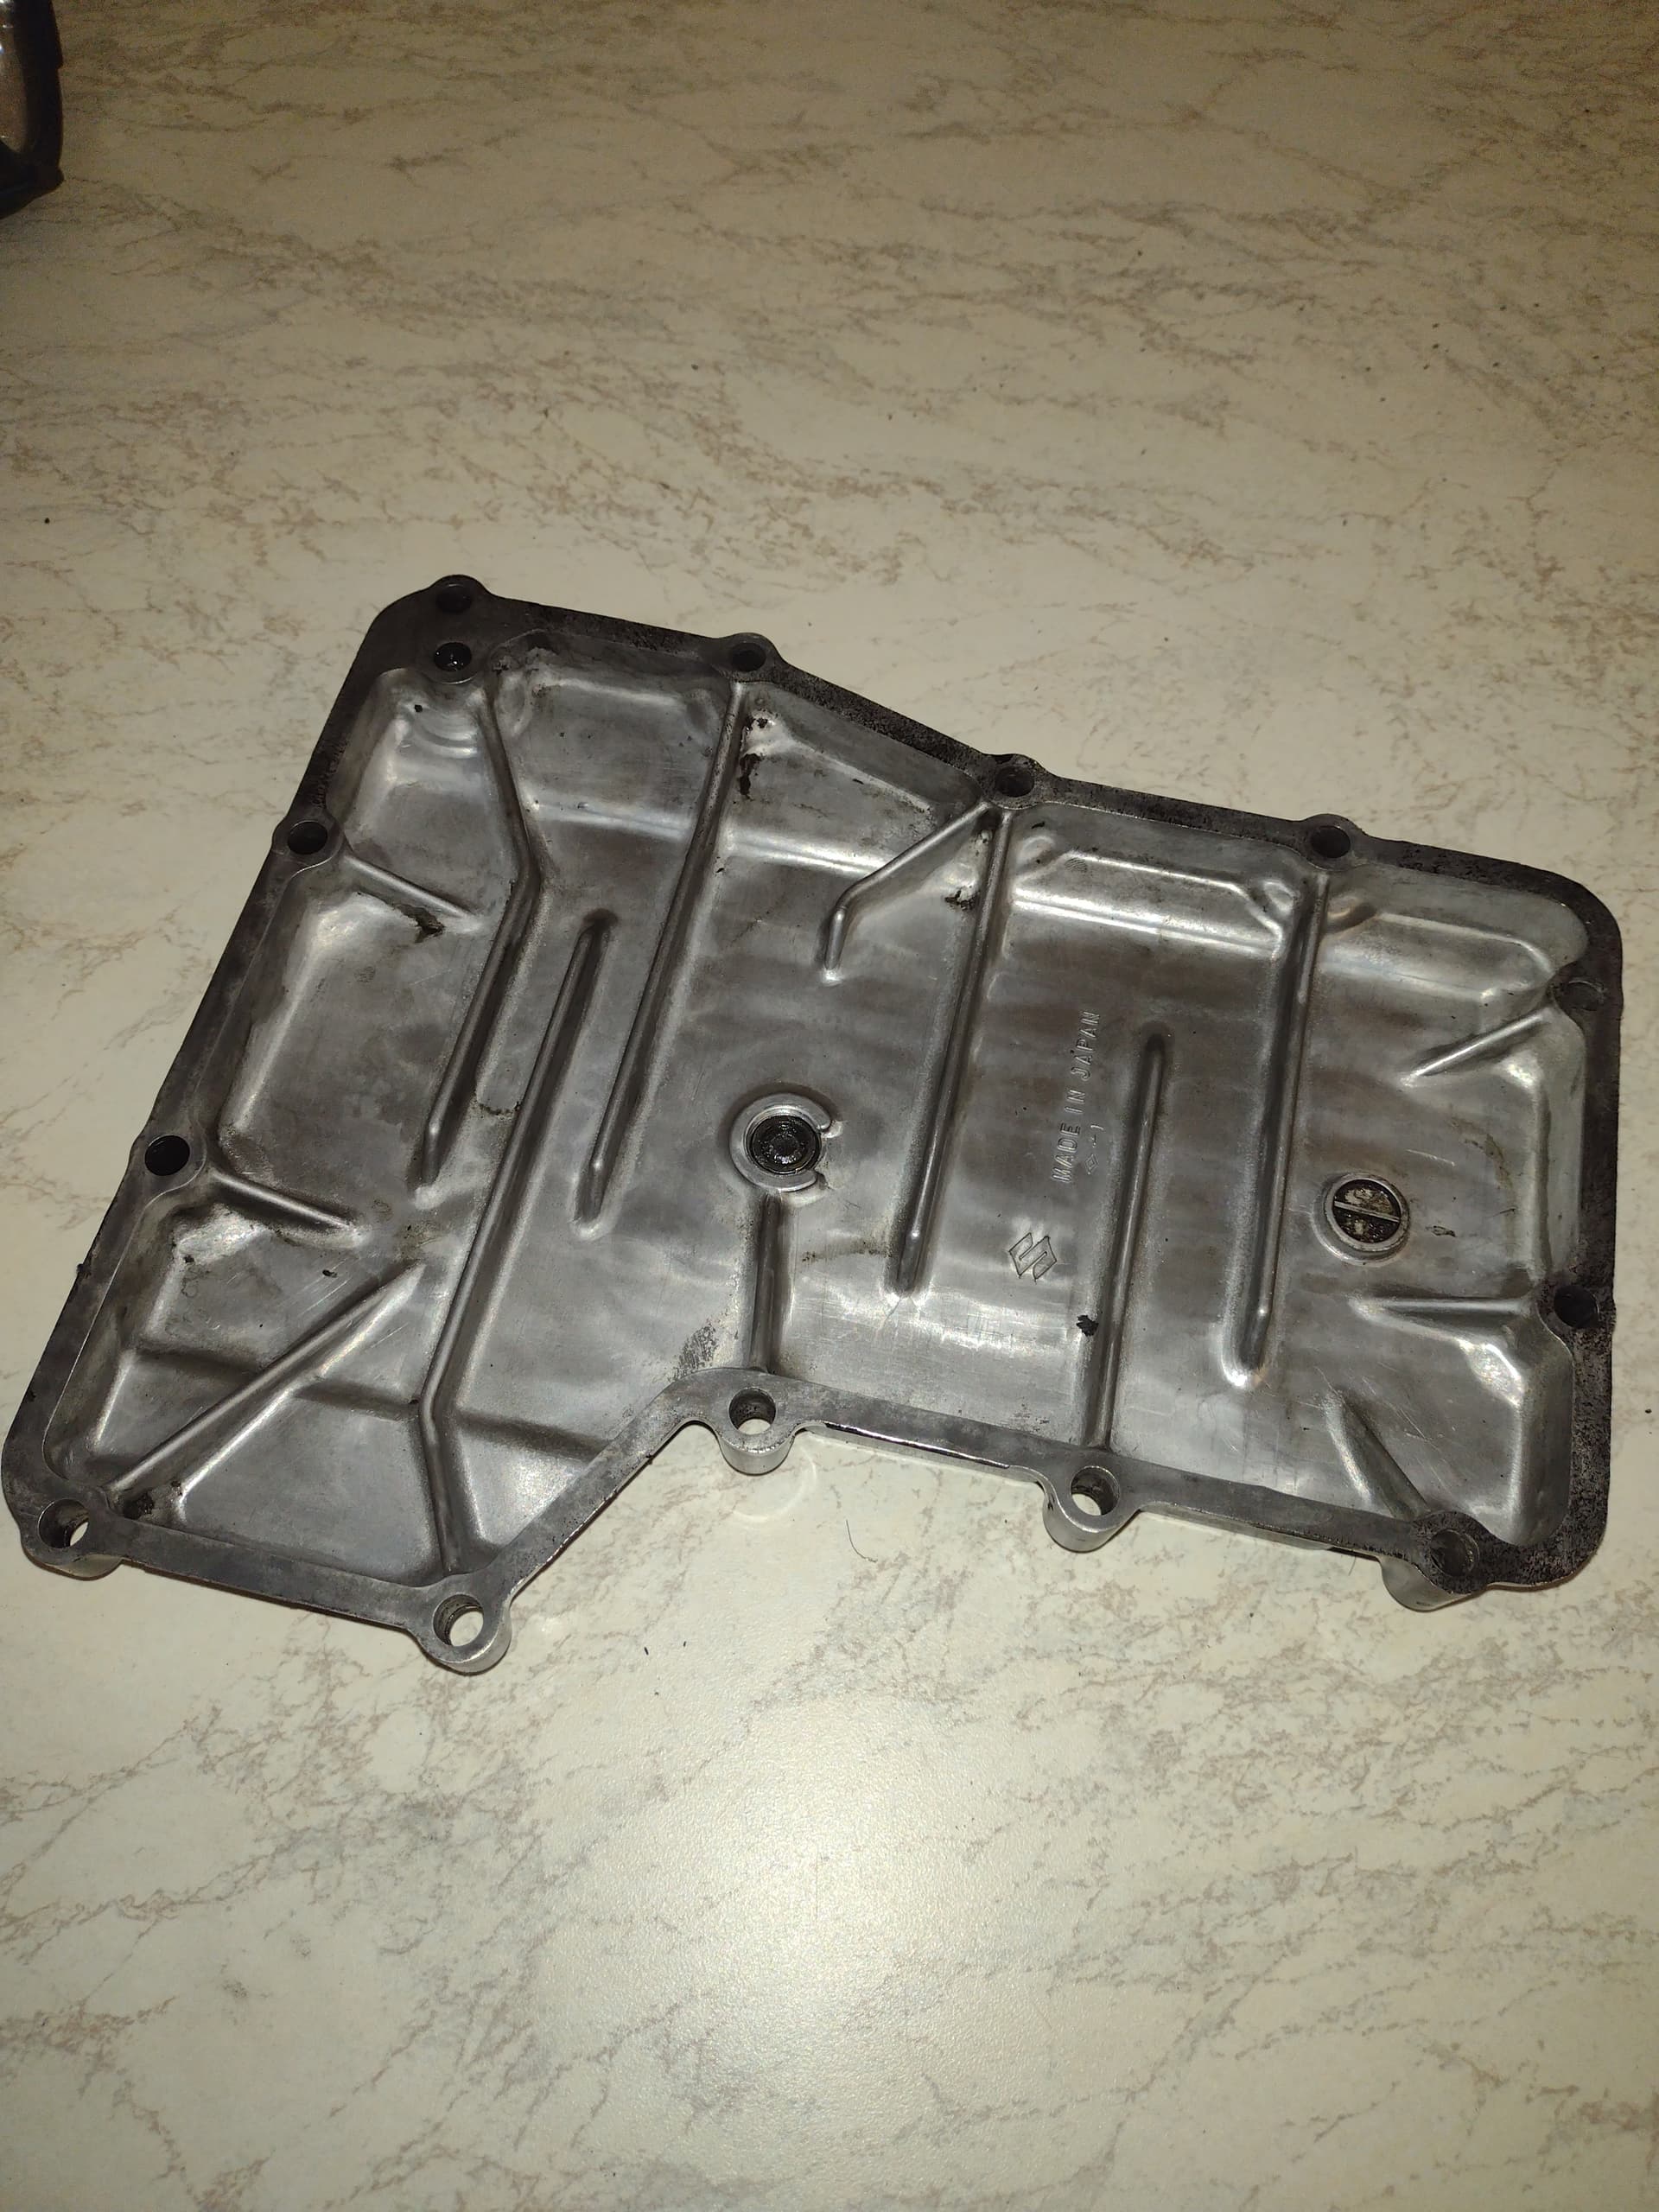
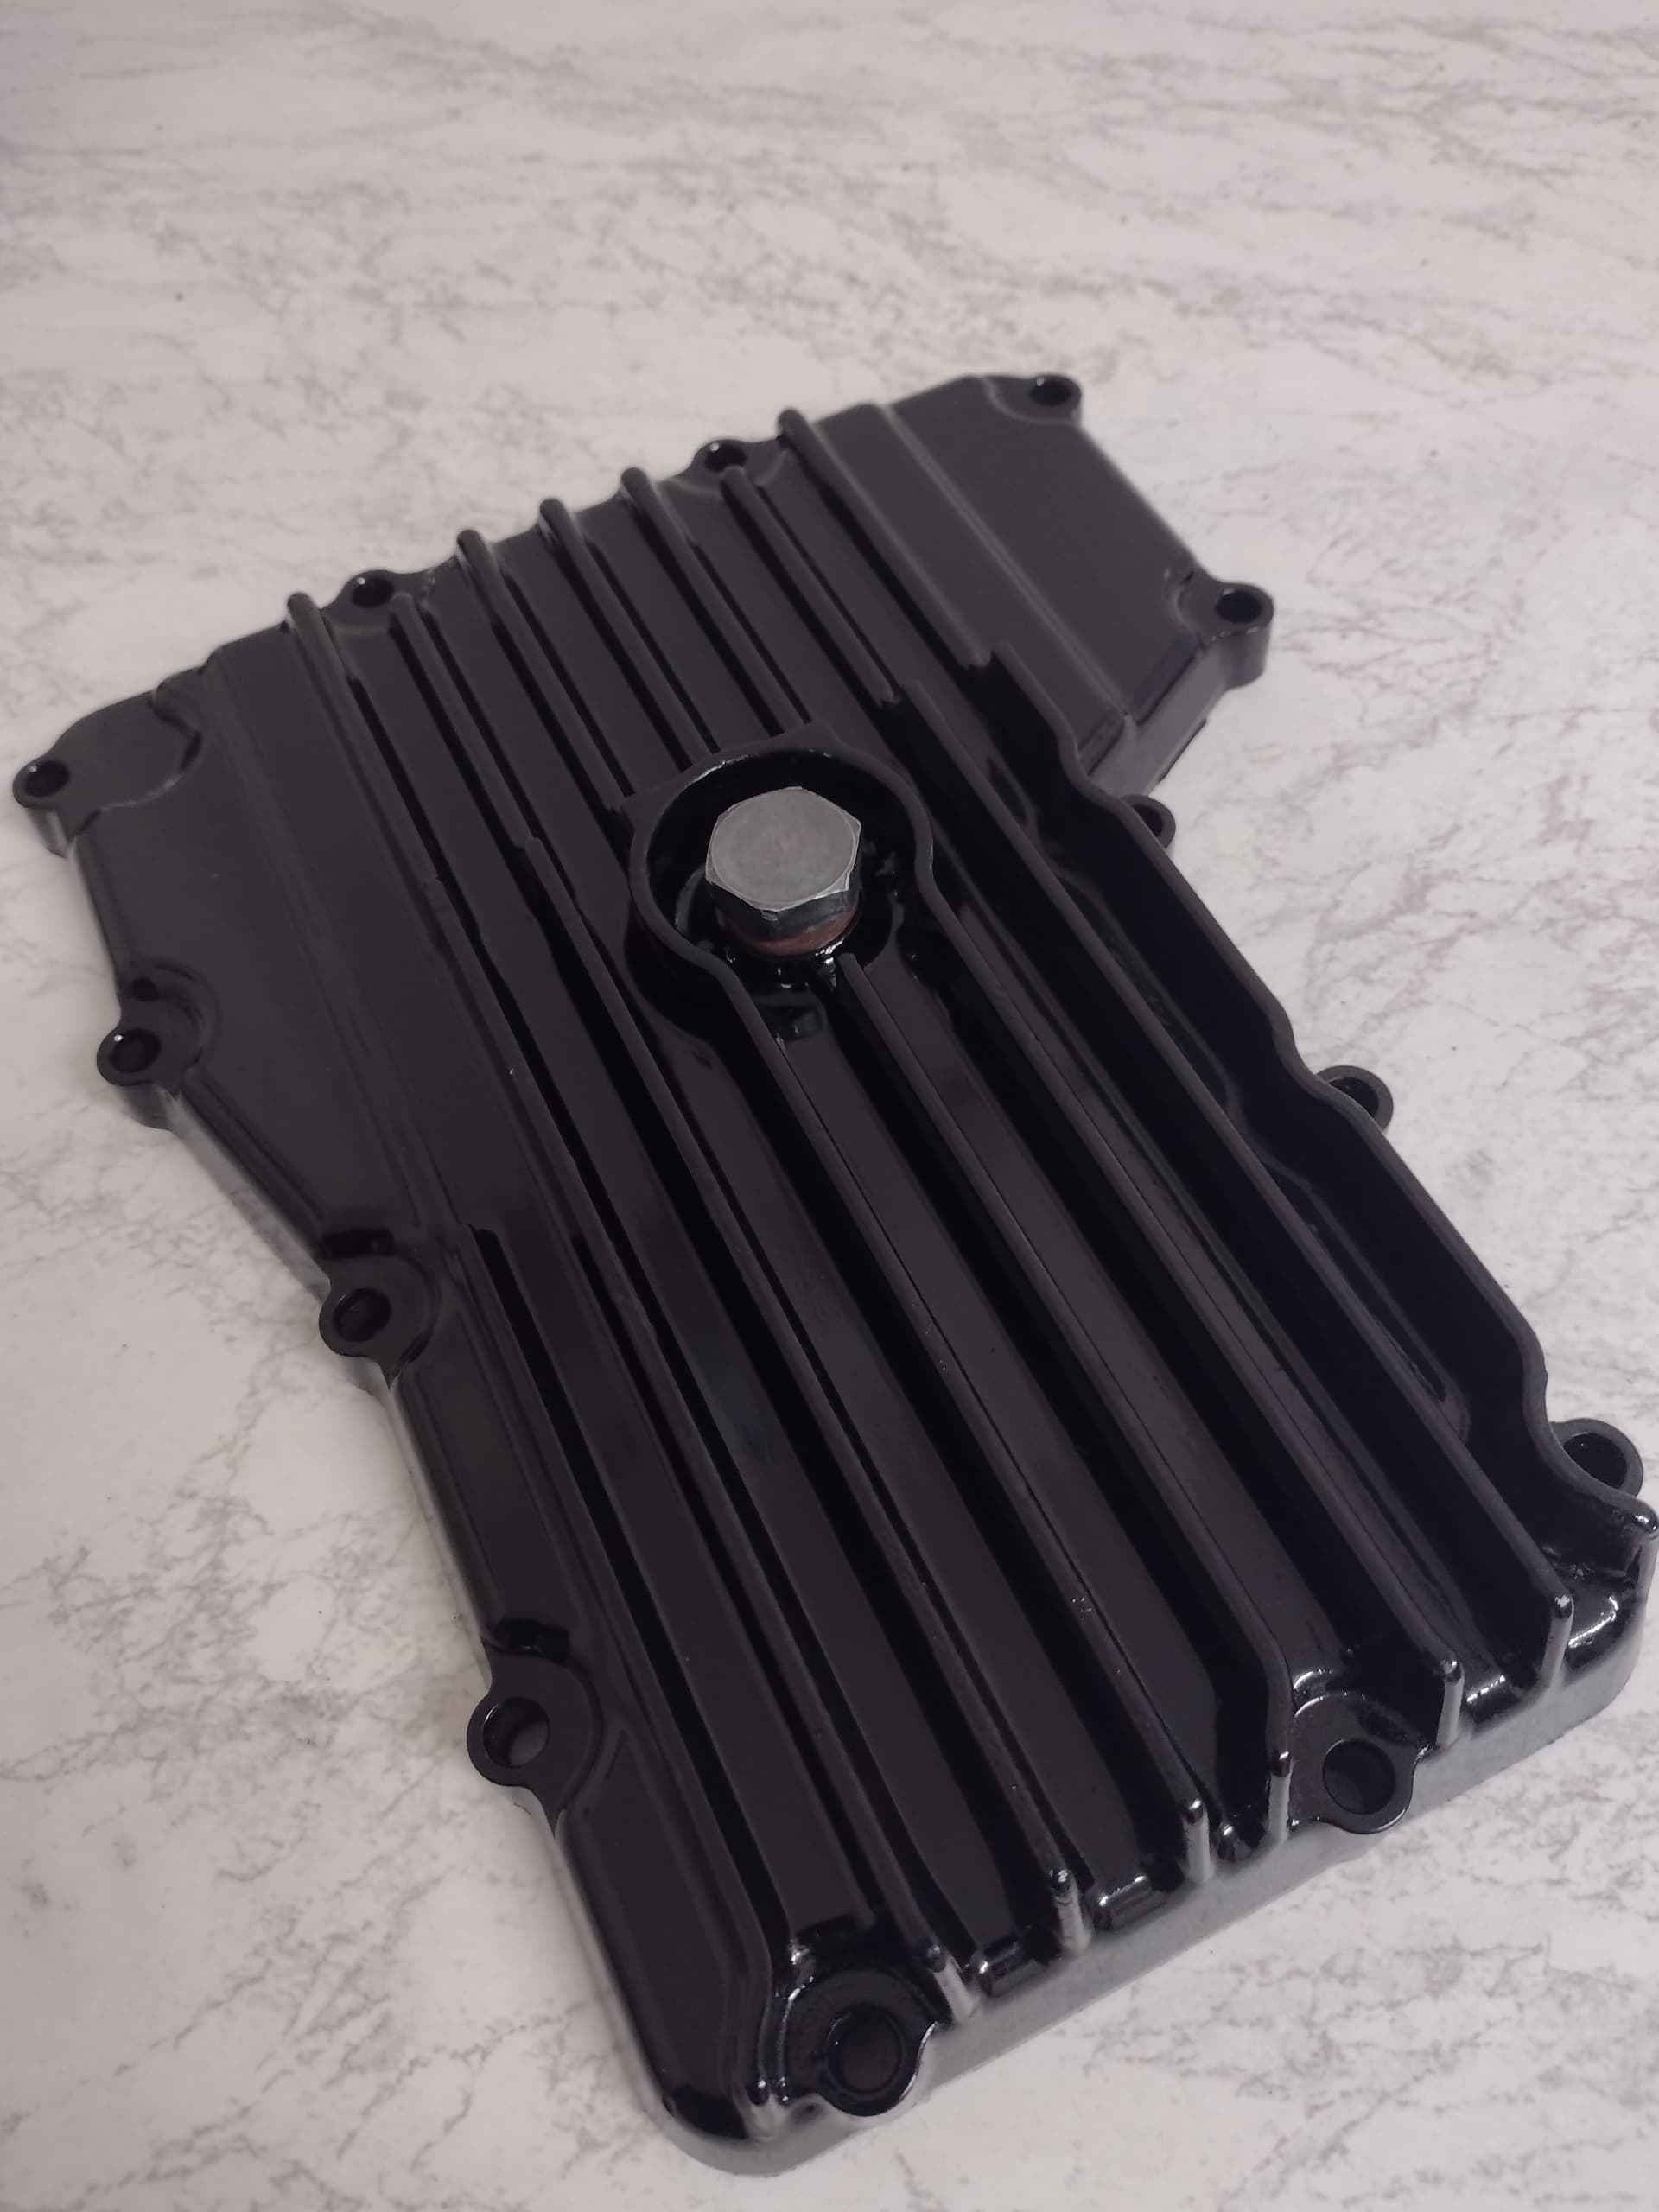
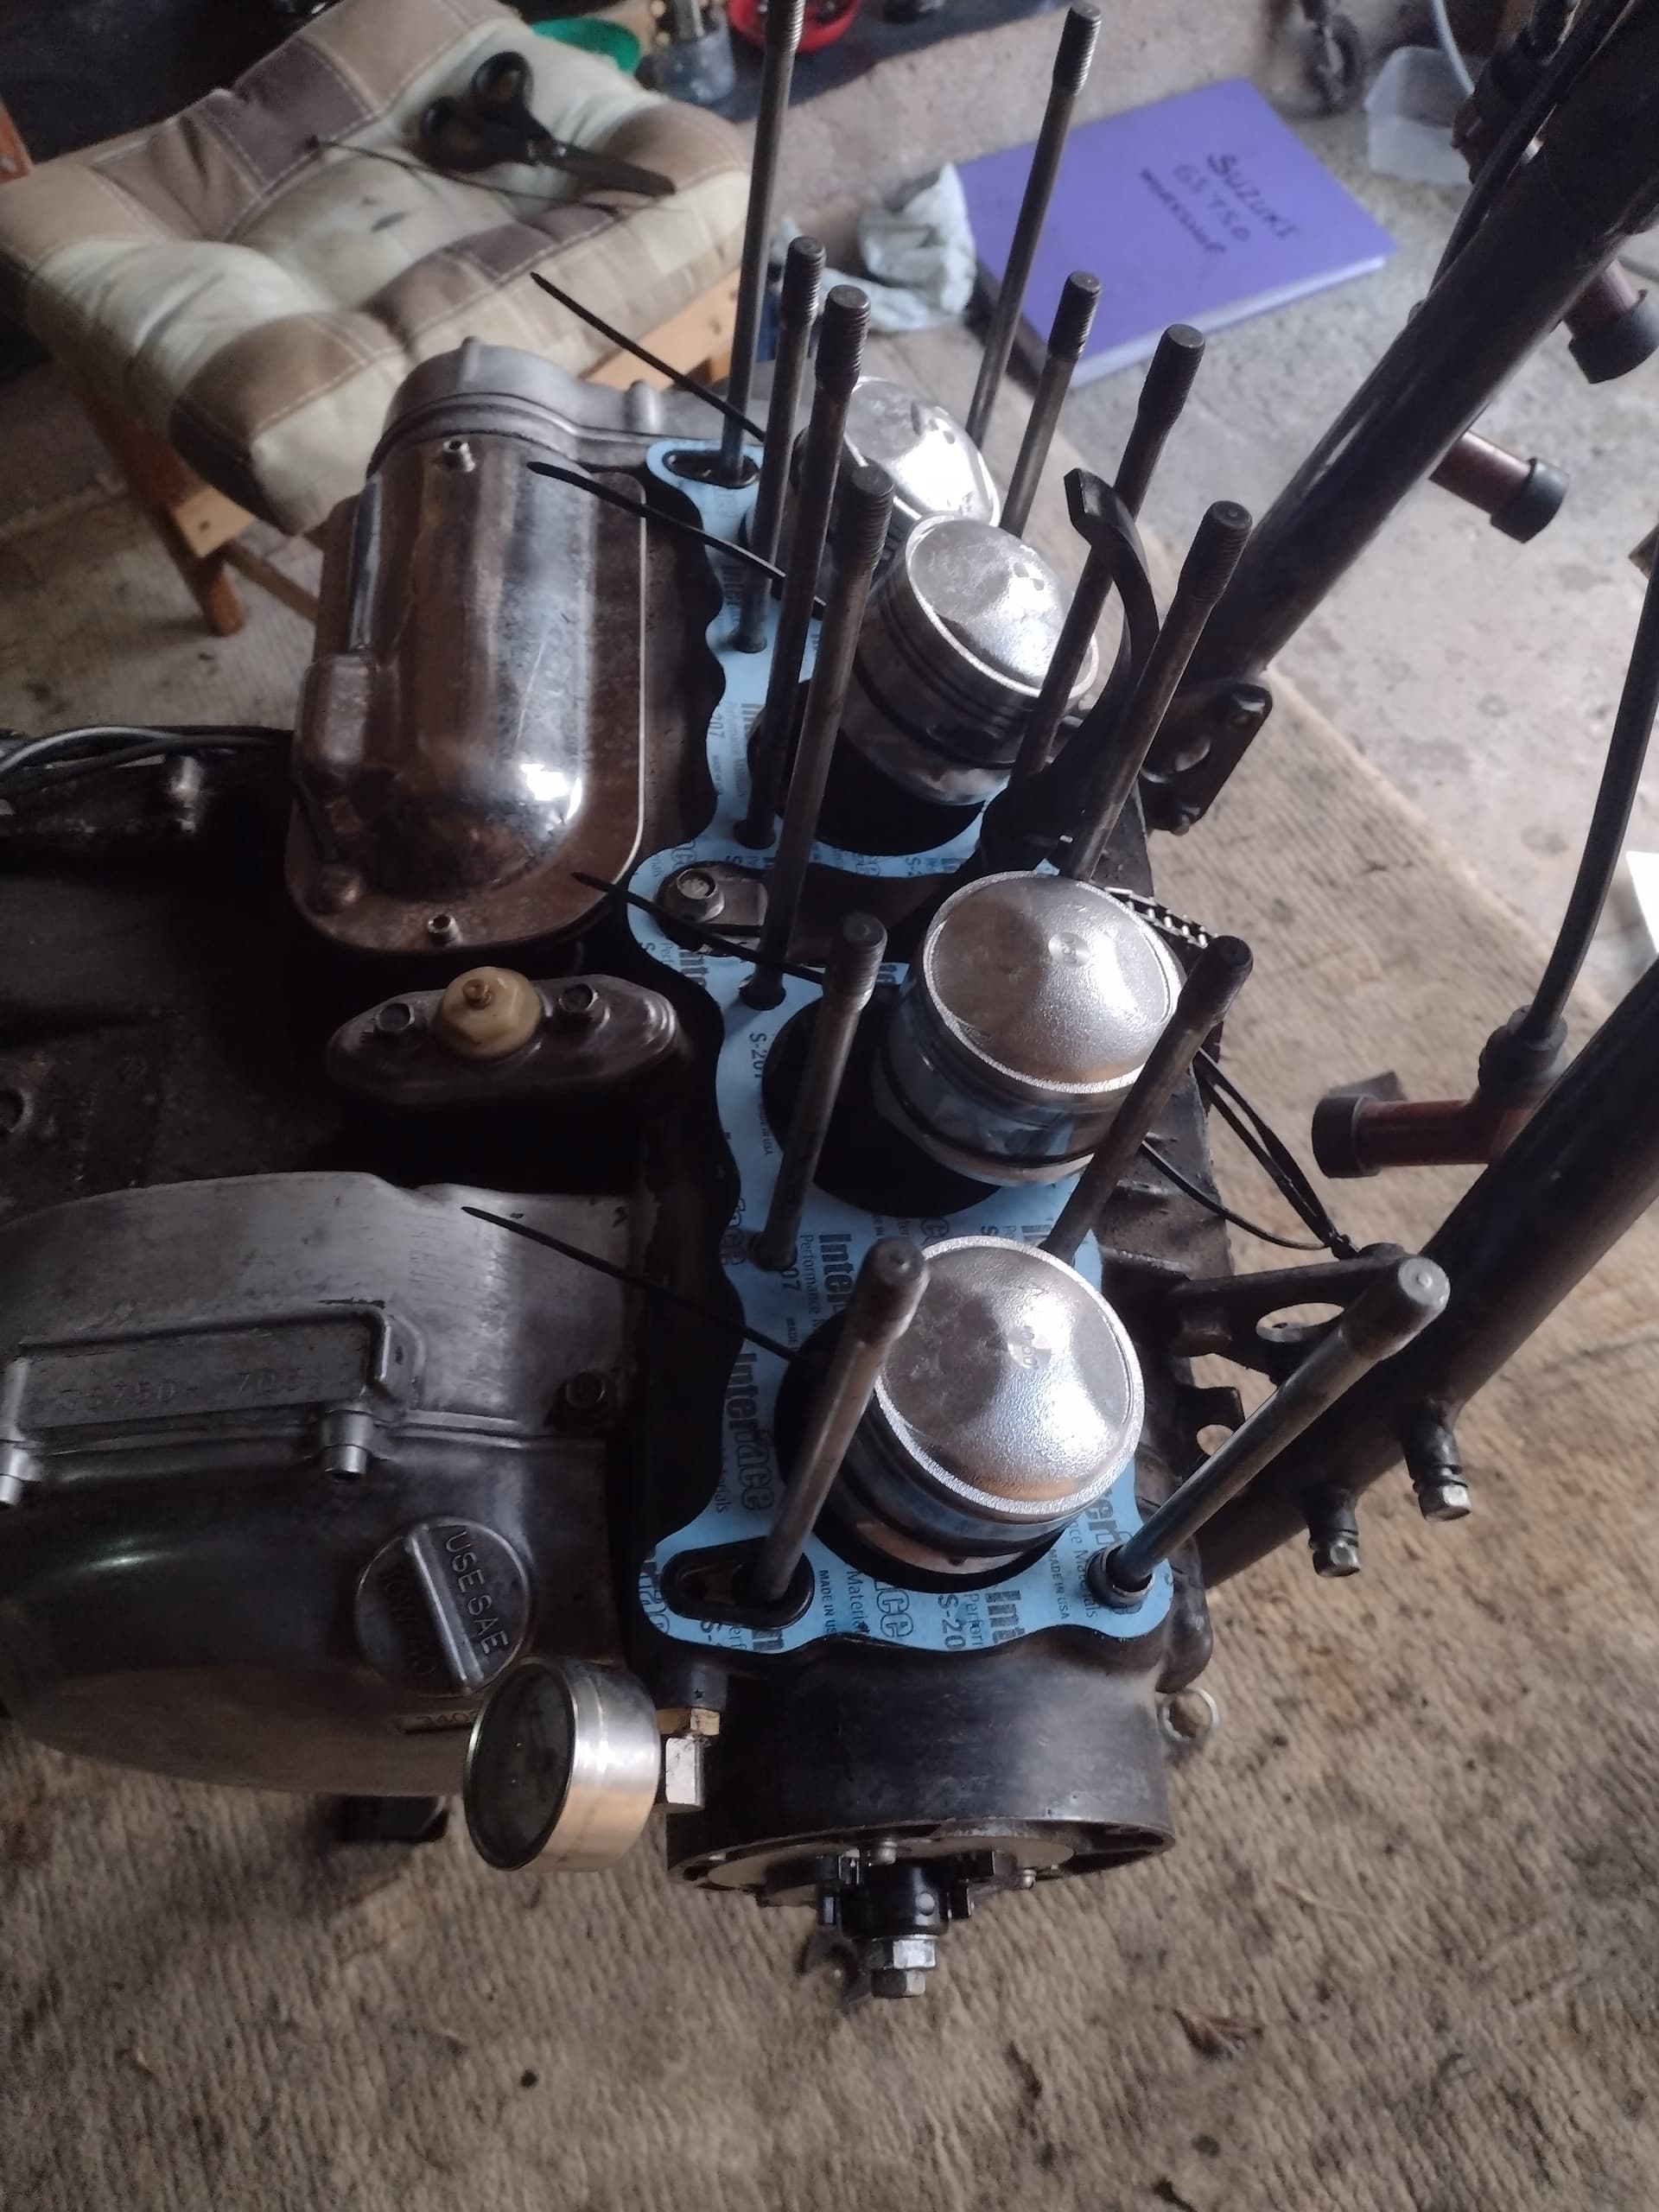
Thought I would look at the sump while the heads off.
3mm of gunk on the bottom and what I think is the original gasket.
I believe now that the mileage is/was much higher than on the clocks,anyway.
Start putting it all back tomorrow.
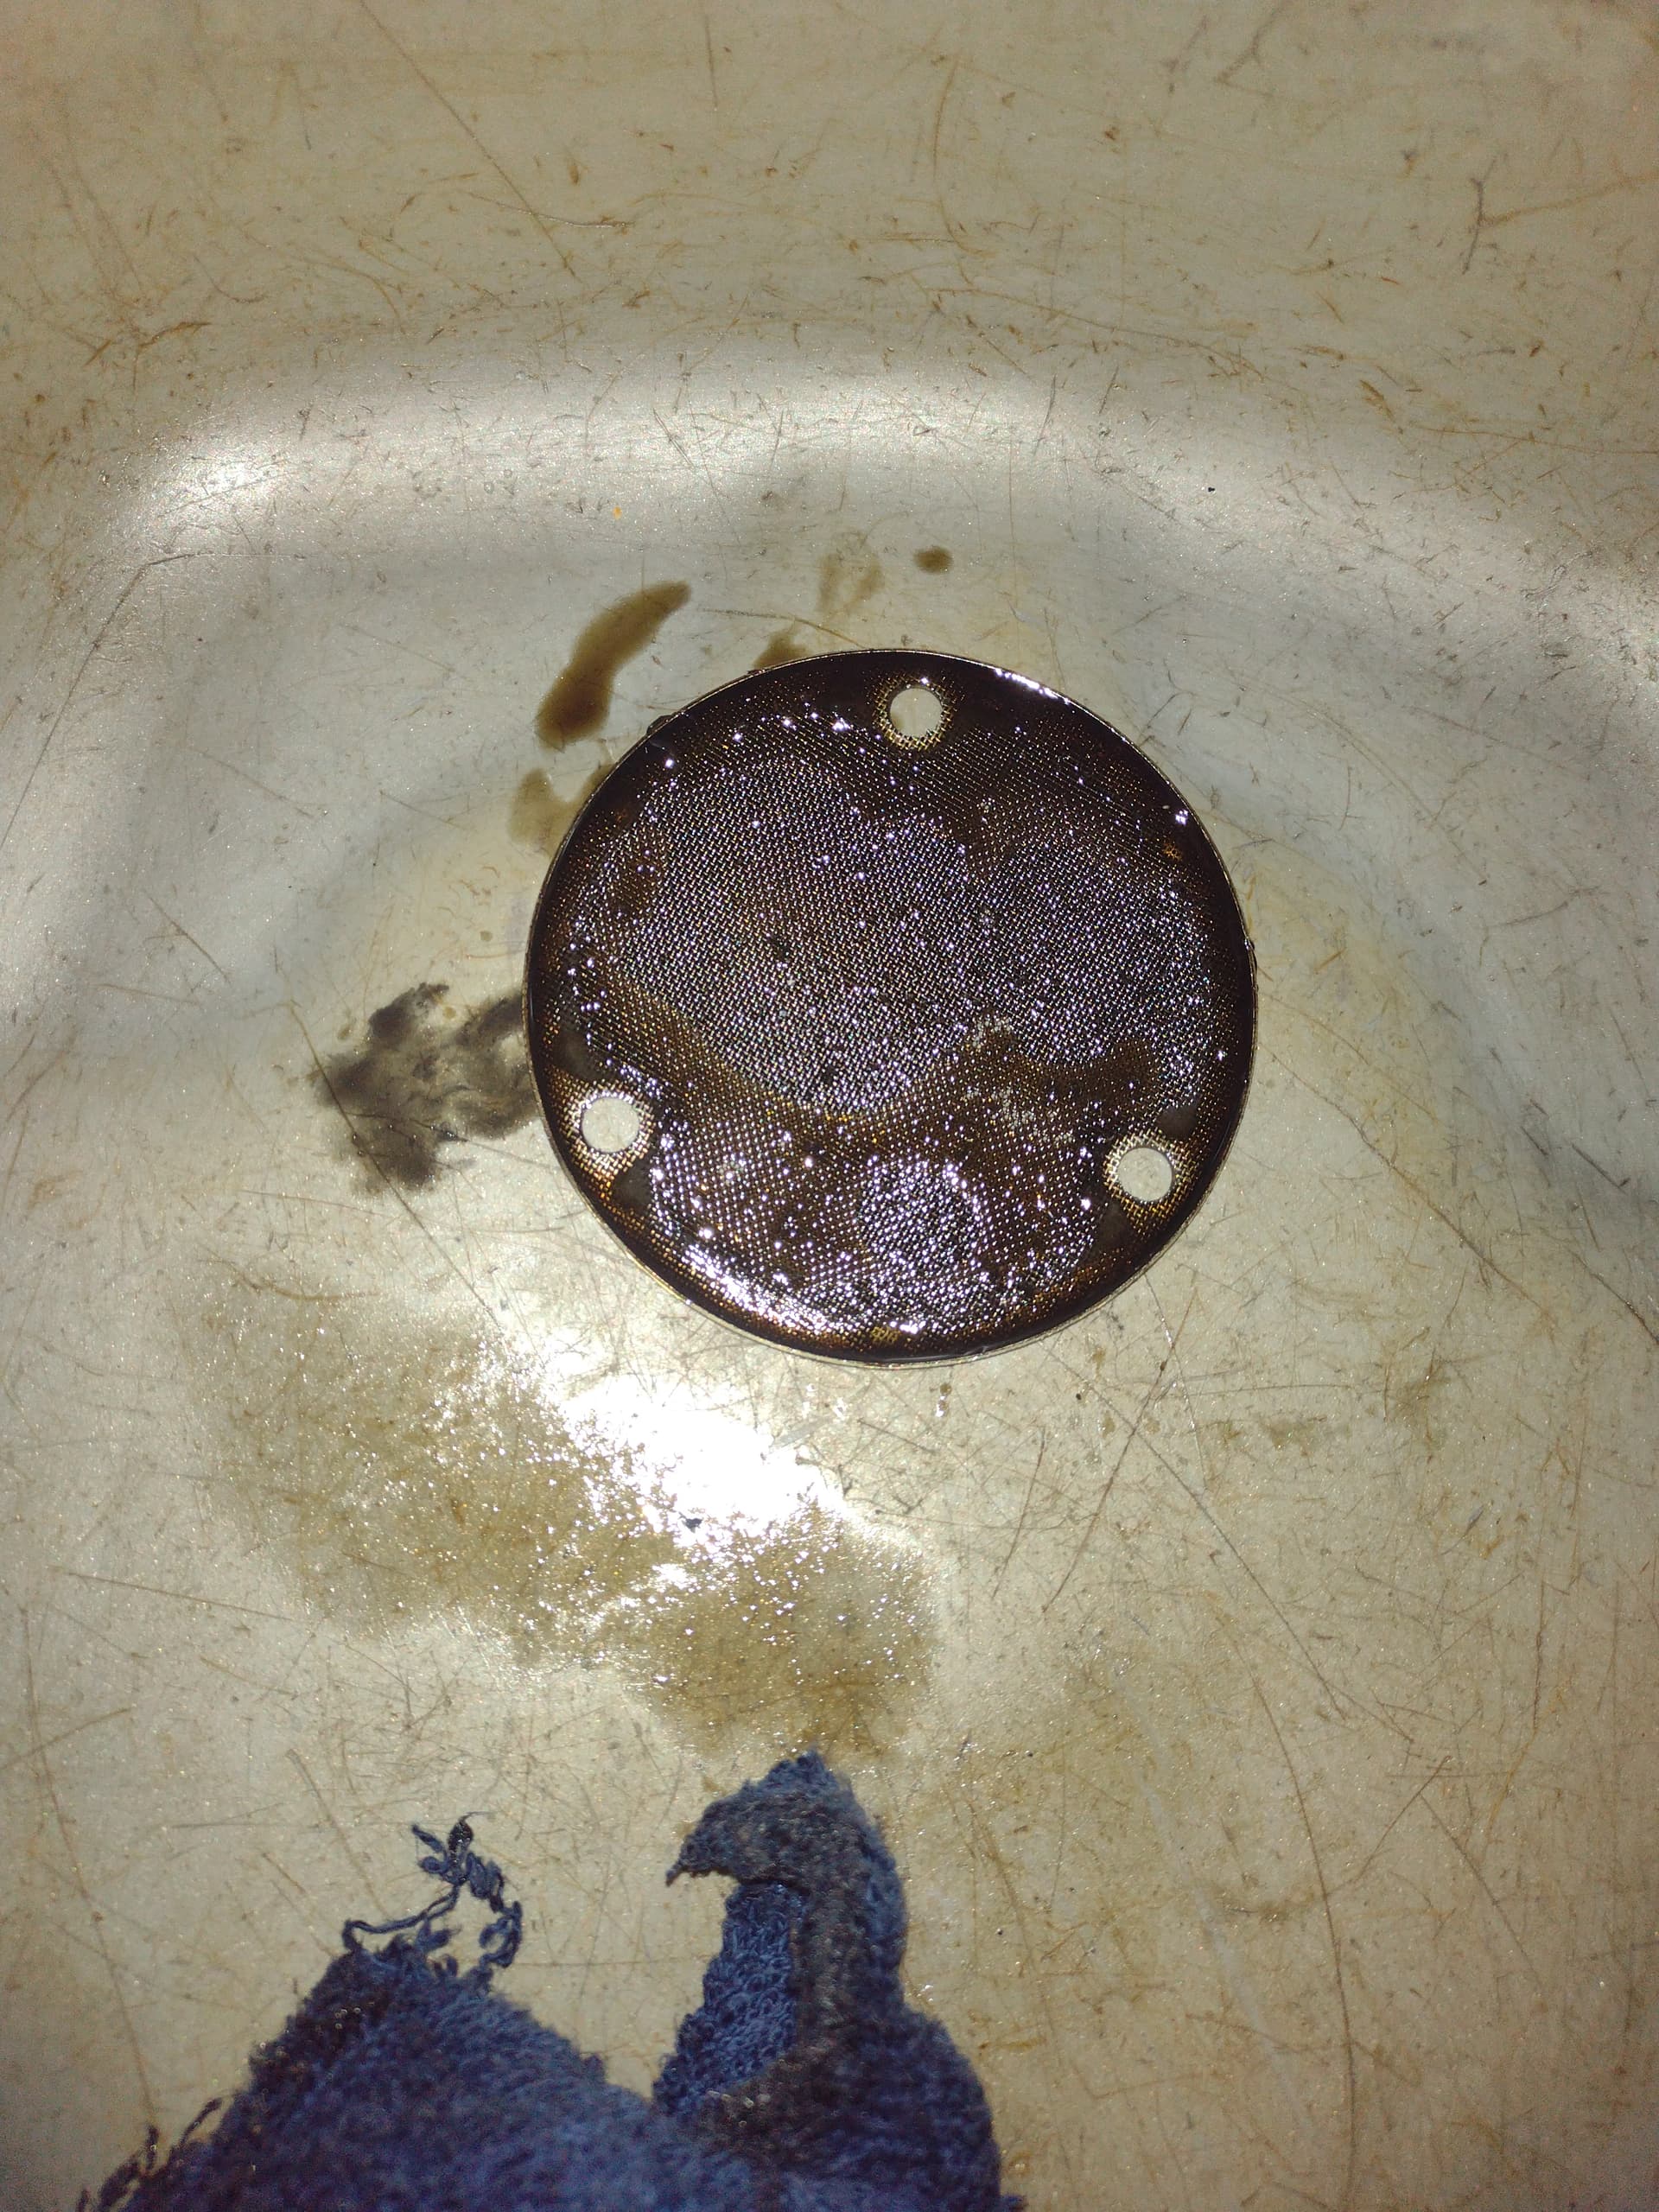
Although the gunk was thick there was no metal in there, so that’s nice, init. The screen was clean of bits as well. I want to ask, red or blue thread lock on the screen? There was nothing on them but they were real tight.
The screen is actually much cleaner than the pic looks, anyway it got a wash as well. I used blue thread lock.
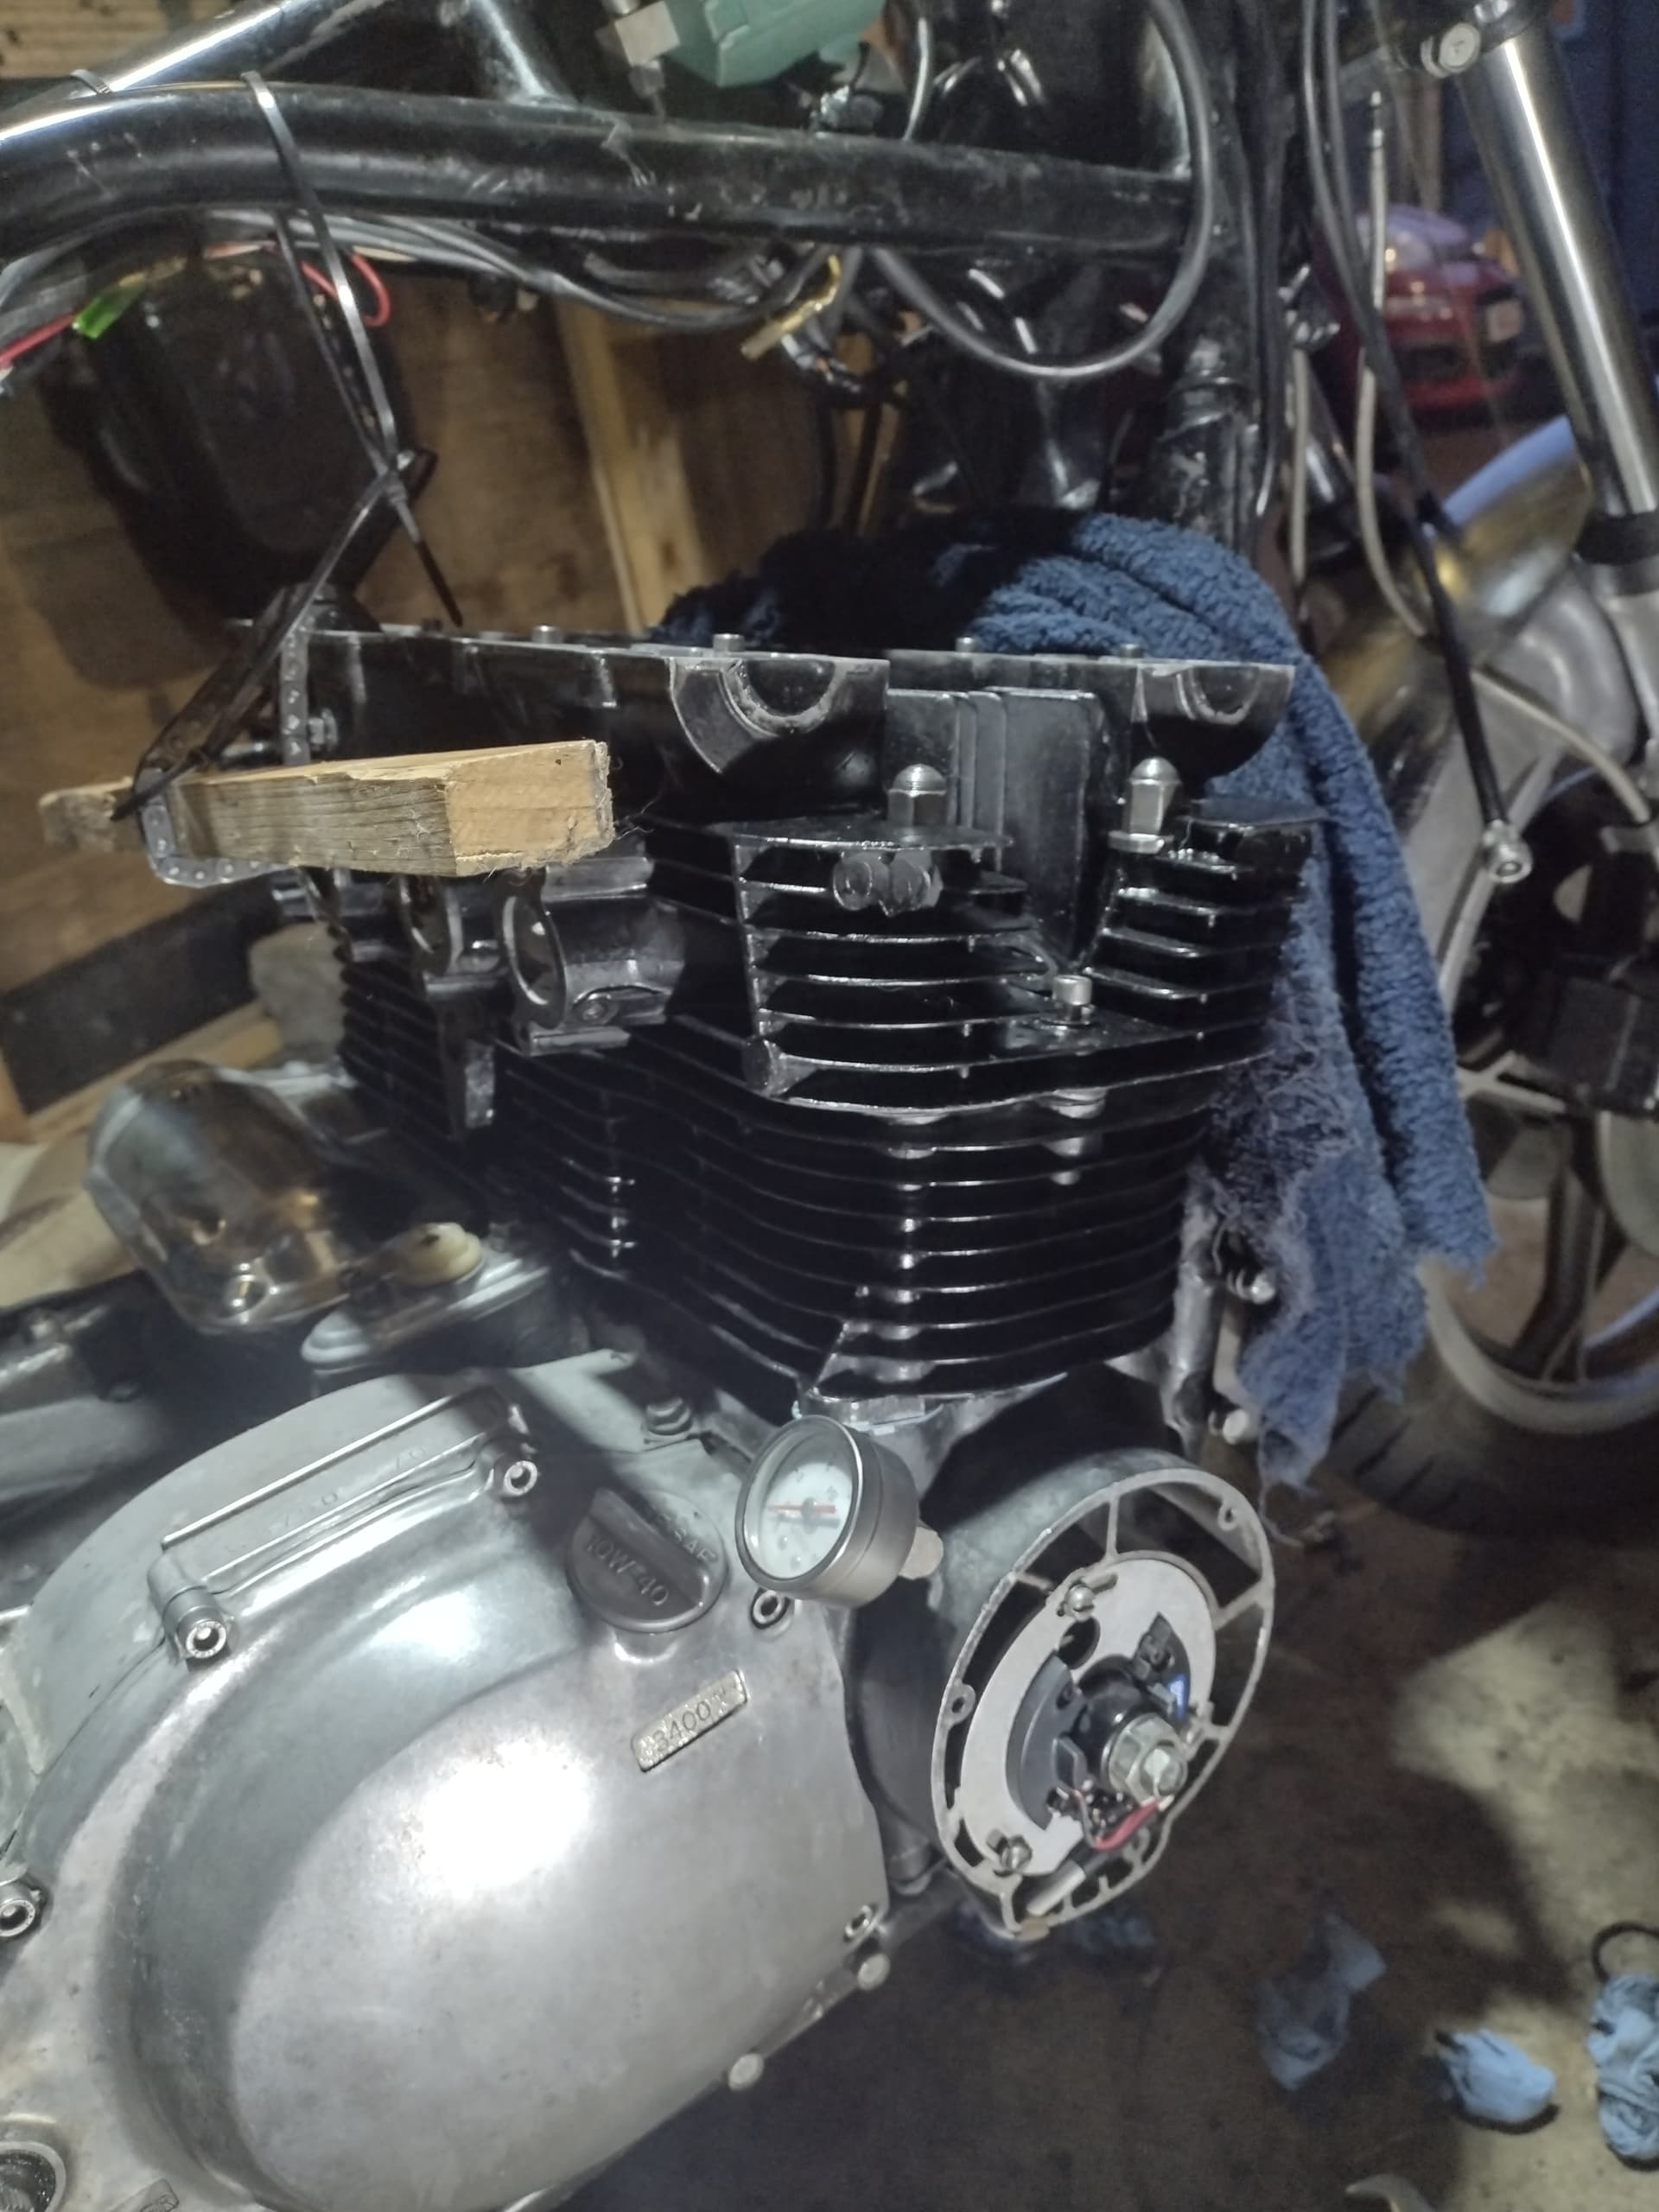
Started today at 10am.
I had to keep going as it got dark, cos I had used gasket sealant on top of my new gasket and wanted it torqued down before it set.
Its hard to believe how long these things take, great to be into it again, at least I hope it is.
Please excuse the state of the carpet I will hoover when I get a chance.
I’m impressed with your work James. ![]()
Thanks.
I am beginning to think it is a, never ending story. That was supposed to be a fun title.
James, I think when you take ownership of a bike like that, it is always going to be a never ending story. There will always be little things going wrong or bits that you want to improve. Hopefully you will enjoy each chapter. ![]()
I like your thinking.
Didn’t do much today just a few odd bits and pieces then got the cams in and the tensioner sorted, got it ready for a valve check first thing tomorrow.
I did manage to lock my keys in the tool box as I was leaving, Swear word.
So, er, where were we?
Checked the shims and they were all good, except the three that fell out when I turned the head over in the shed, when rechecking the Valve Stem Seals. ![]() Switched em back.
Switched em back. ![]()
The carbs wouldn’t sync, insitu, or on the bench, so they came apart again.
Found that the only part I hadn’t broken down had a small piece missing.
The Carb Throttle Linkage that connect all the carbs to work as one has a small hollow that houses a ball joint, a top hat, and a spring, in the third one the top hat was missing, this allowed the spring to eat the ball joint and so, stopped the adjustment of the carb slide in situ.
I made one to fit. Can you tell which one?
Not pretty, but it worked.
Then re-built, and synced the carbs, put them on the bike, started it ,and the idle was too fast, cos I synced them when they were unattached to the throttle bar.
Carbs off.
Dismantled.
Rebuilt, back on.
The cam tensioner was always noisy, but now seemed to be backing off, so that, if you fiddled with it, all was well, then next time you started the bike it rattled like it was going to do some damage. I had already been having conversations about the benefits of a manual adjuster, anyway, and so…
Beware people, there very quickly comes a point where you are, so far in, the only way out is to spend, and spend again.
Fitted all the pegs, pedals, and the tank, kickstart, new brake hoses, the old ones were 45 years old.
Bled the brakes, adjusted the chain, charged the battery, and, have now done 3 miles.
Sounds the best yet, sounds right, responds well, feels right, no leaks, or concerns at this moment.Good oil pressure and good charging voltage.
Keeping the revs low, haven’t looked at the plugs yet, need to set the carb screws, however I don’t think they are that far off.
3 miles without a problem! master mechanic. Good work.
I agree that the only way out is to spend.
What else would you be doing, there’s nothing on the tele, you’d only be bored.
Looking good James.
Are you an advocate of the Manual Cam Chain Adjuster?
Mine don’t have cam chains ![]() but the ones I did have many moons ago seemed ok when they were adjusted. It got noisy, I adjusted it, it was ok for ages.
but the ones I did have many moons ago seemed ok when they were adjusted. It got noisy, I adjusted it, it was ok for ages.
Did 160 miles on the Suzuki, a few little adjustments and a chop test. New black and silver number plate fitted.
Added a luggage rack and new timing chain, bike seems to be running well.
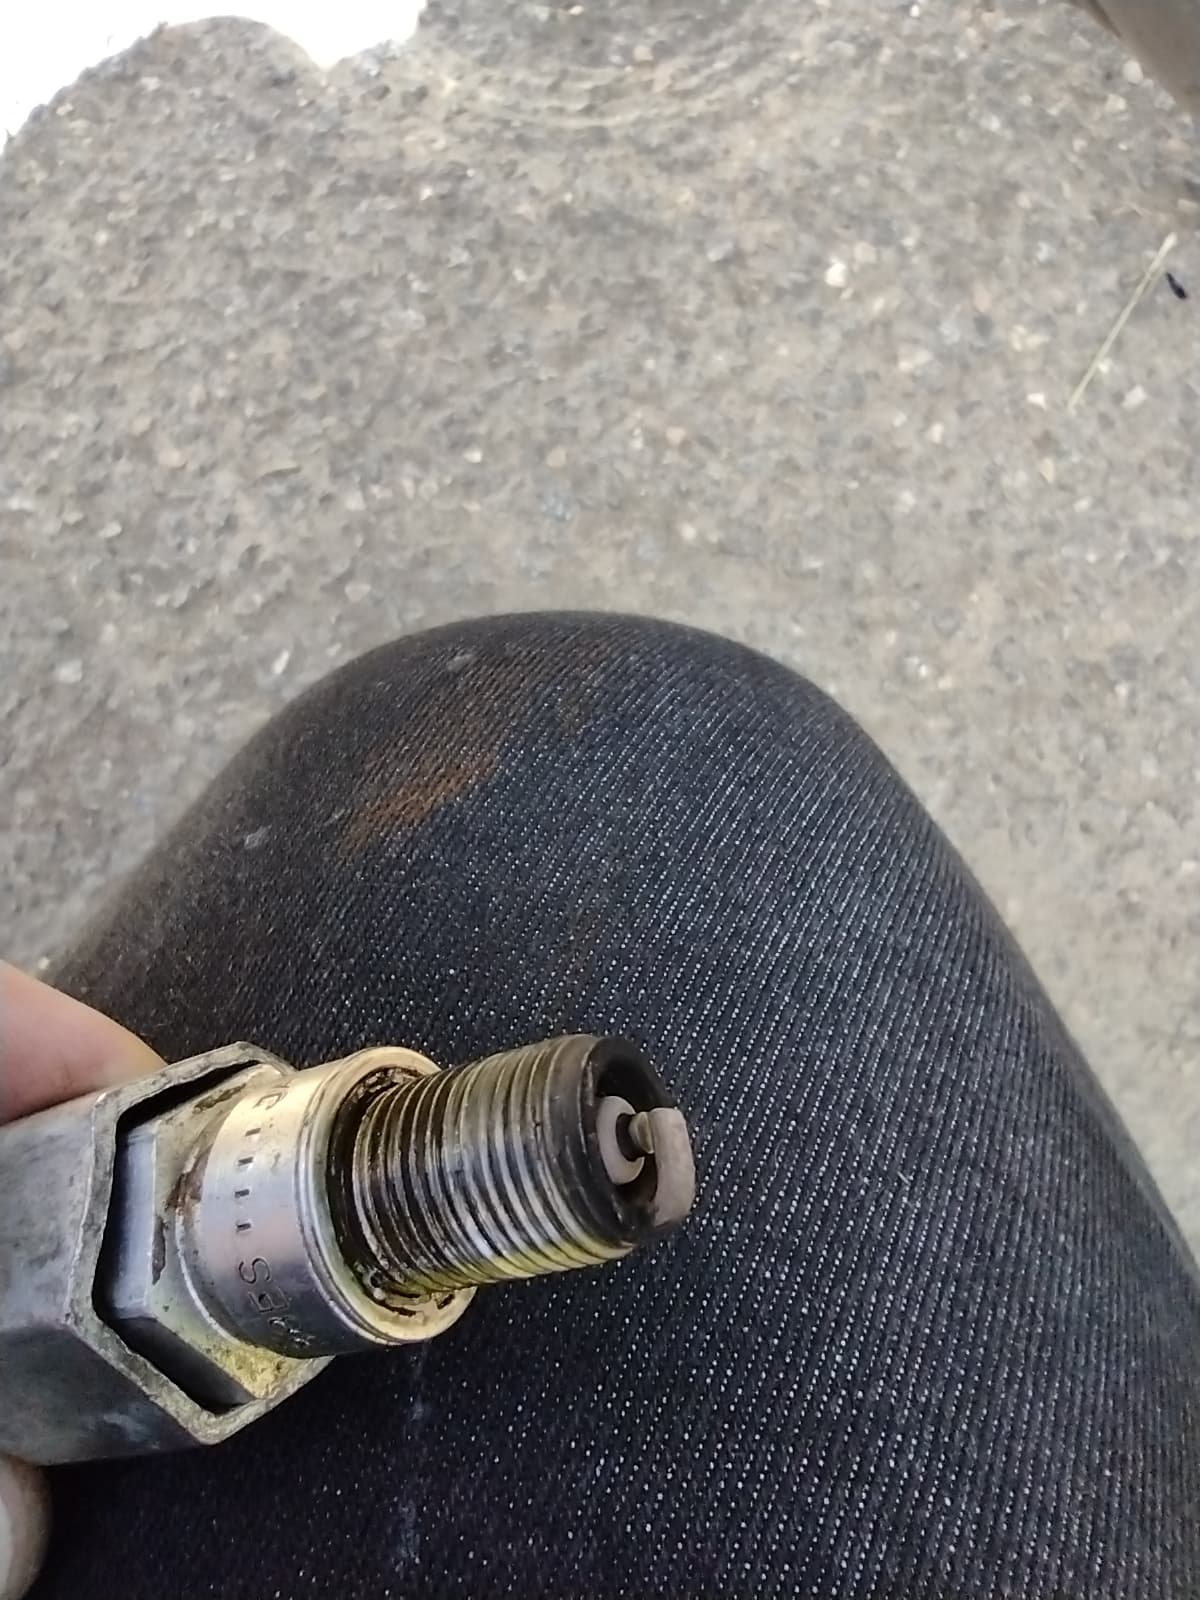
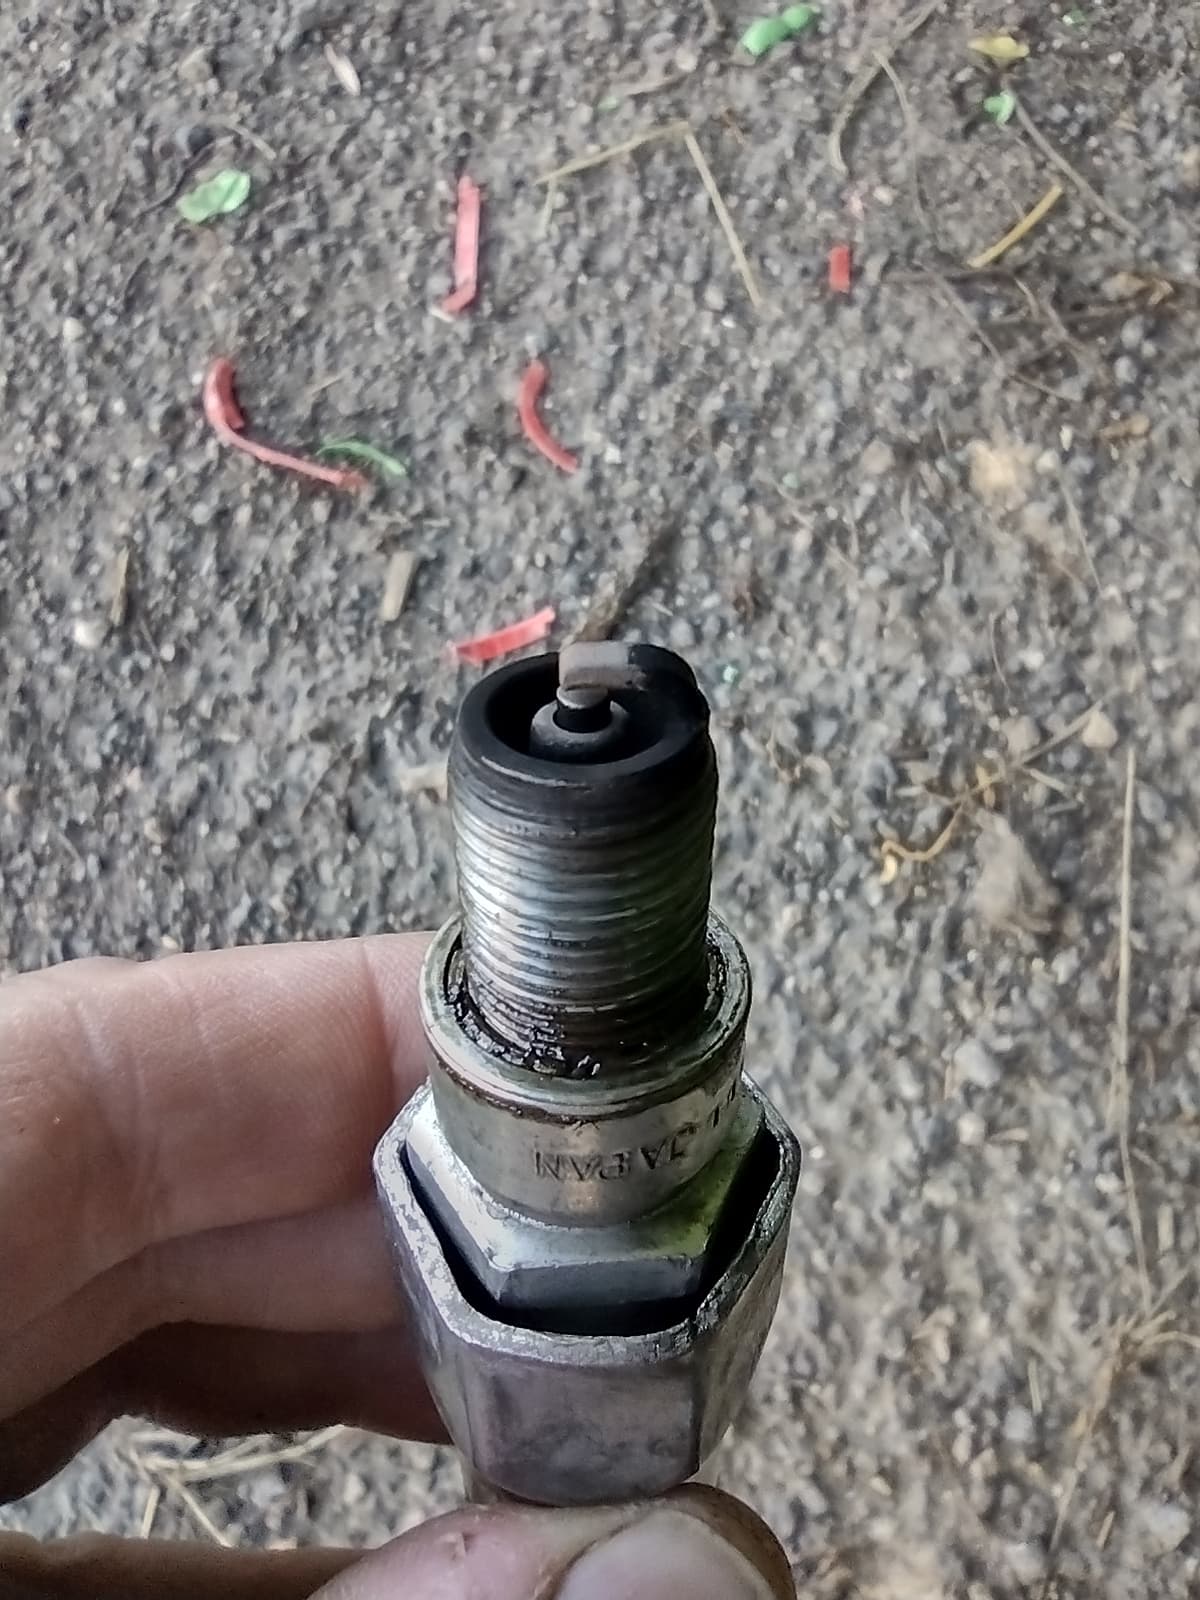
Did a chop test @ 5000 revs 65 mph. Any and all opinions welcome.
Tried to reuse the reused cylinder head cover gasket, it didnt work, so Ive ordered a new OEM old stock.
Then, fingers crossed, ride it.
Looking at making a start on the Triumph Trident 750 94
A plug chop test is just that - brand new plug threads are chopped off straight after the test to look at the base of the porcelain core.
The above show the rich to lean conditions
This one shows how plugs used to look before ethanol petrol was forced onto us - it’s from the haynes manuals I think.
A plug chop test requires brand new plugs to be installed in an already warm engine, then the bike run up the road at full open throttle. The bike is then stopped, the new plugs removed and old ones put in to get you home.
The test plugs have their threads cut off and the core inspected.
However, given that four new plugs aren’t cheap, zooming up the road at full throttle can attract some unwanted attention and cause a bit of raised hair on the rider if the road is in the middle of town.
Your plugs look ok against the Haynes pictures and if it’s running well then all is good IMO.
Keep your fingers crossed and ride the bejeezus out of it, it’s a great bike. When you get bored with it, give it to me ![]()
")