T140e 1980

More bits to bolt on

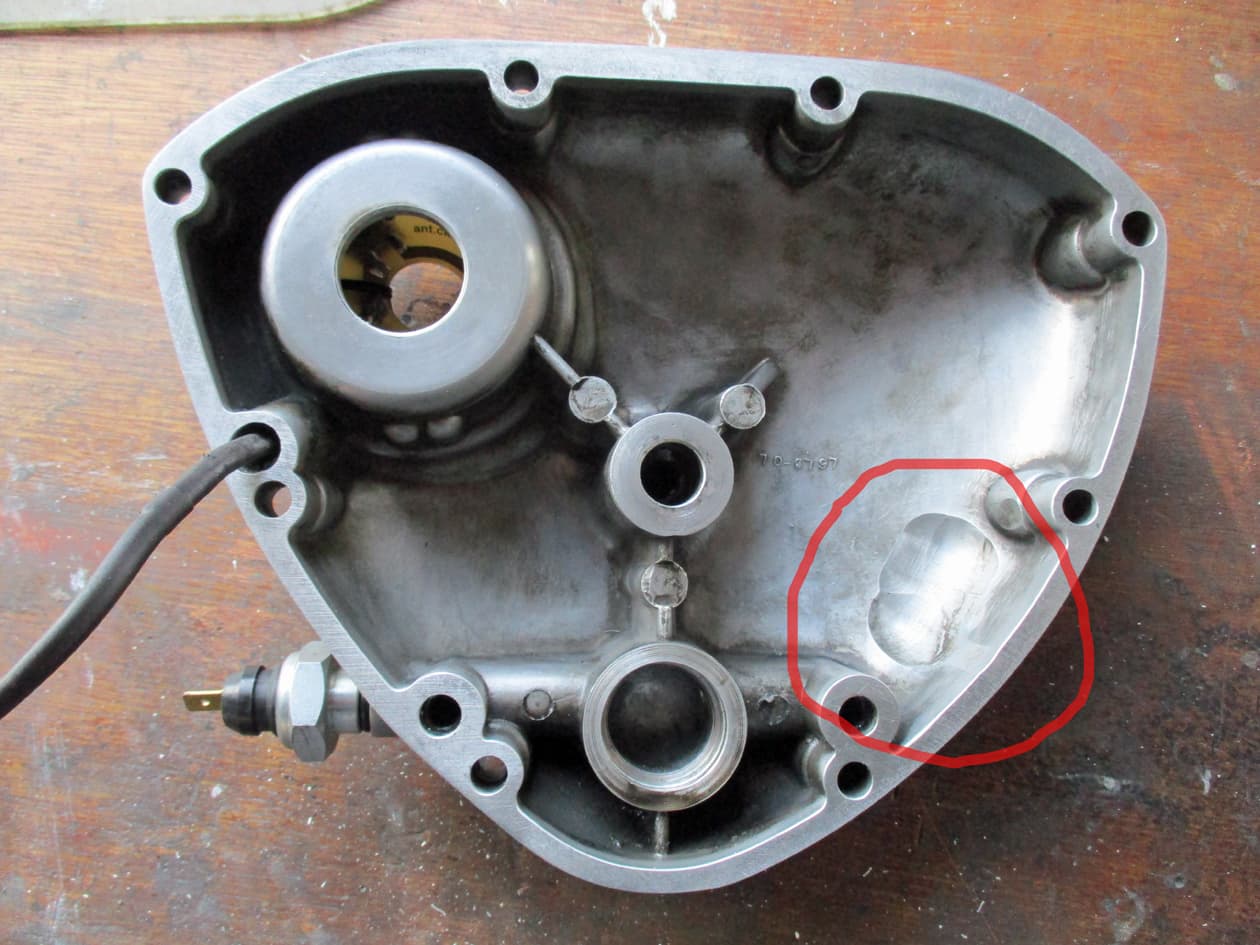
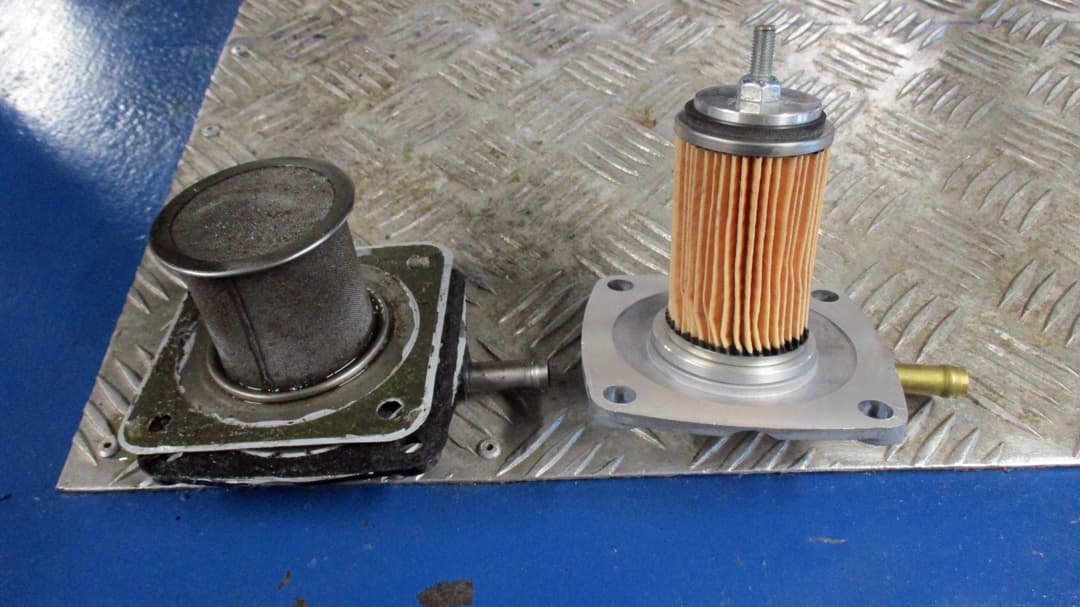
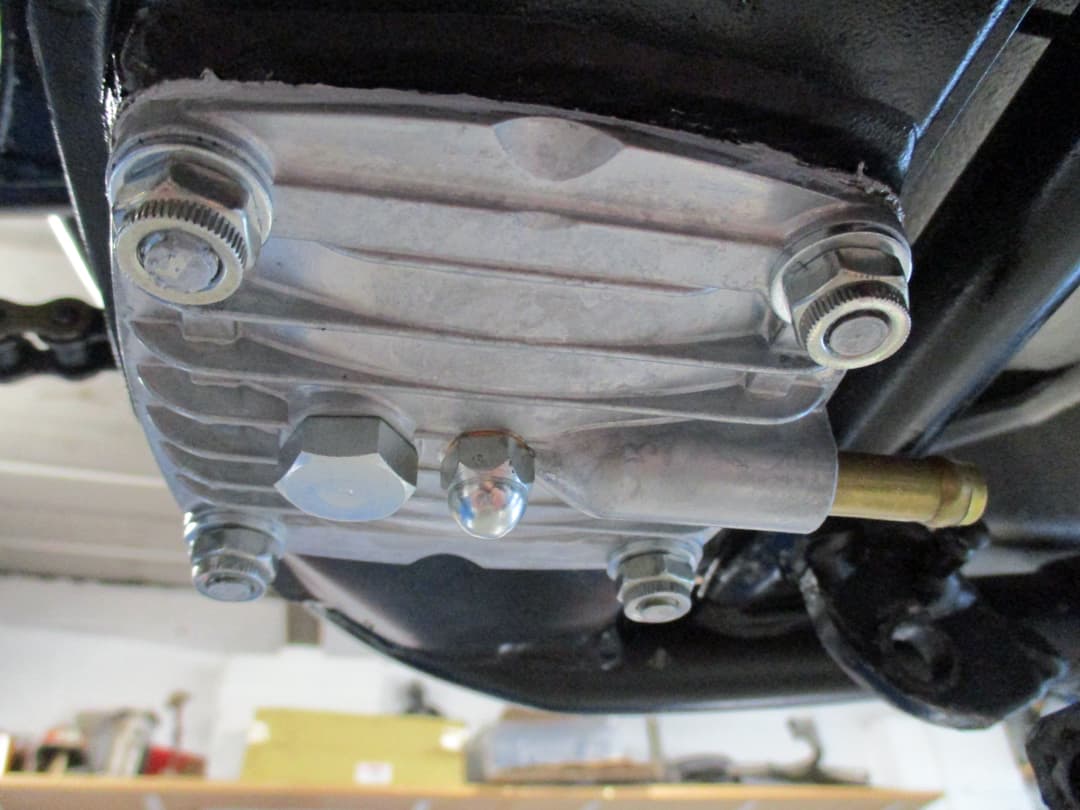
A new metal crankcase breather connection. Rather than the cheap original plastic things. (It’s a bit more work as the hole is a bigger diameter but an additional bit of hose sorts that).

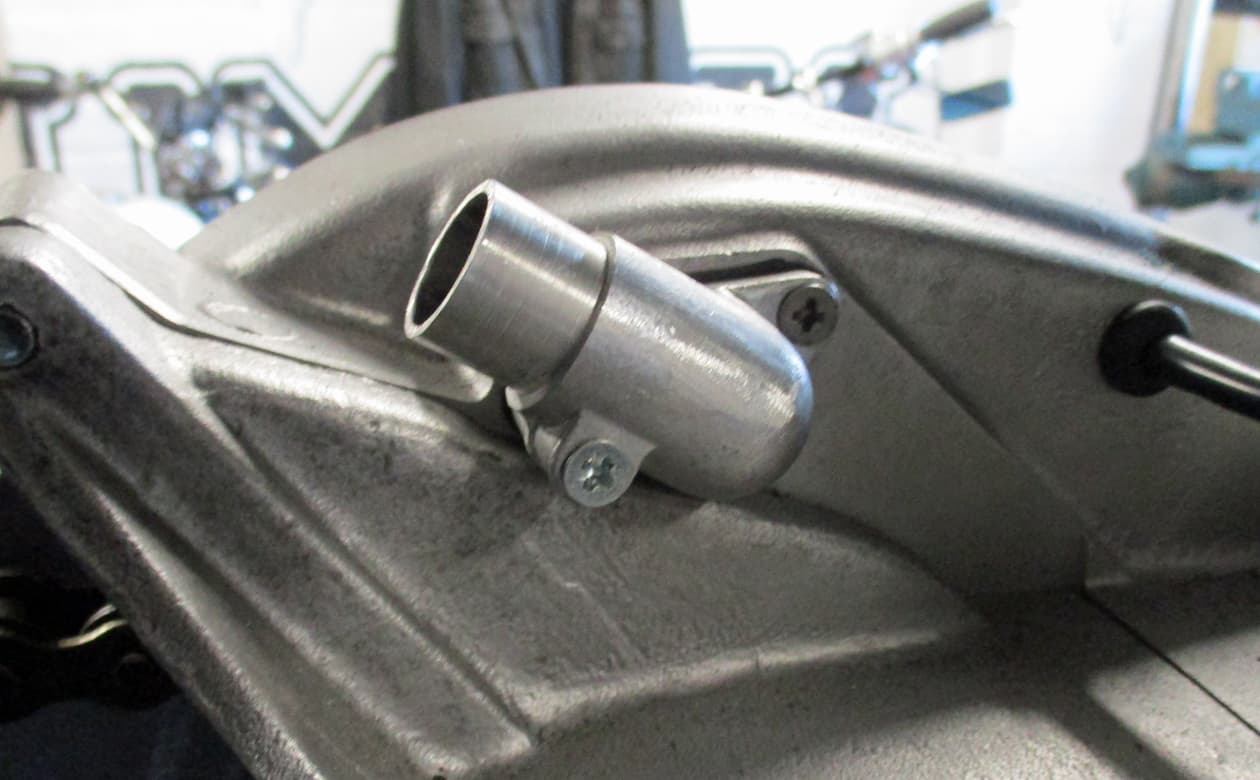
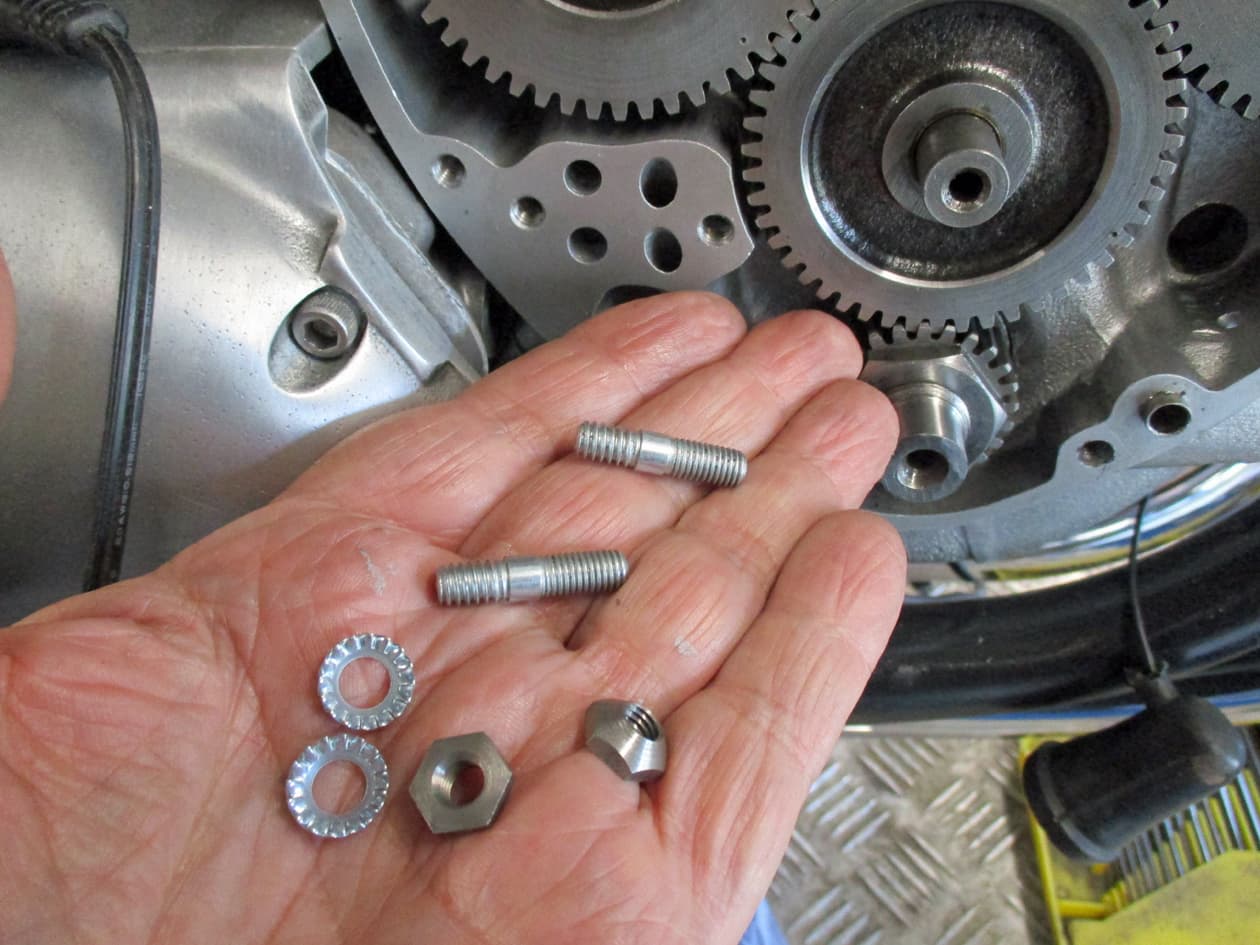
New gasket and blue locktight on the bolts. Tick that off the list.

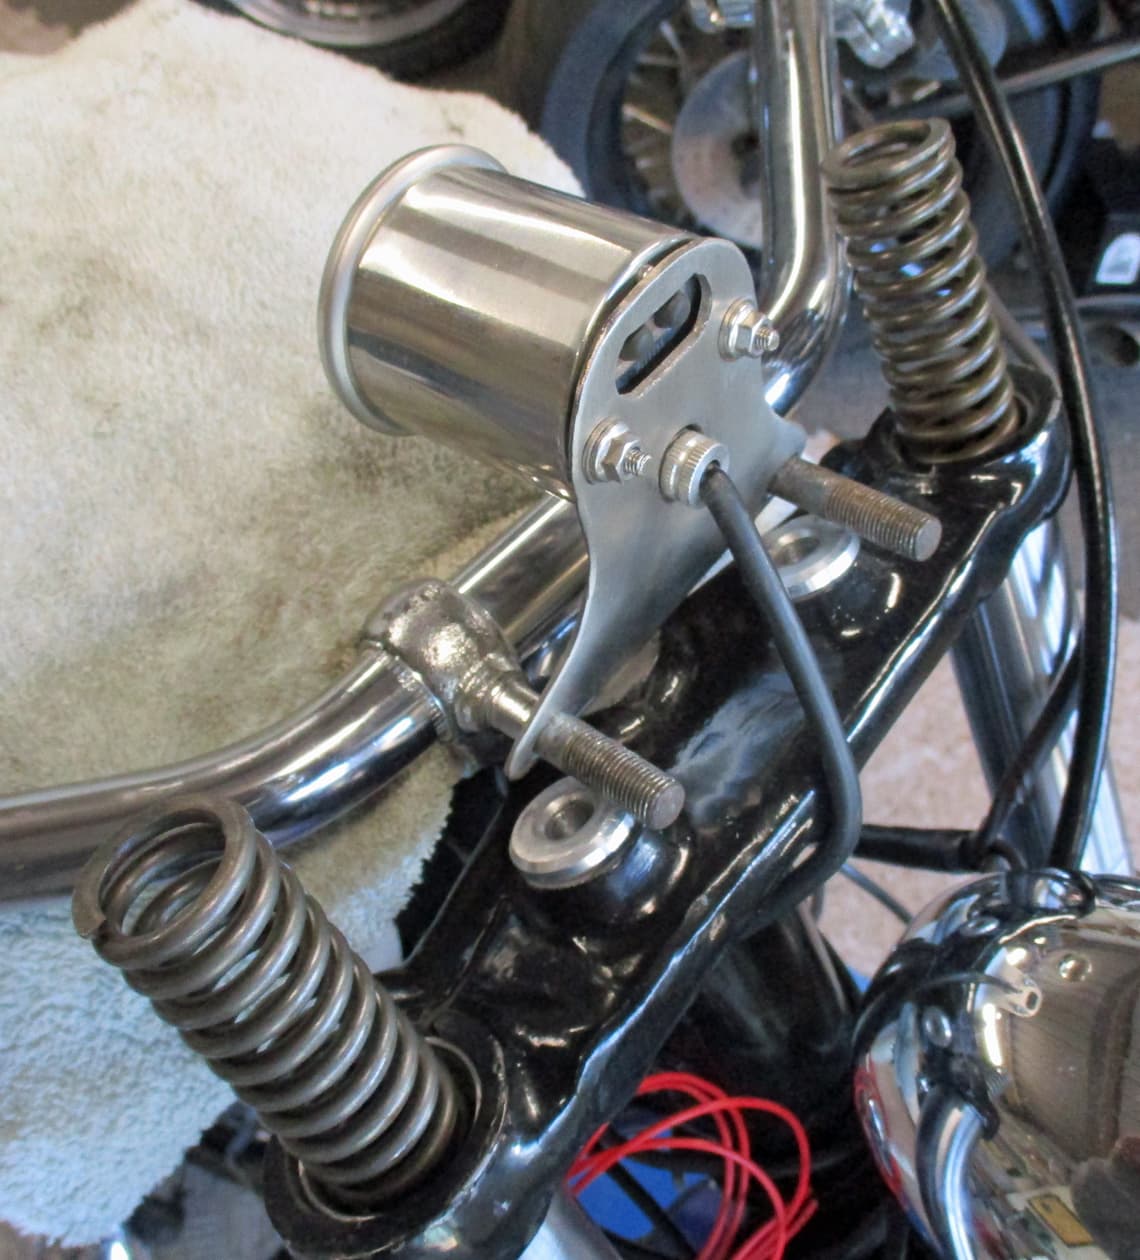
Drop the handlebars off and pour in 190cc of 20W fork oil. Wait for a bit to make sure there’s no leaks and threadle in some new fork springs.

Lift the bike weight up on a jack so the minimum of spring has to be pressed in while doing up the fork nuts. Then got some 70s fork top nuts rather than the horrible plastic ones on the original 1980 spec.
The fine threads on these can be a bugger so care is required not to crossthread.

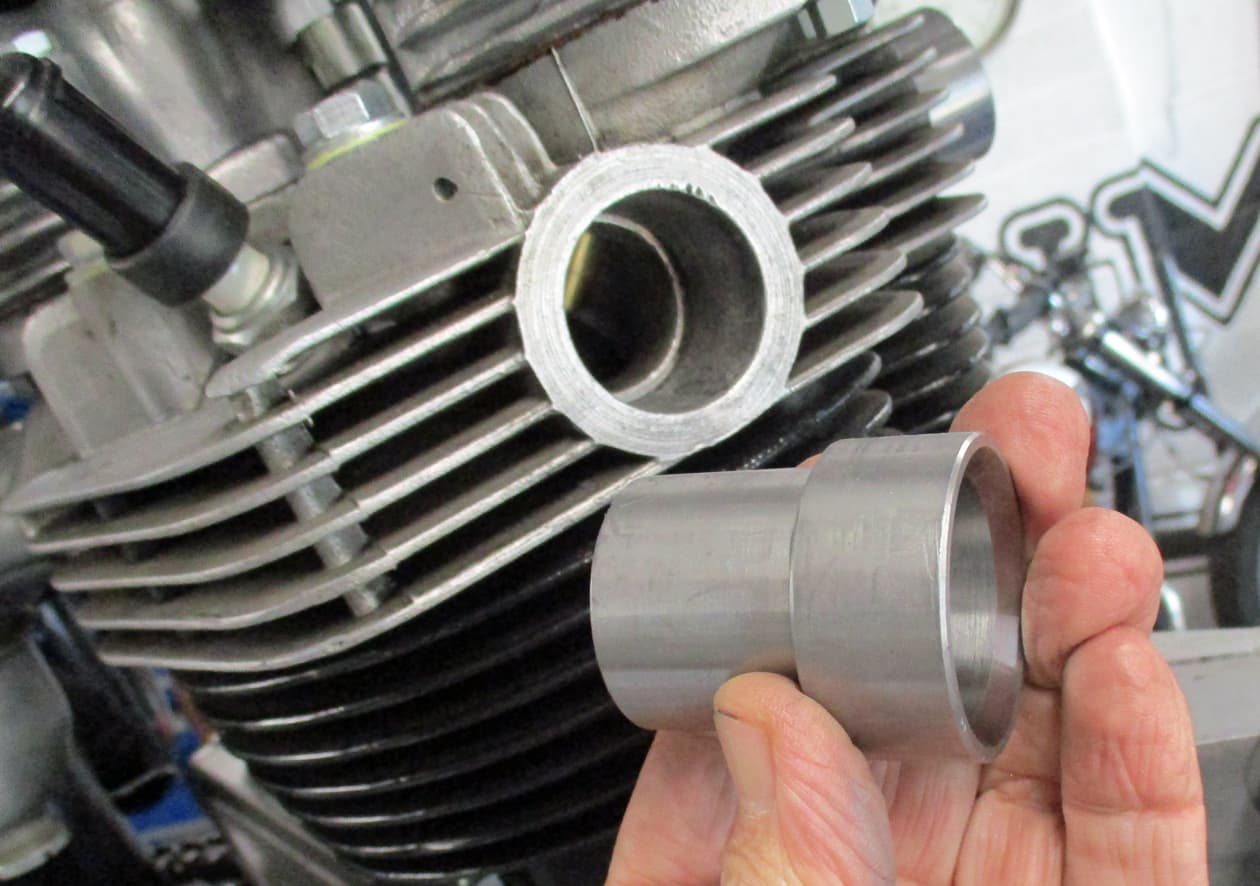
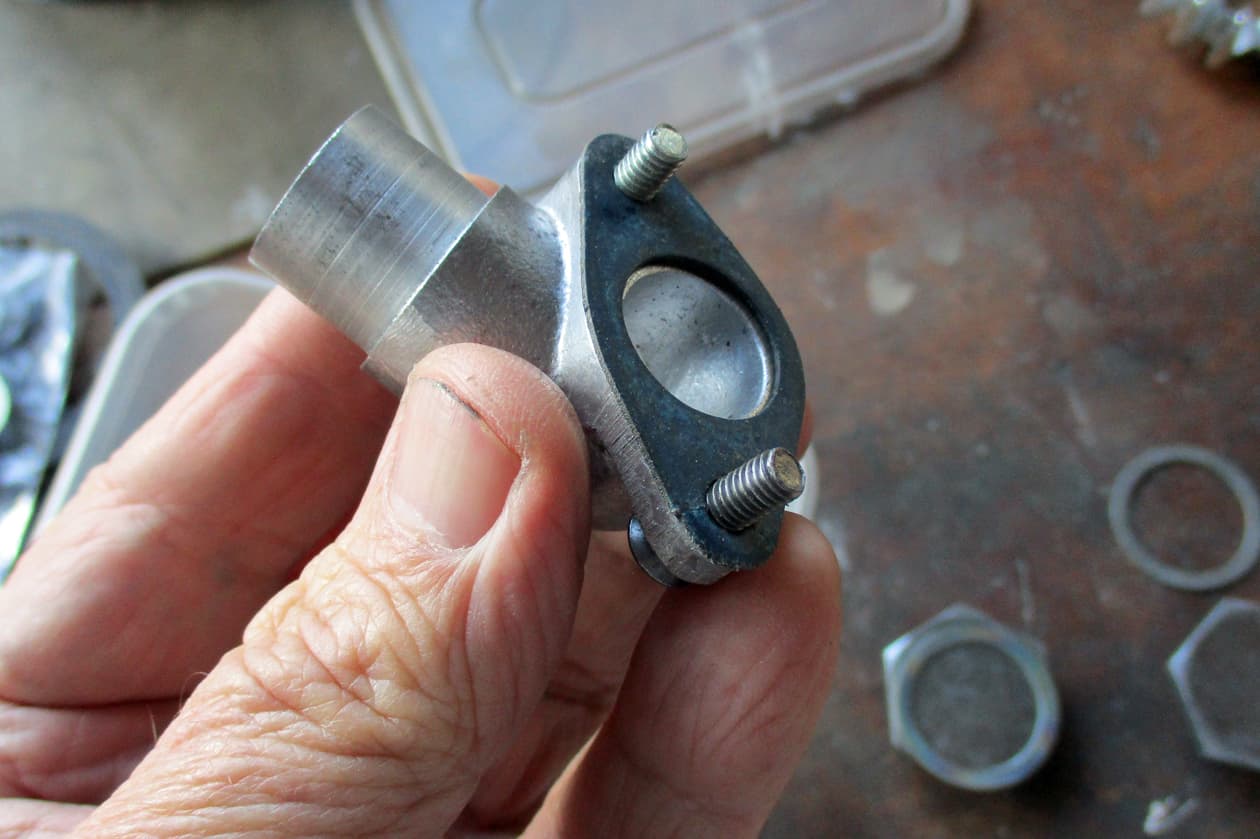
Zorsts. The 1970s Triumphs were fitted with ‘push-in’ exhausts that wore the head when they inevitably came loose. I like the look of the earlier (and later) larger diameter pipes. They make sod all difference to performance.
To make them fit a spigot piece can be fitted into the head. The push in pipes, over the years, tended to rattle in the head making the recesses larger and oval. The older screw in spigots wont fit unless you know a friendly machine shop that knows how to drill and thread the head.
These smooth spigots need to be practise fitted as some heads are loose and some are tight. I’ve had to file spigots in the past to make them fit, these push in easily rather than hammer in.

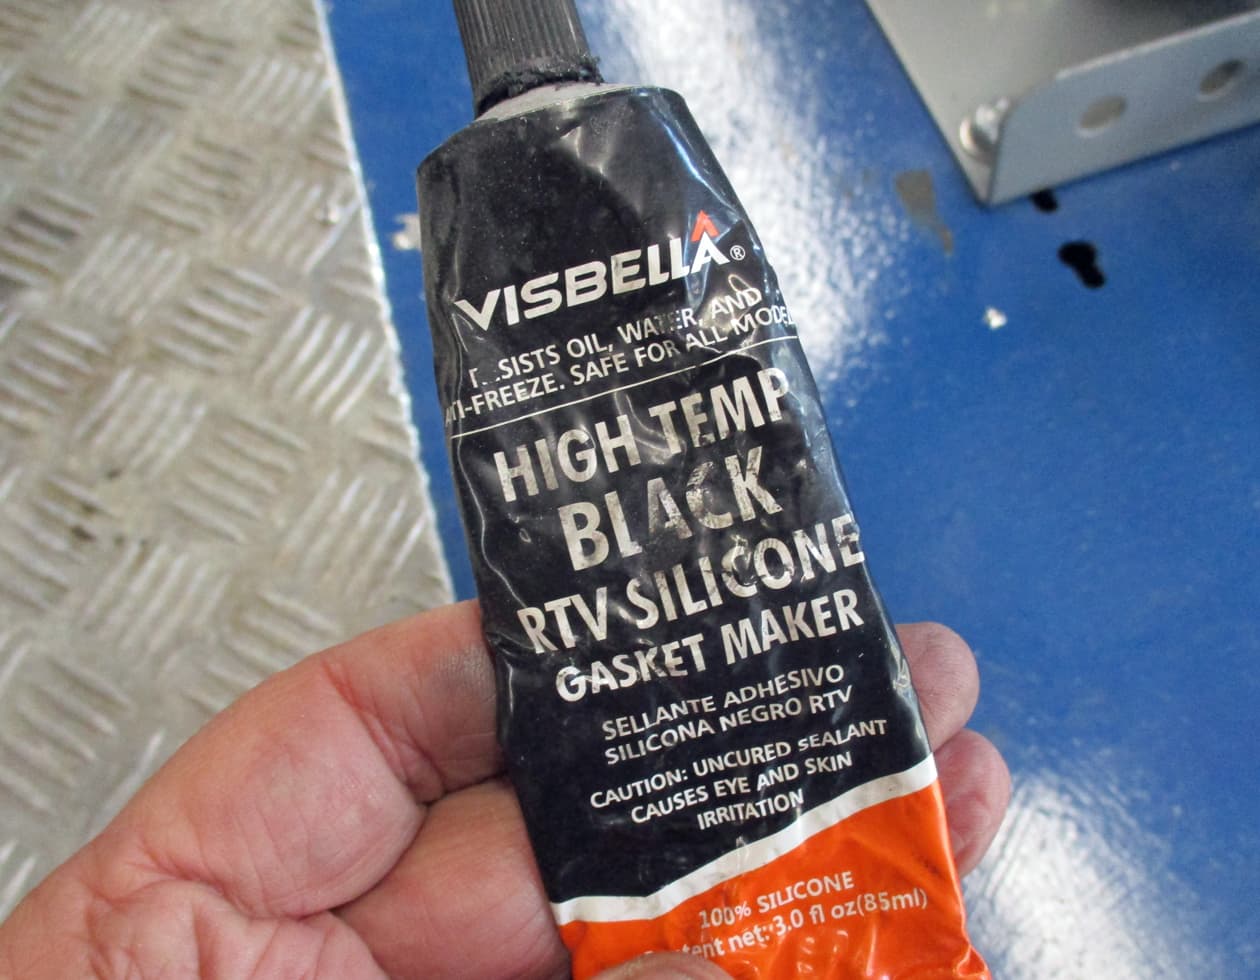
I’ve found this stuff to be pretty good at making an exhaust seal. It dries into a hard rubber type compound and sticks like shit to a blanket.

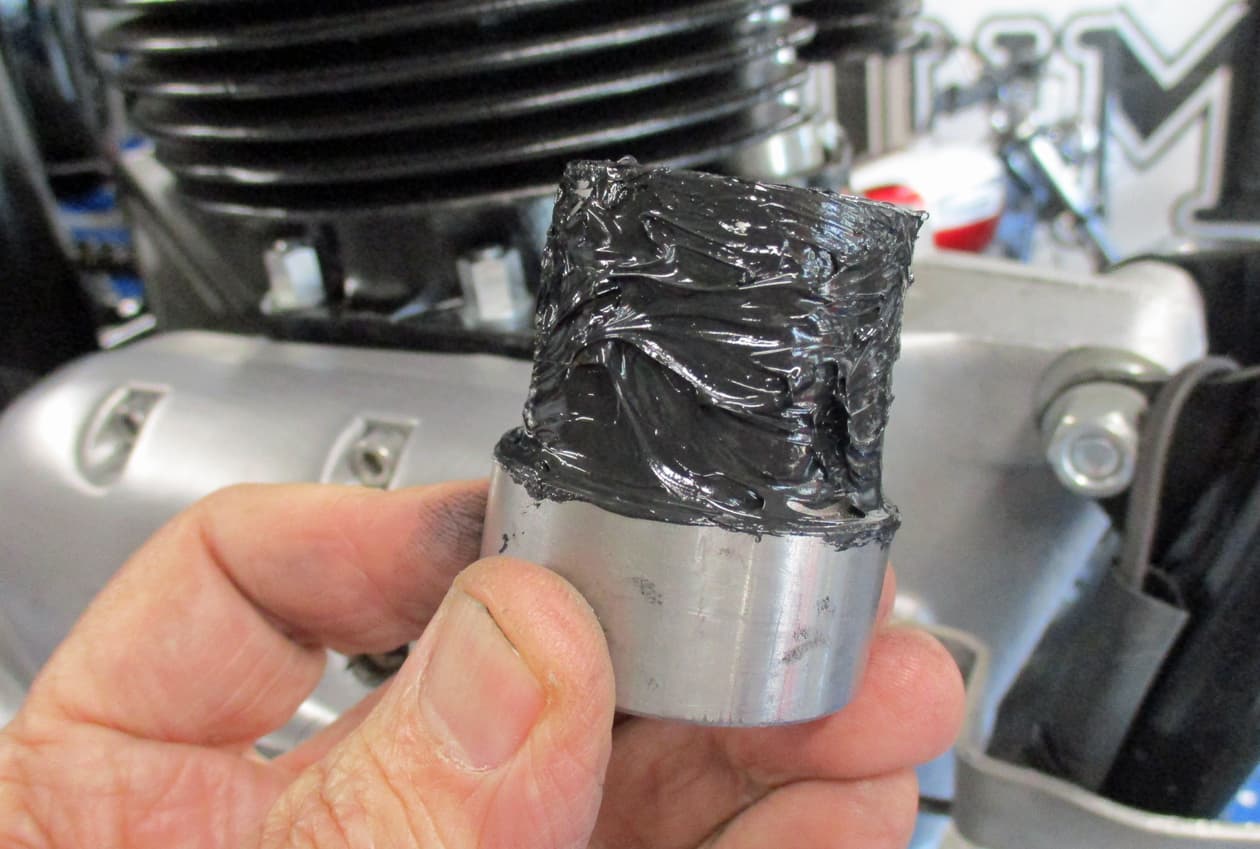
Go for the black fingers look and smear a good blob on. Then poke it into the head with a few small taps to make sure it’s all the way into the recess up to the stop. Give everything a wipe to remove excess silicon and bolt the zorts in place before the silicon goes off - there’s loads of working time but don’t leave it to the next day as the spigots need to line up with the pipe.

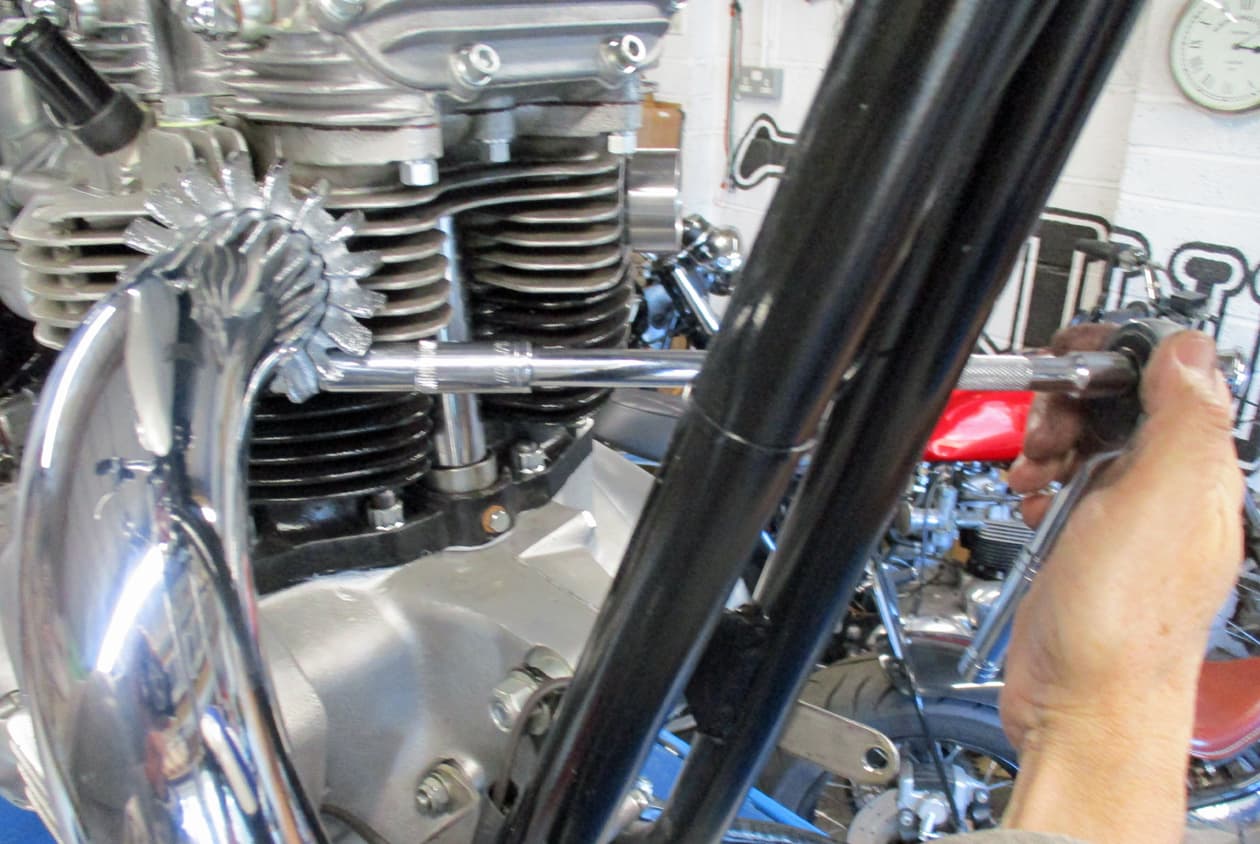
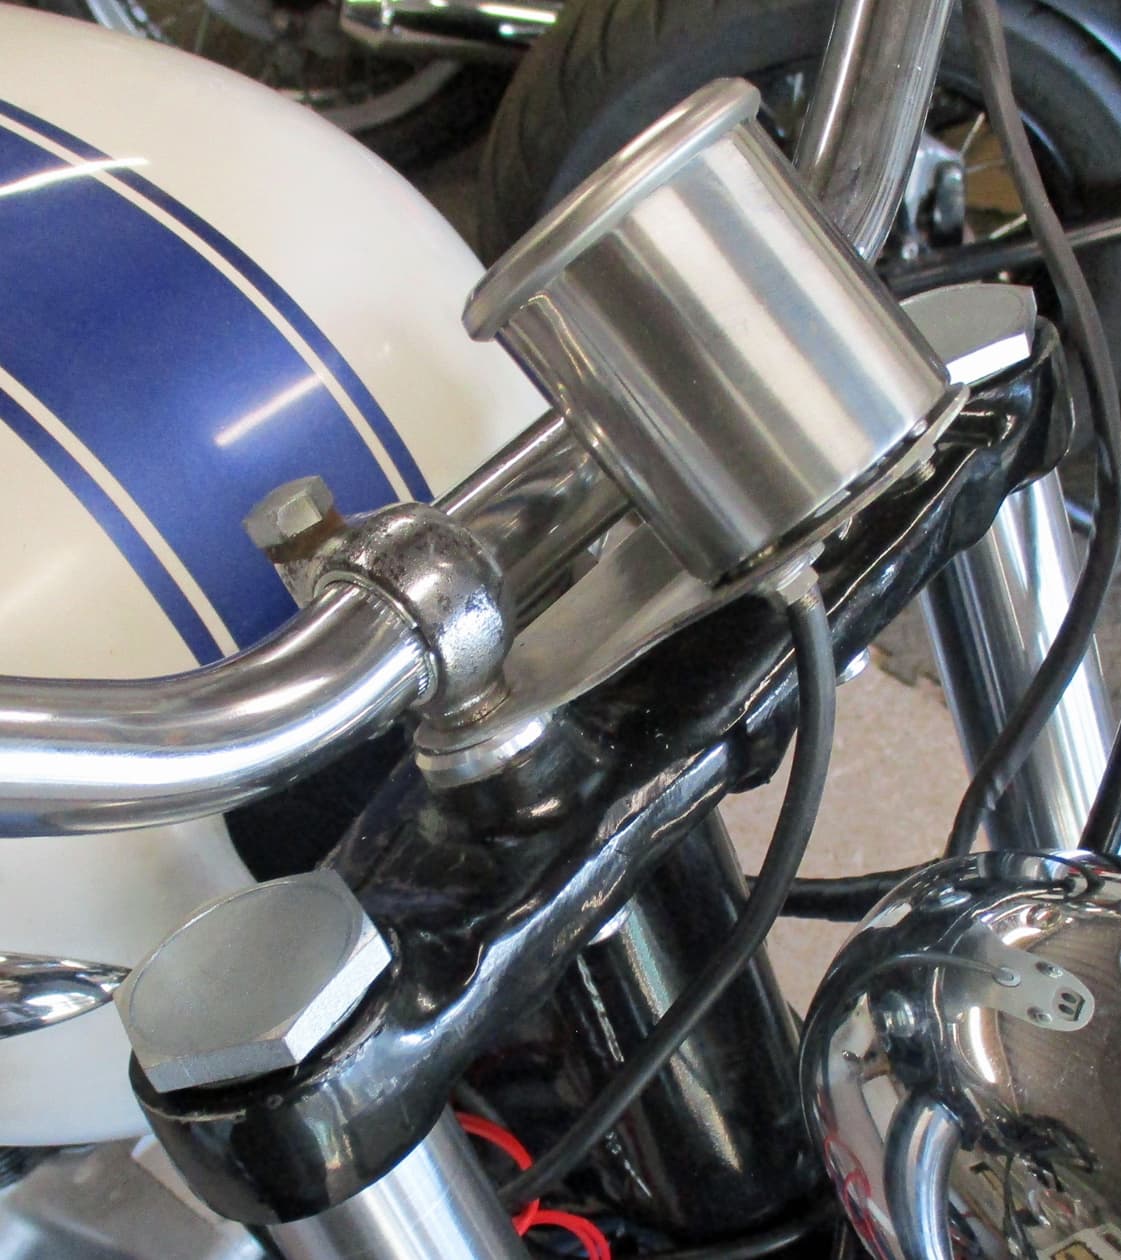
Nice new clamps bolted on.

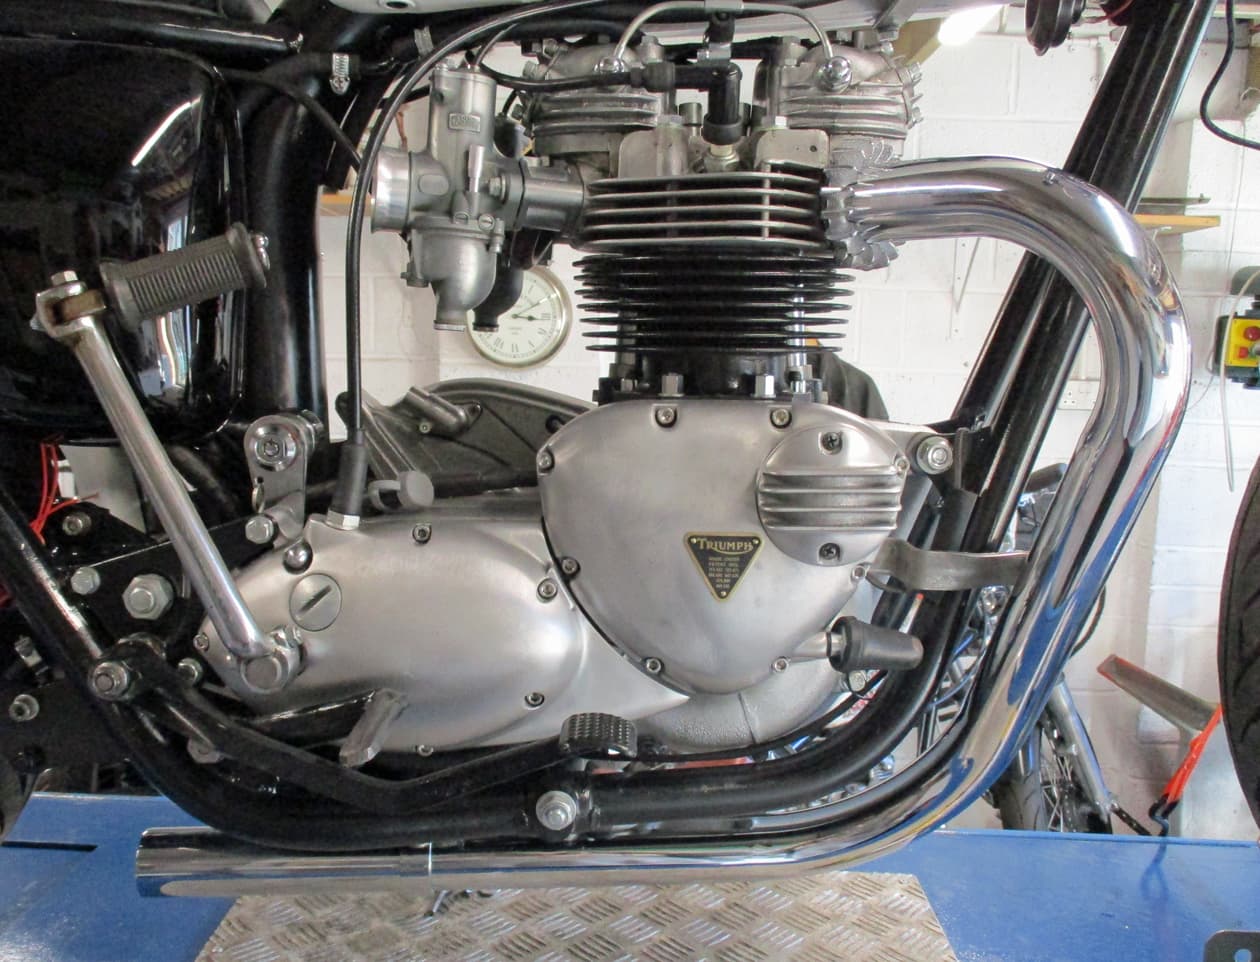
Hooligan zorsts in place. I’ve got some baffles but I think I’ll leave them straight through for now just to try them out (I normally don’t like loud pipes but they do keep phone using pedestrians on the pavement through town).
Thankee… :slightly_smiling_face:

11 Likes

This is properly draggin’ it’s heels.

Arrived today. Ordered these some weeks ago. Waited a couple of weeks, no sign, asked them, they said they had been sent. Waited another week, no sign, contacted them and they sent some replacements that arrived today.
There’s several other items that are similarly being waited for. Oil lines, petrol lines and taps, connectors, nuts, footrest rubbers, chain adjuster stops, etc. etc.
They are all from different suppliers and are all in the post. Several of them have been contacted and all are having severe problems with Royal Mail. Either being lost or taking weeks to deliver.
I’m now not going to buy from suppliers that use Royal Mail and will be happy to pay for other delivery people.
Moan moan moan.

Other bits that have been here for yonks awaiting the hoses.


Lines connected, we now have brakes.

This should have been running (or finding the non start issue) weeks ago. I’m glad I’m not fixing someone else’s bike.
Moaning, welcome…over :upside_down_face:

9 Likes

Me thinks your postie will be doing his round on a Bonnie in a few weeks time (he’s got most the bits he needed now). :slightly_smiling_face:

Finishing off the timing side

Oil seals and new pump to install. Notice how the cover has had a section ground out to accomodate the 4 valve pump. This was done at the factory on these models but some install a 4 valve to replace the two valve and need to get the dremel work done so it’ll fit.

This is the old 4 valve pump after I’ve cleaned it all up. It tested fine but as I’ve had to deal with wet sumping on rebuilds…

…a new one will go in.

The crankshaft has had some work done to it, grinding the journals and the like. Also the wearing face on the crank where it runs inside the oil seal has also been ground. So there’s oil seals made especially 20 thou smaller for this.

Oil seals installed in the timing cover. Important that they are the correct way round. Remember that the spring side of the seal is towards the pressure (ie towards the oil you want to stop leaking out).
So the crank seal spring is towards the timing cover ensuring the oil goes up the middle of the crankshaft and the points seal is towards the engine keeping the oil away from the points.

I’d ordered these as I expected the oil pump fixing to be the same as earlier models. Nope… In my defence the fixings are not shown in the parts catalogue. If I’d had actually looked at the 4 valve pump I would have seen it is deeper than the two valved ones.

Good job I had some allen bolts in the stash.

Make sure the oil gasket is the correct way round so that the oil flow isn’t restricted (it can go on the other way round)

Bolt the pump into place using some locking washers to make sure it stays there.

New oil gasket on the timing cover and screw in the little whatsit thing into the exhaust cam to spread the points oil seal so it doesn’t get damaged.

Re-do the timing as above (should really only do it at this stage but I wanted to try for a spark earlier and it only takes 10 minutes to do again).
Timing cover sorted…over :slightly_smiling_face:

10 Likes

You can’t have much more left to do before the test ride. Heaven knows how many hours you’ve put in to it to get this far.

3 Likes

Almost there. :partying_face: Last few bits on order PRV, casing plugs, HT lead etc. Gearbox, fork and engine oils went in today.

Just about a year since the dismantling properly commenced. Cor…

It’ll be interesting to summarise the build, estimate total time input and to add up all the receipts for total overall costs. :astonished:

6 Likes

Paper and pen will do that, obviously, but there are some apps for time tracking on projects that might be convenient.

1 Like

A very interesting and informative thread. One of the best I have ever watched. Thank you for sharing this with one who will never attempt it!

3 Likes

Thank you @TallPaul :slightly_smiling_face:

Last few bits to do but actually started first kick (after I remembered my secret switch) - hooray (a bit barky though)

Ticked over pretty well, oil return ok (that 30/40 second wait to see the oil is always a bit anxious) and sat there doing it’s first warm up in just about 40 years :slightly_smiling_face:

That’s that then. Baffles to go in I think, some Bonneville stickers on the side panels and change the tyres. Then a quick whizz round the block and off into the sunset…over

10 Likes

Another completed build then. I’ll put some before and after photos on when the sun comes out again and it’s been round the block a few times.
There’s probably still a few issues to sort as it’s being run in but just about everything is new.
It’s taken over a year to complete but as life has to go on, I’ve spent about 10 months of time on it. I don’t work on the bikes full time as I limit myself to about £500 per month on spares. Once those spares are used I then go and do something else.
So, how much did it cost?

I bought the bike seen in the first photos for £1995.00

Just added up the cost of spares, machining etc £5295.00

Sundries, like bits from the stash, paint etc say another £200.00

Total cost, for the bits therefore, is just about £7500.00

I’d be guessing hours but probably 2 weeks per month for 10 months is around 20 weeks work - which feels about right.

So, there you go. This was the building of a true old rusty basket case. The costs in spares plus the original bike was almost exactly the same as the other rebuilds I’ve completed. Makes sense I suppose, the better the original bike, the less needs spending on it - but I wondered if building one from spares would be cheaper - it’s not.

Overall it’s an enjoyable thing to do (if you like that sort of thing) these machines aren’t that hard to work on (no clever electronic stuff or flimsy tight engineering) and although not an investment (no matter what any dealer may tell you) I don’t lose all the money but I do lose the time. If I put this up for sale it’ll be £8000.

A word, however, on ownership of these vintage bikes. They are a great looking bike (once you get over the ‘they must look original’ issue) and are an absolute joy to ride. I’ve never had one that didn’t need a complete engine rebuild.

All the bikes I sell come with a complete set of rebuild photos so the work that has been done can be seen. Any story from the dealers, previous owners or sellers should be taken with a pinch of salt. A locked up seized engine while trying to overtake something isn’t fun - it’s something to talk about later but at the time it’s a bit scarey. Buy one of these old Triumphs and you’ll need a set of spanners to get into the sludge trap. You really do need to look in the sludge trap.

But the best bit is it’ll be all yours and built by you. :slightly_smiling_face:

7 Likes

I’ve got to say every post has been thoroughly enjoyable to read and the finished article is gorgeous. Thanks for taking the time to record and post all the tasks as they happened.:clap::clap:

2 Likes

With @Dawsy on this one. A great build to follow. I stand in awe. Thanks for taking the time to document your work so thoroughly.

1 Like

Got to agree with @Dawsy . Not being that good on spanner’s I have enjoyed the detailed explanations and rebuild approach used. This thread has been an inspirational read and the bike is gorgeous :+1:

1 Like

I can only echo what everyone else who’s read this thread will be thinking even if they don’t post it.

The old adage says something about the enjoyment of watching other people work but in this case it’s the pleasure of seeing someone else work who knows what they’re doing, who does it with meticulous care and attention to detail, and ends up with a highly desirable motorcycle.

Anyone got a spare £8k?

1 Like

If I had it would soon resort to it’s previous condition :confused:

@Iron , you are a gent sir… thank you for sharing this… a great read and a great ideas for a thread. I hope it turns into a quality book for you too.

(Can we hear it for a bit longer please?)

1 Like

Thanks very much indeedy gang. :slightly_smiling_face:
I’ll do another wee longer vid in the morrow.
I’m glad you all enjoyed the build, no reason not to go get one yourself now - go on you’d only be bored otherwise :smile: cheers again gang members…

4 Likes

It’s a thumbs up from me too. Although you make a full resto look easy it’s not. Things that you take in your stride, probably because you know what you’re doing and have done it before would make most of us kack our pants and lead to stress and tantrums. I restored an A10 back in the early 80’s. Fortunately for me my then FIL was a good mechanic with years of experience of working on british bikes so he rebuilt the engine and gearbox for me while I did the rest. I think most of us wouldn’t know where to start, where to get the bits and who to use for the stuff we couldn’t do ourselves so we’ll stay this side of the firewall thanks very much :rofl:

3 Likes

Thanks again all, really :slightly_smiling_face:
I haven’t done the sunny shot or the running video, sorry.

I’ve been waiting for the paper filter to replace the gauze one in the bottom of the oil tank/frame. And here it is…

…all fitted and oil filled up again.
I also fitted a white faced speedo - better looking on this bike rather than the black faced one that was on it.
As the petrol tank, zorsts, etc came off to do the above I’m gonna park it now for the winter. I’d rather leave the bike sitting without fuel over winter so it’s in hibernation with the others until the sun comes back.
I know it runs so when Spring sprungs I’ll wake it up and do some photos and a video…over… :partying_face:

10 Likes