T140e 1980

Brake brackets to make, a bit bored with these brackets now so these are the last…

Use cardboard for templates and cut out of steel,zzzzzzzzzzzzzz

Make another for the spindle to master cylinder

A spacer to hold spring

And all in place.Just to paint and bolt up properly on the final build.
Engine rebuild next.
I have a box full of stuff that will need to be sorted into junk and bits that can be reused. Unfortunately it’s mostly heading for the bin. The spares list will be a long one…

7 Likes

The usual approach is to inspect and assess parts as they are dismantled. In this case they’ve been chucked in a big box. There were several makes of bike’s parts lobbed into the box so I pulled out Triumph engine parts.

These are some of the parts that might make it through inspection. It’s a right arse doing it this way round rather than making a list when dismantling as the parts need to ordered before assembly and you don’t really want to forget something which will hold up the build.

Here’s a cleaned up exhaust cam shaft. Doesn’t look too badly rusted.

This wear on the lobes isn’t laying around getting rusty. This is lack of maintenance while the bike was running. I’ll replace both cams.

Here’s one of the exhaust tappets. The oil feed hole has actually been elongated by wear. They are all rusty as well so toast.
I wouldn’t reuse springs, washers and general nuts and bolts as they are reasonably priced but cams, gudgeon pins, pistons, barrels, tappets etc will soon build up the cost of this rebuild.
Right, on with the list for getting the casings together first…

9 Likes

ooooooooooooooooooooo…shiney :sunglasses:

left weighs in at 431 grams, right at 434 grams. We’ll give them that.
I can make skulls out of the old ones now :skull_and_crossbones:

8 Likes

I have to ask - why are they differnet weights?

Density and tolerances in manufacturing probably

2 Likes

Oh, I thought it was deliberate, assuming that any difference in mass would create instability and vibration.

The difference seems small, do you see it worthwhile to balance them?

These older Triumph twins have pistons that rise and fall together as a pair, they throw their weight round like a single cylinder so no real point in balancing unless a problem with rocking couple is caused by a bigger differential in conrod/piston weights.
On other twin models, such as Hondas, each piston rise and fall independently on a 180 degree crank so they really need to be balancing.
I’ll weigh the gudgeon pins, pistons and rings to try to make up any difference but a (maybe given kitchen scale accuracy) 1 gram (now reweighed without extra packing nuts) on IIRC about 1450 grams piston, conrod etc weight isn’t going to throw anything out of kilter as I’ve had more carbon build up on a piston than that.
Just for interest I weighed the conrods (only including the Cleveloc nuts) in parts and compaired to others from the stash (they are all for T140s)

These new ones:
Conrod - 290g and Big End with nuts - 132g giving a total of 422g
Conrod - 294g and Big End with nuts - 129g giving a total of 423g
Stash pair:
Conrod - 298g and Big End with nuts - 141g giving a total of 439g
Conrod - 291g and Big End with nuts - 148g giving a total of 439g
Other Stash pair:
Conrod - 287g and Big End with nuts - 139g giving a total of 426g
Conrod - 285g and Big End with nuts - 141g giving a total of 426g

Probably variation in the kitchen scales but just shows how the conrod and big ends need to stay as a pair to give the total correct overall weight.
Good question, thank you :slightly_smiling_face:

5 Likes

Last of the tin work to sort, I think, (other than tank but that’ll be a standard bought one) before prepping and painting.

Old mudguard and stay from stash

Stripped of paint, filler and welded old holes up, cut to size

And all bolted on with some nice domed bolts. Find and prep all the to be black things (frame, engine plates, pegs etc) for paint now.

12 Likes

Had to dig around in the bike in a box to see if I had everything, all seems to be present.

Good bit of a change on these later models - a welded on footpeg nut.

This side’s peg needs to come off to get access to the primary/clutch /chain/sprocket etc. and is a right pain to get to with a spanner. On earlier T140Vs (don’t know about T140Ds as I haven’t had one) this nut is loose so if stripping down to the frame it’s worth welding the nut on.

Bolted on the footpegs (once those oversized rubbers have been removed and thrown in the bin) to see that they aren’t straight. An old fork stanchion slotted over soon bends them straight.

I like to clean up all the casting marks on the footpegs, brake lever etc (I know it’s hard to spot once it’s all done but it only takes a while to do)

I’ve cut off the old brake light switch too as that’ll be replaced with a switched banjo on the brake line.

A bit of a wizz on ye olde flapper gets rid of the grinding marks. Thank you…over… :no_mouth:

11 Likes

Can’t beat a quick whizz on an old flapper🤣

Another delivery

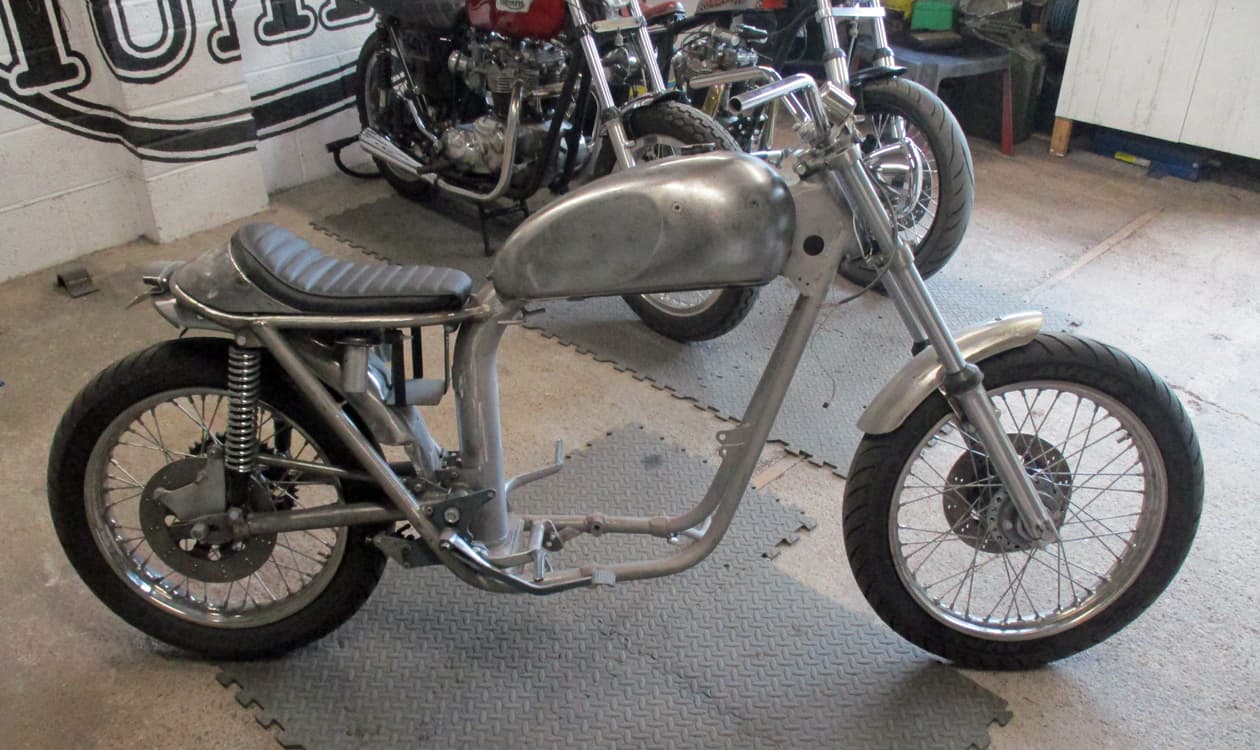
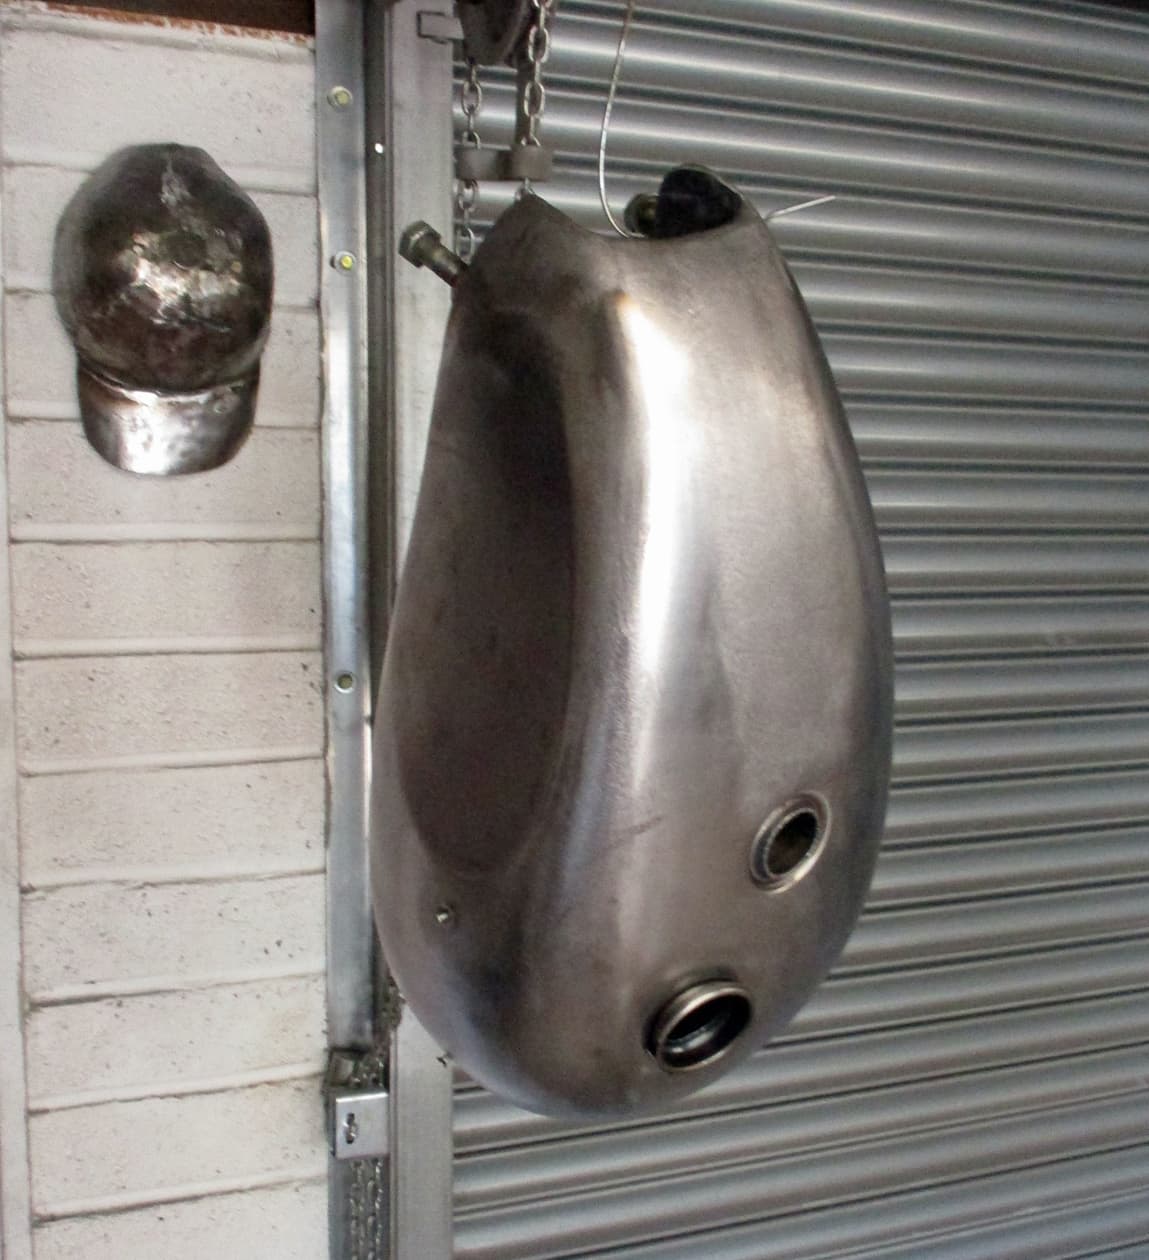
Nice new tank courtesy of Mr Les Harris and Co.

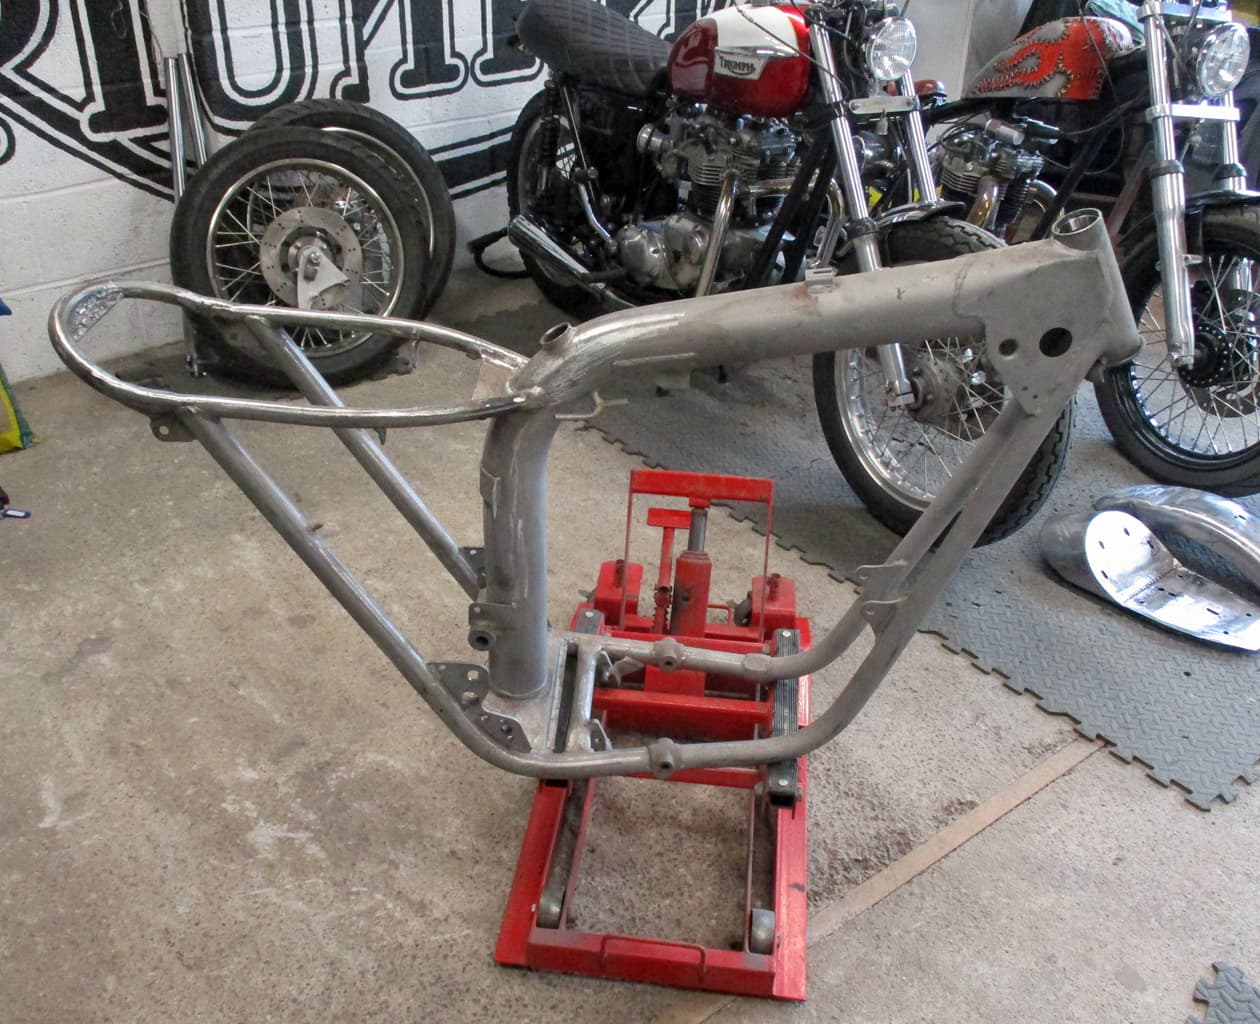
Balanced it on, just to look, after making some room for the dismantle and painting

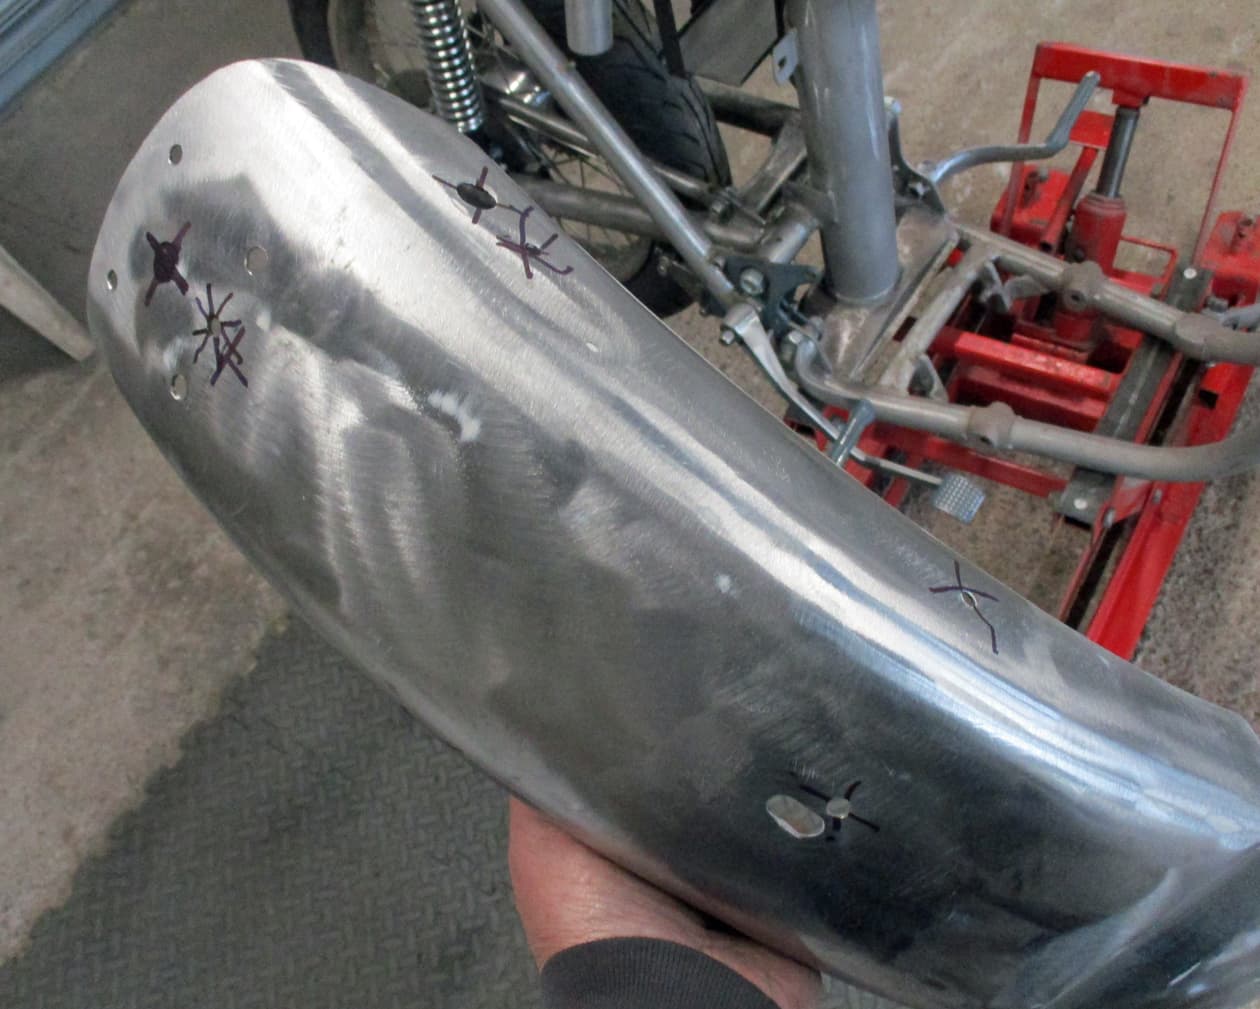
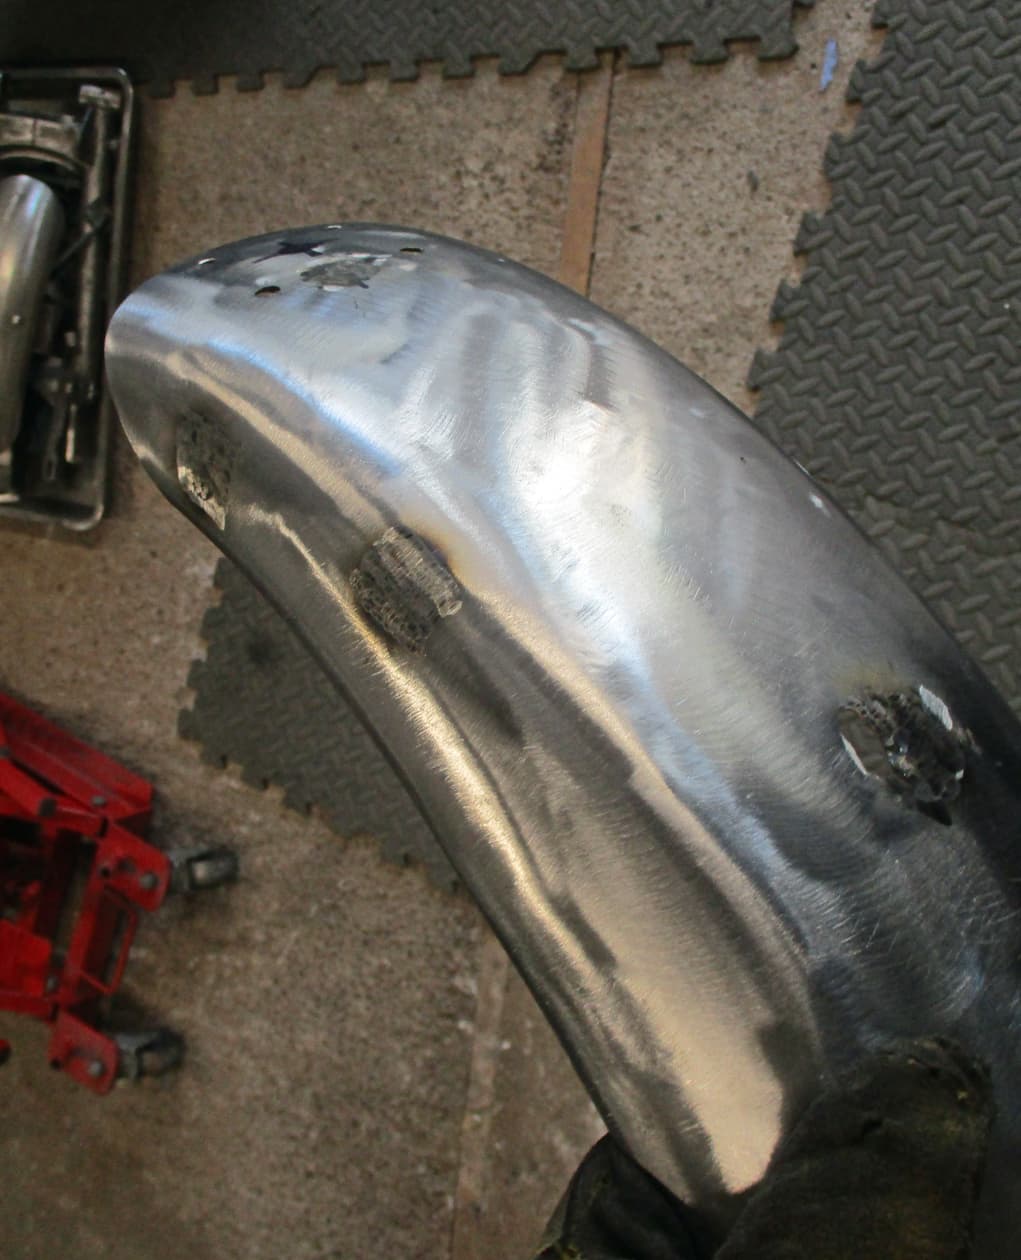
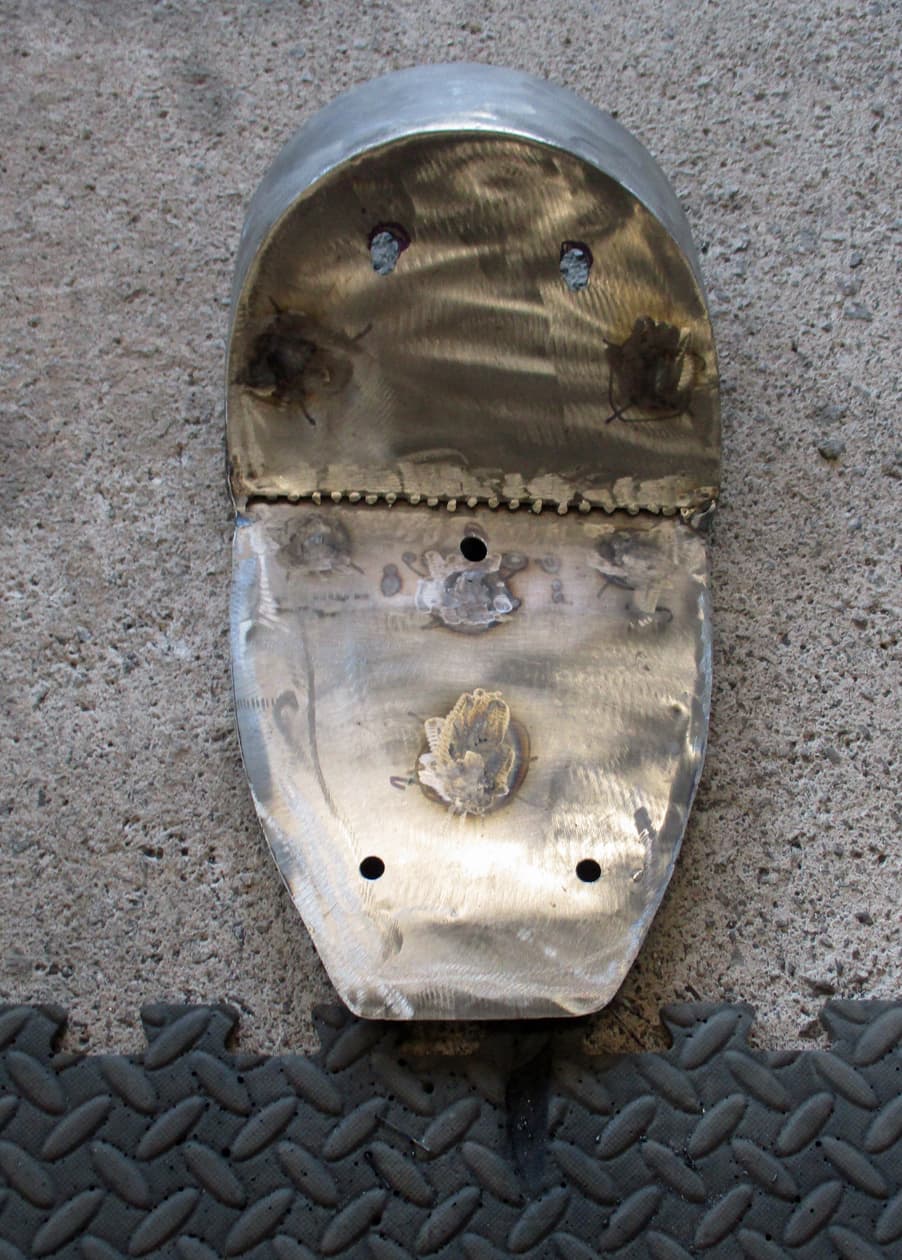
Back mudguard will need a few unused holes welding up.

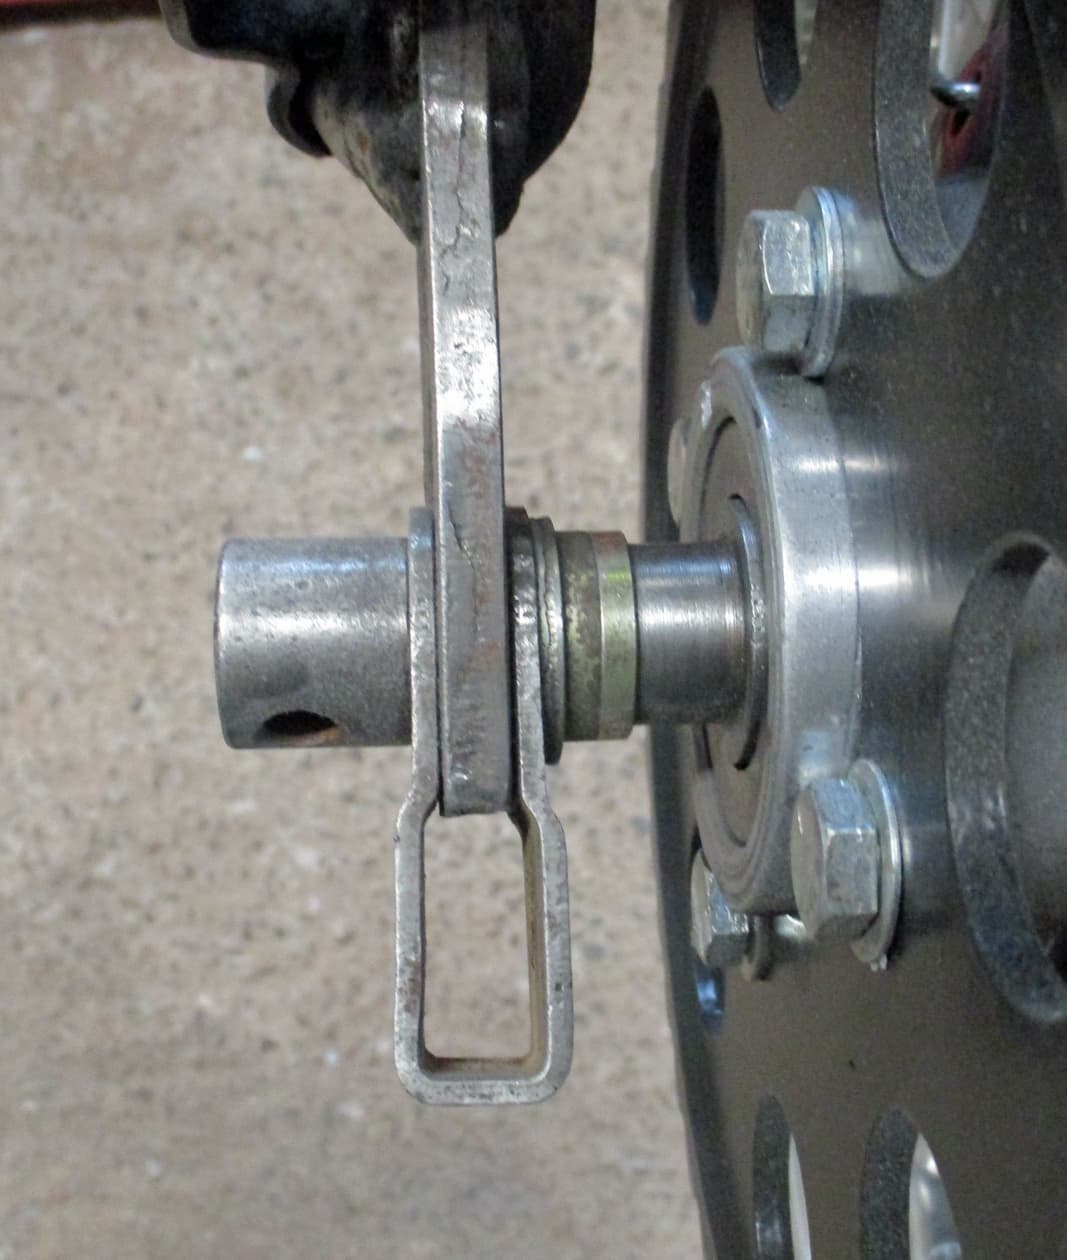
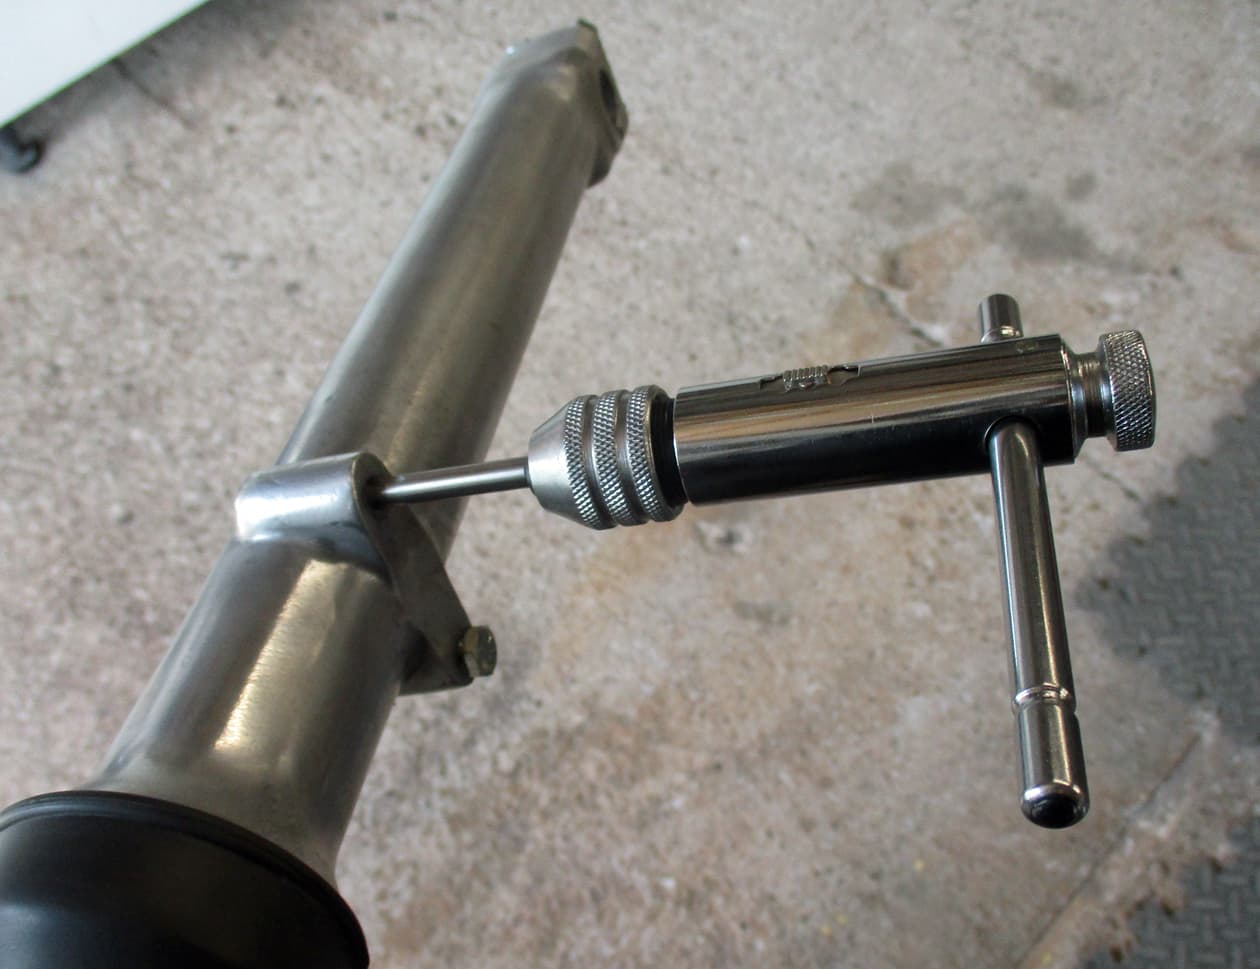
Remember how the back wheel was centred up using a few washers. The speedo drive will be off the front wheel now and as the old seized original drive (that would take up this space) has been binned a specer is required.

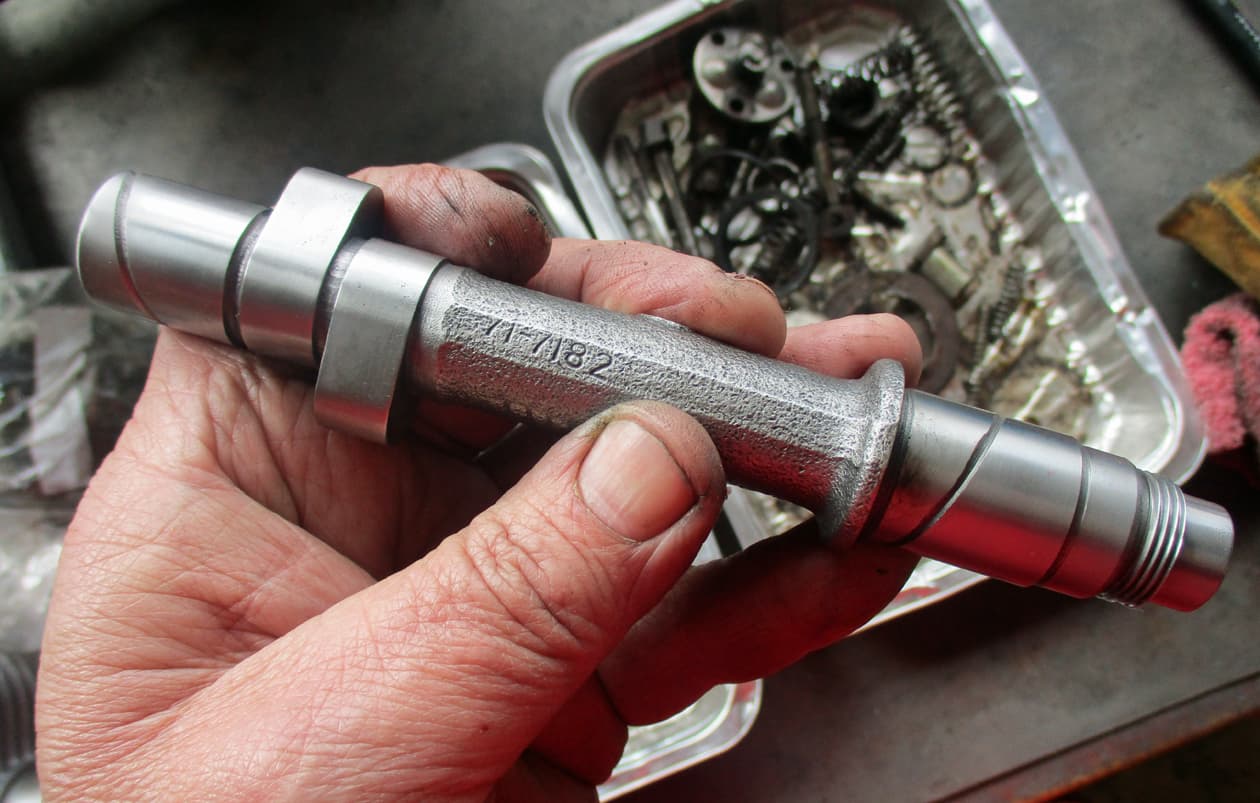
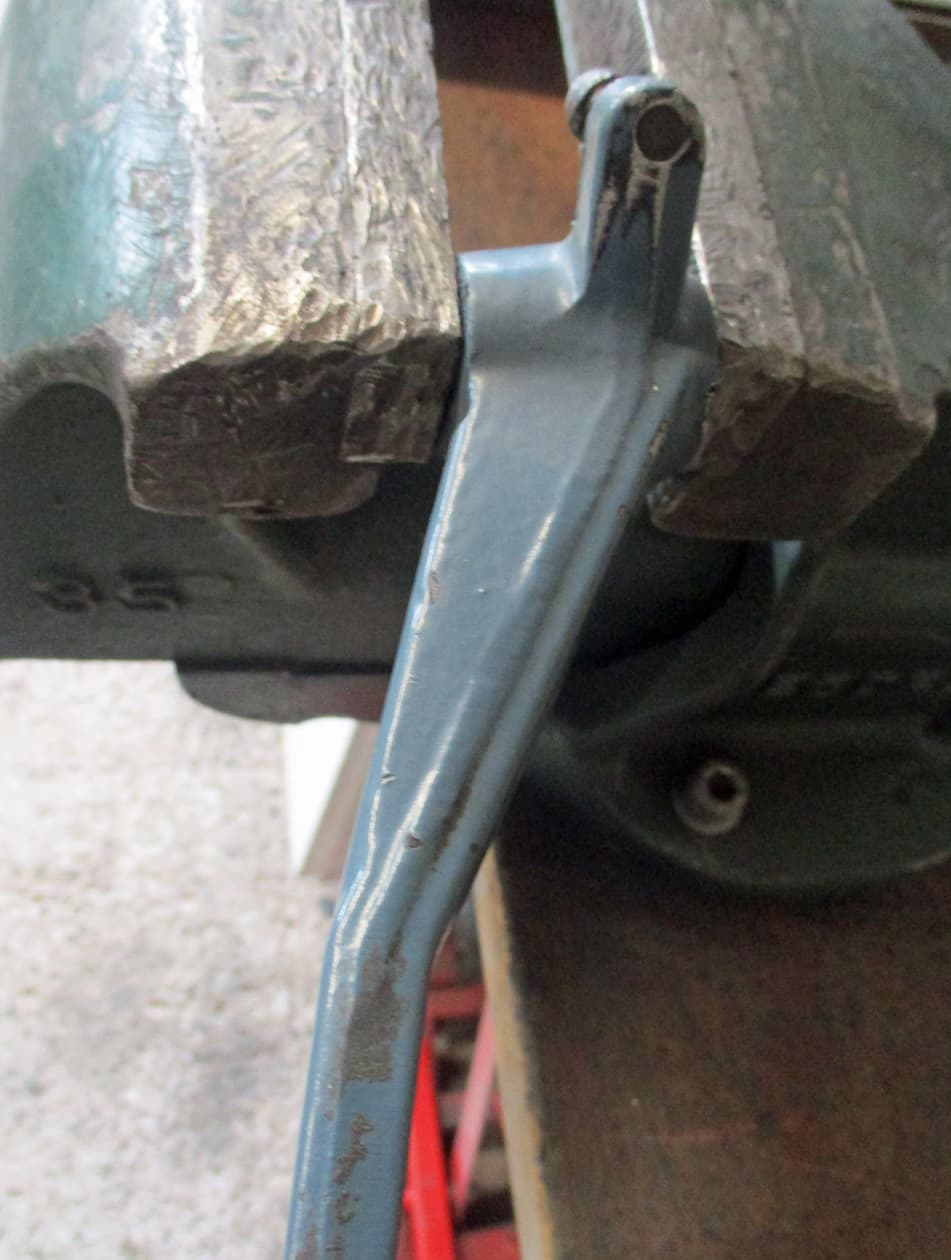
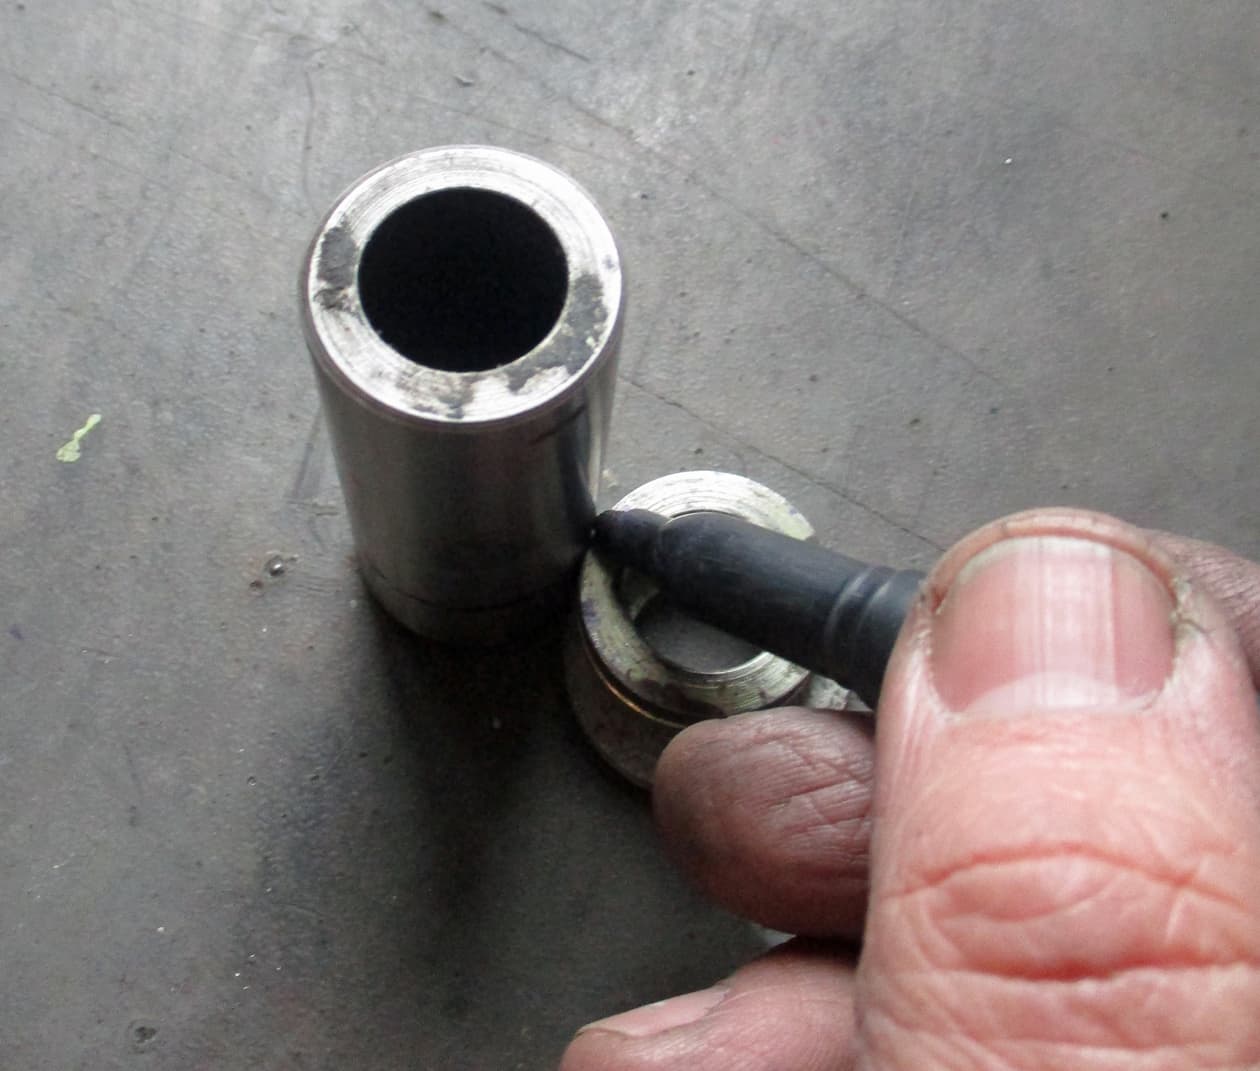
I don’t have a lathe so elbow grease is required to make a spacer. Using a saved bobbin from the old swingarm (same internal diameter as the rear spindle so fits nicely), measure the length required using the washers.

Wrap some tape round as this will stay, sort of, square for a guide.

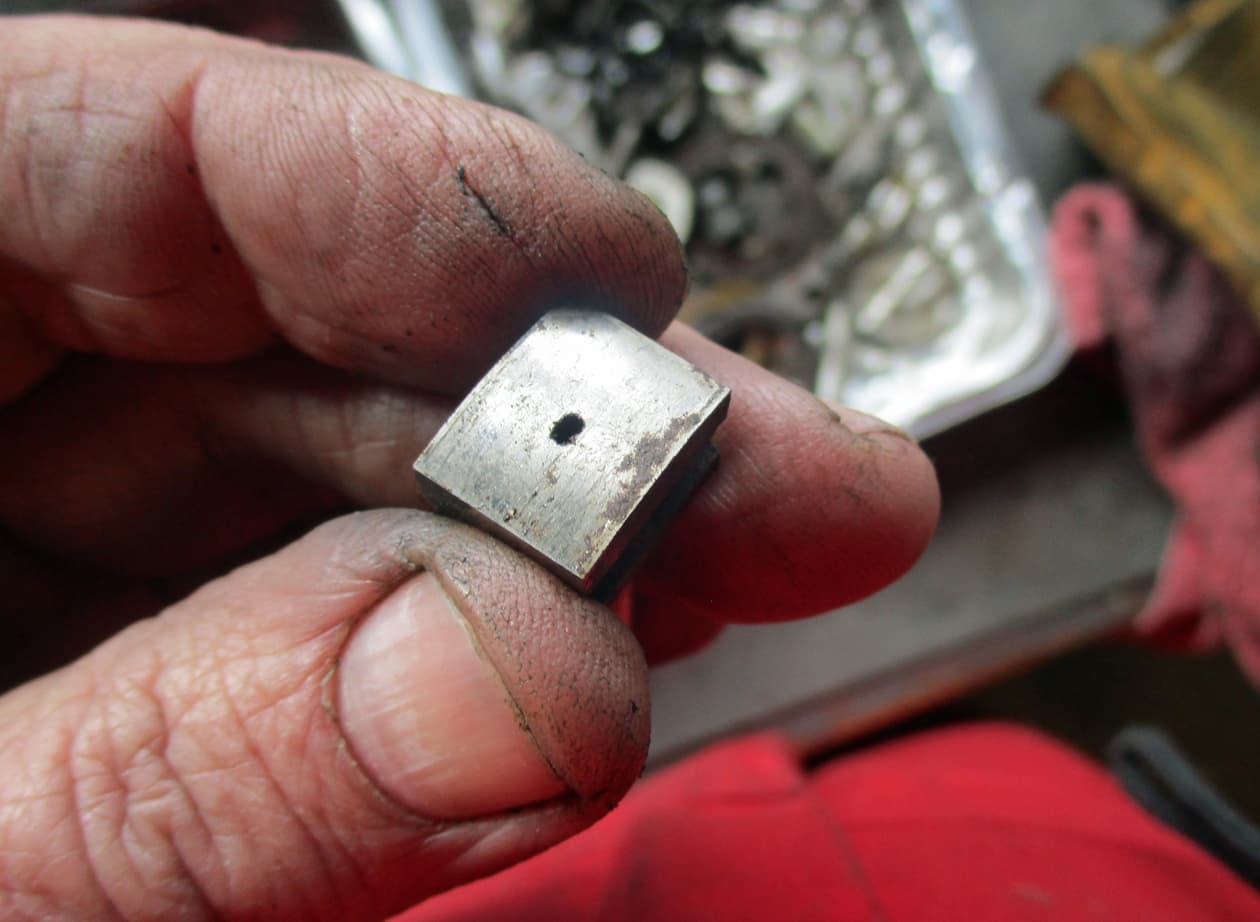
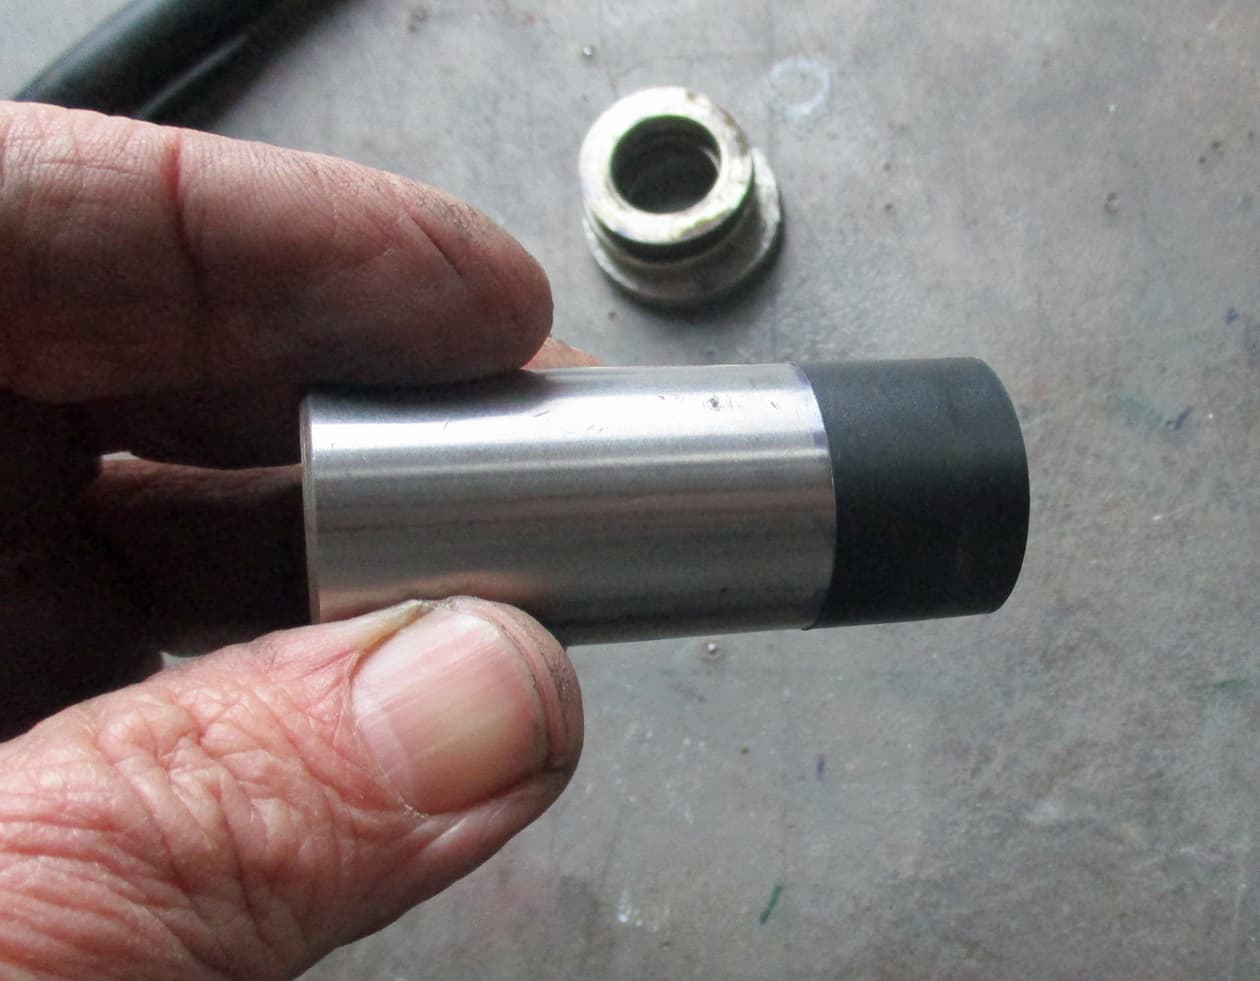
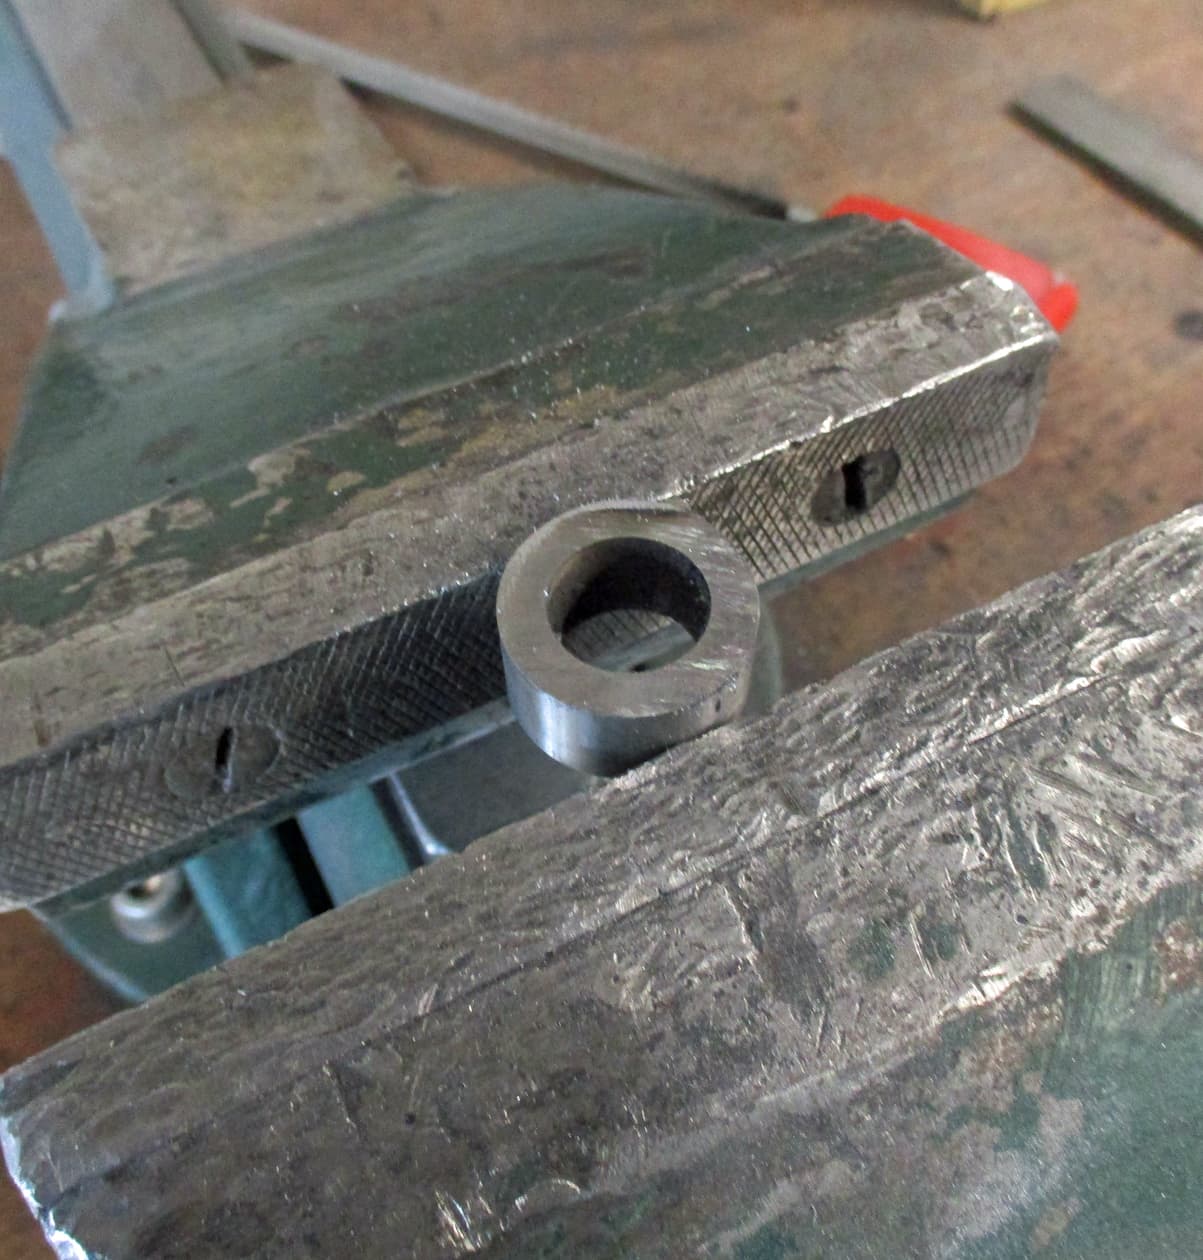
Using one’s favourite cutting implement (a bread knife just won’t do it and it wouldn’t be too good at cutting bread after anyhow) cut the required length as square as possible. Phew…

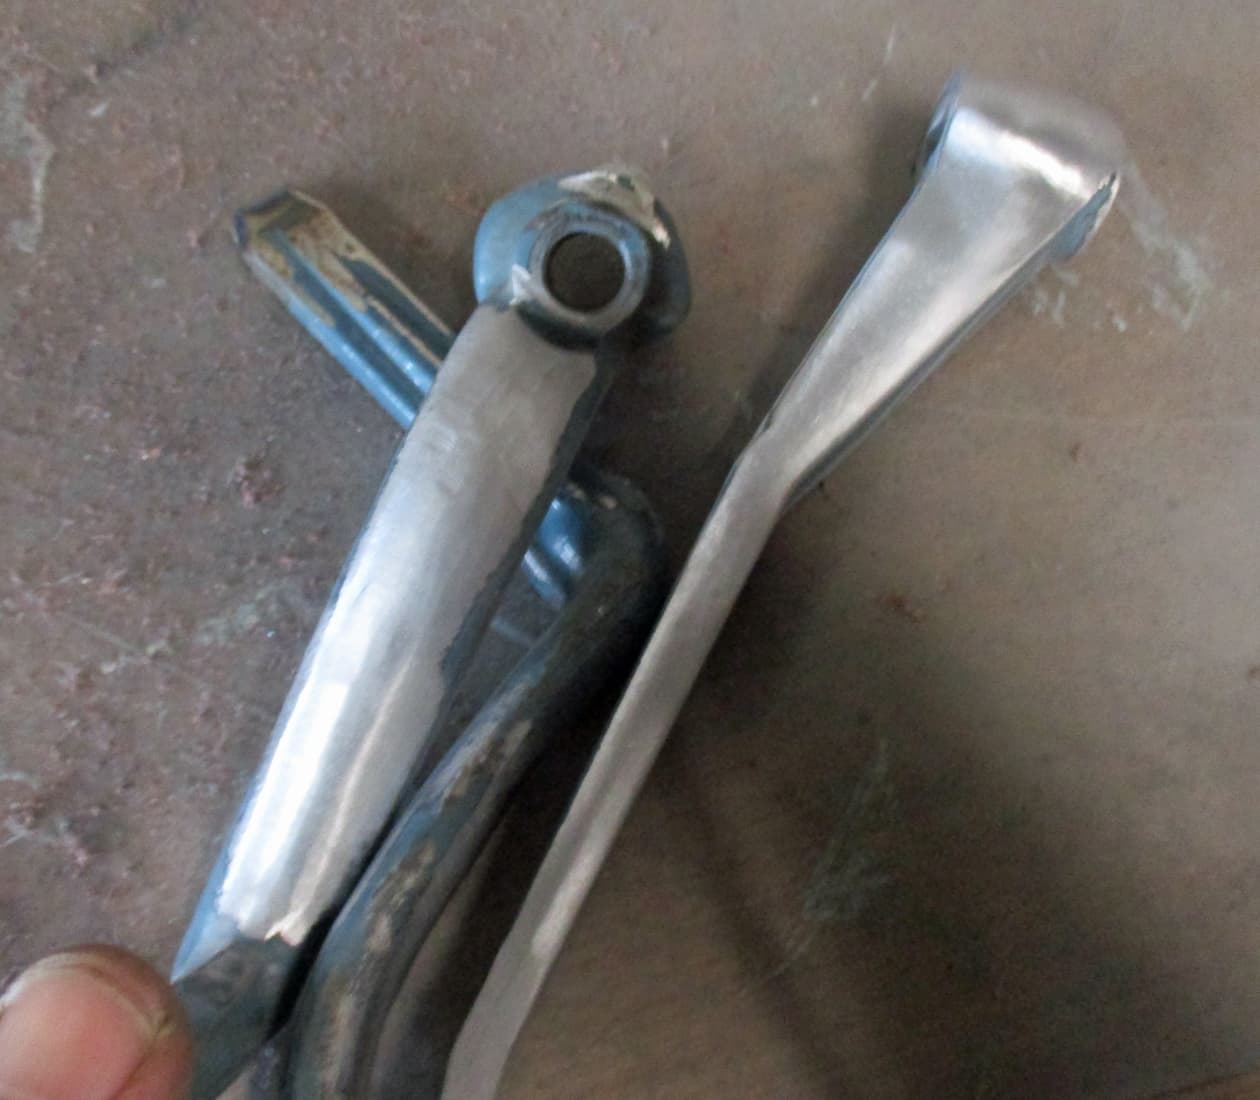
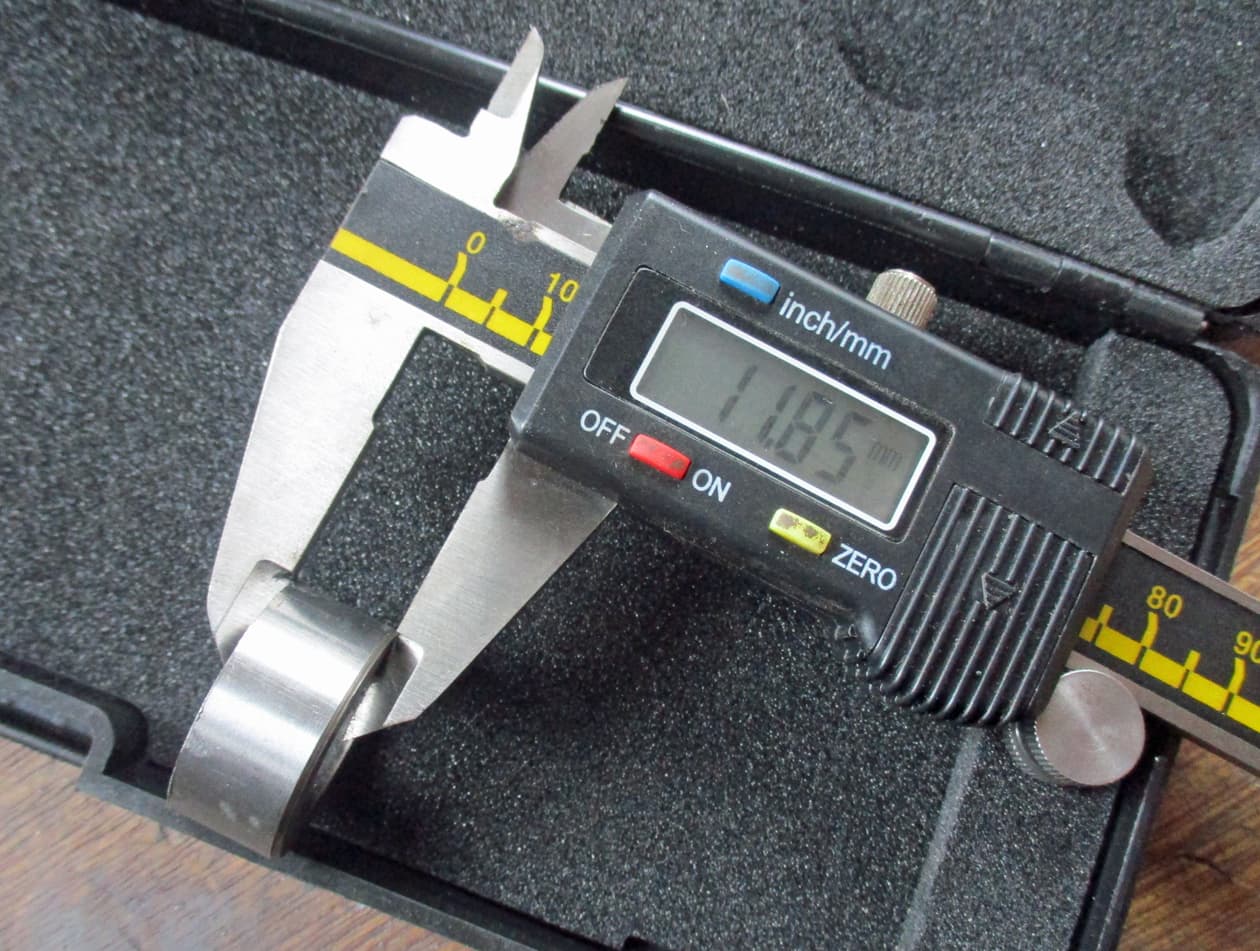
Then measure against the pile of washers using a vernier measuring thing. (They are cheap on Amazonian and are really handy for all sorts of things). Find any high spots and file away.
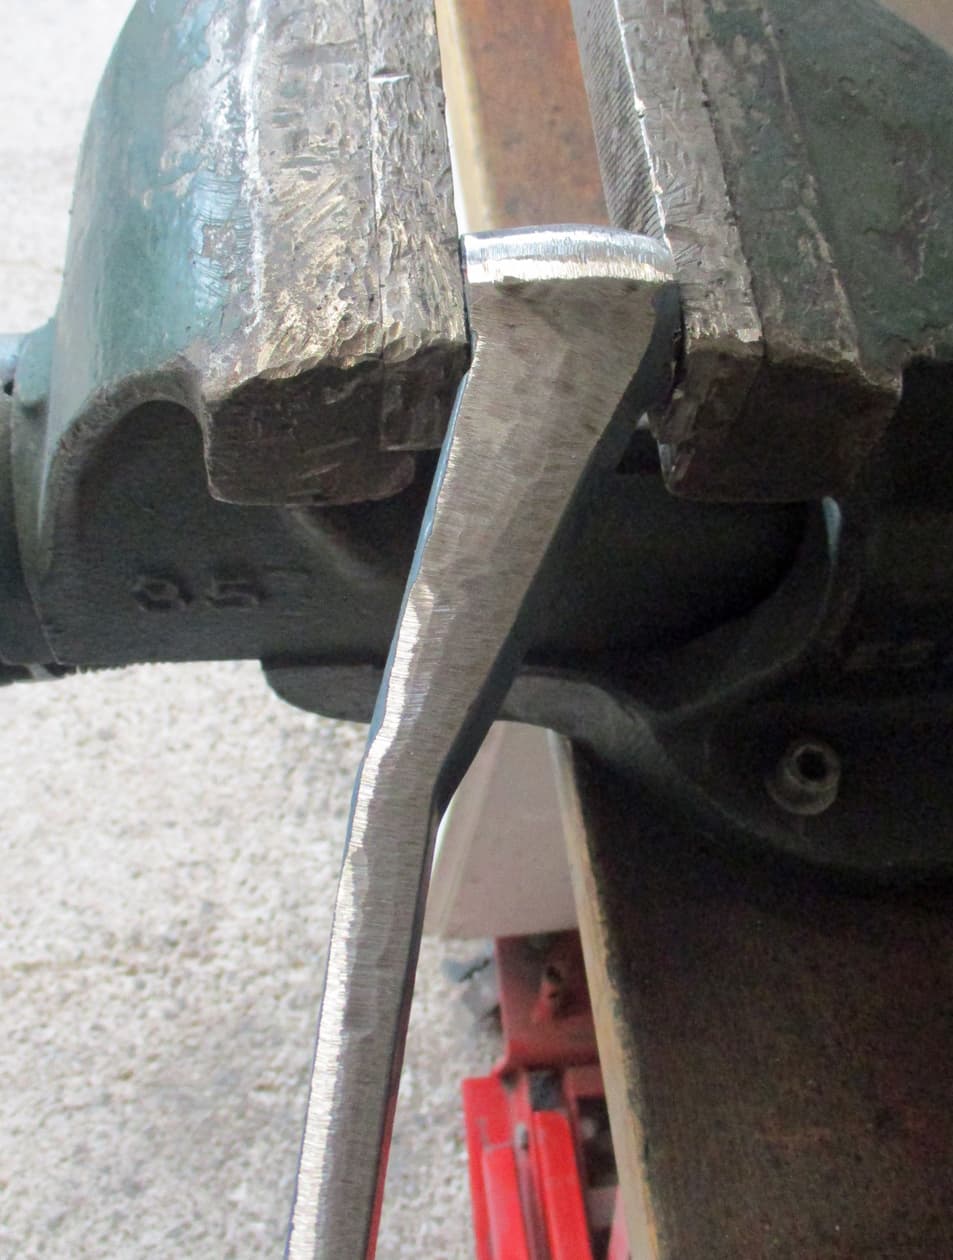
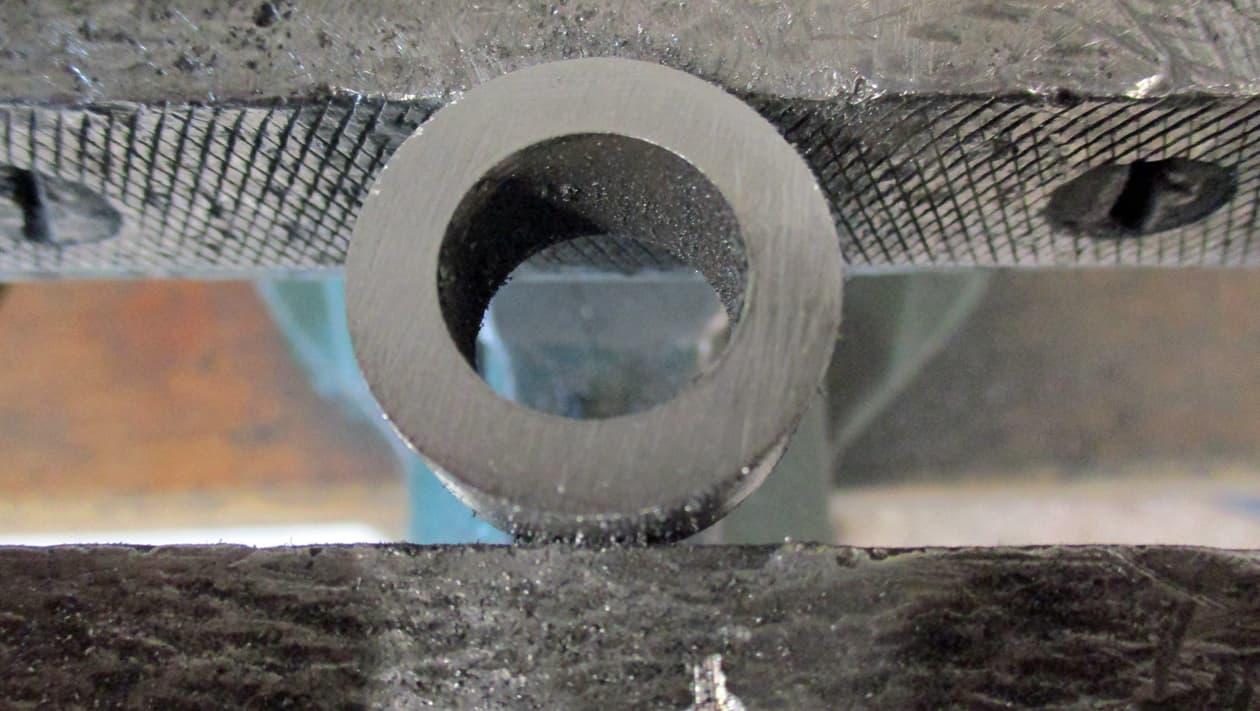
Keep changing the angle of the piece in the vice and watch the file make grain lines as it takes the metal away. Get the grain lines all the way round the spacer and then change the angle in the vice.

Keep going until the correct thickness is achieved and it’s the same all the way round. I got this one to about 3 hundredths of a millimemtre around so happy with that. Take off the sharp edge.

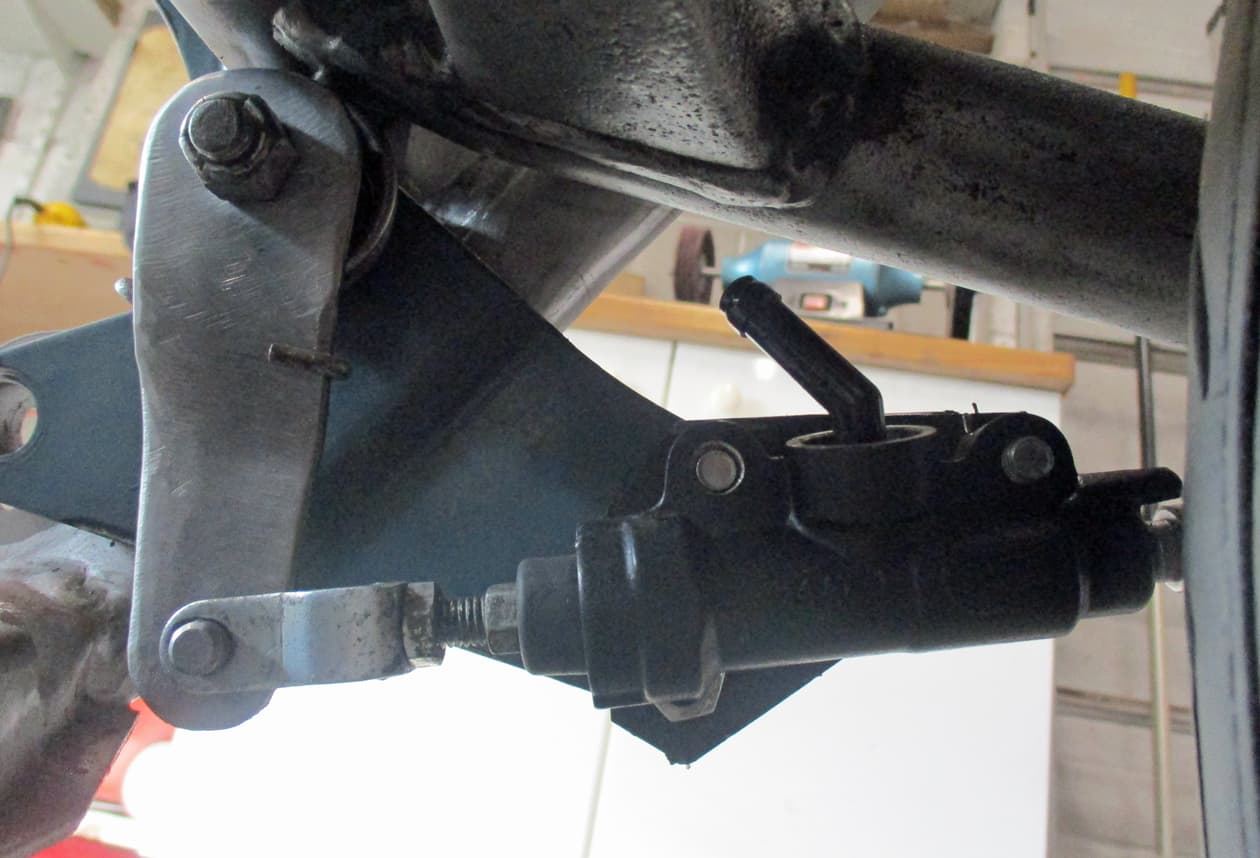
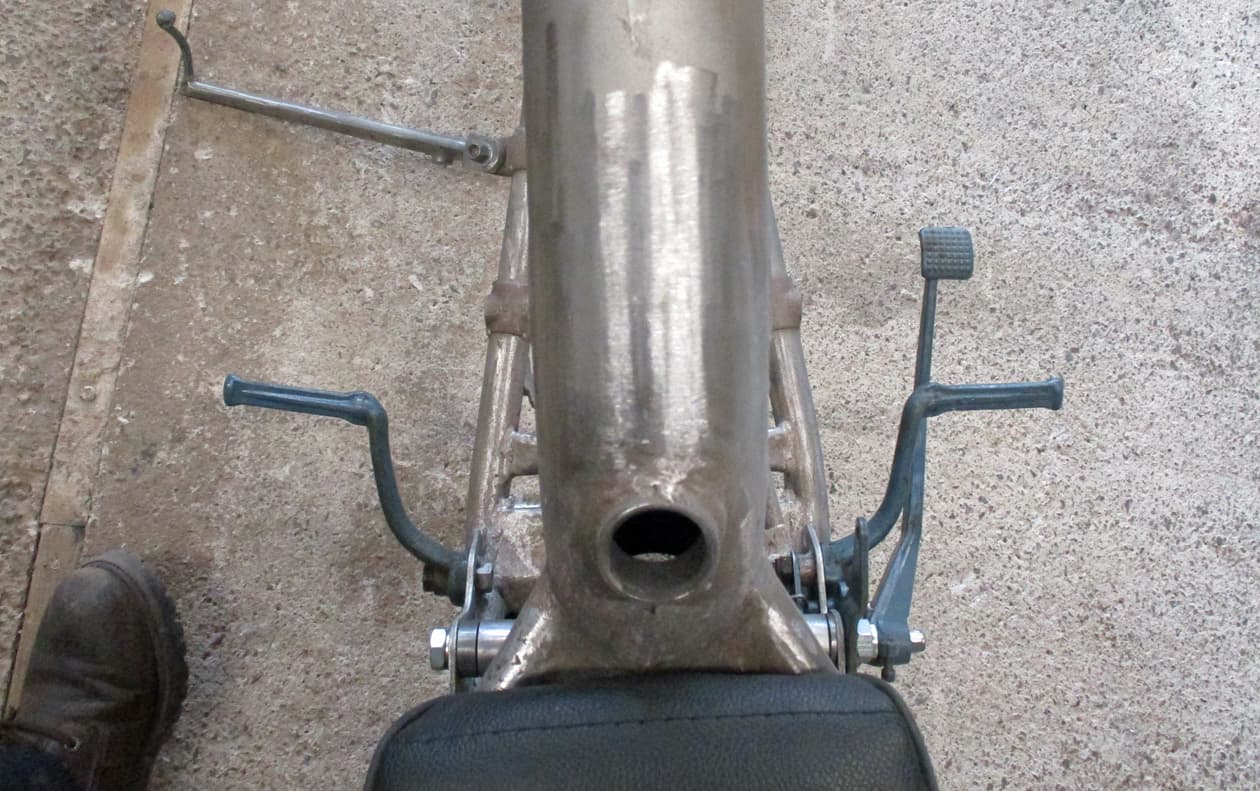
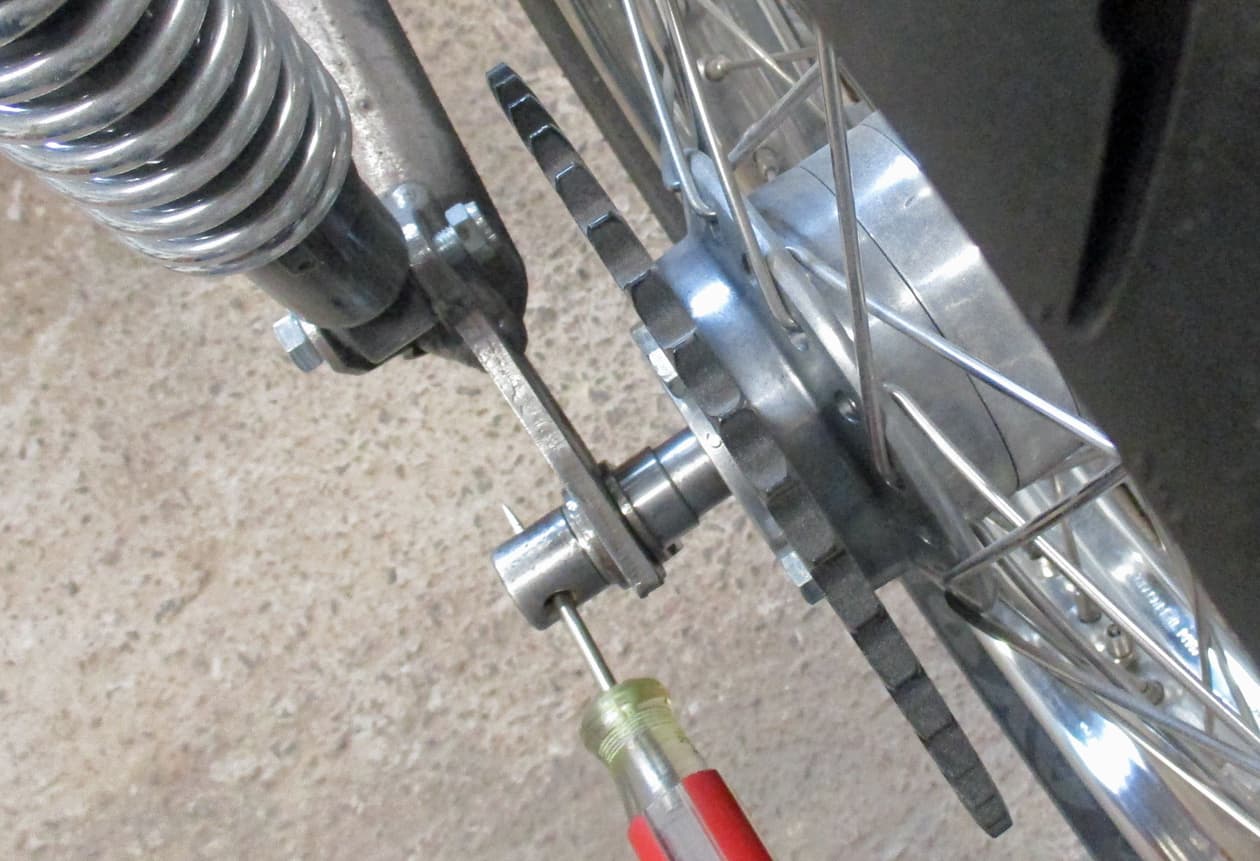
Do the same for the other side and stick the wheel back in to check.

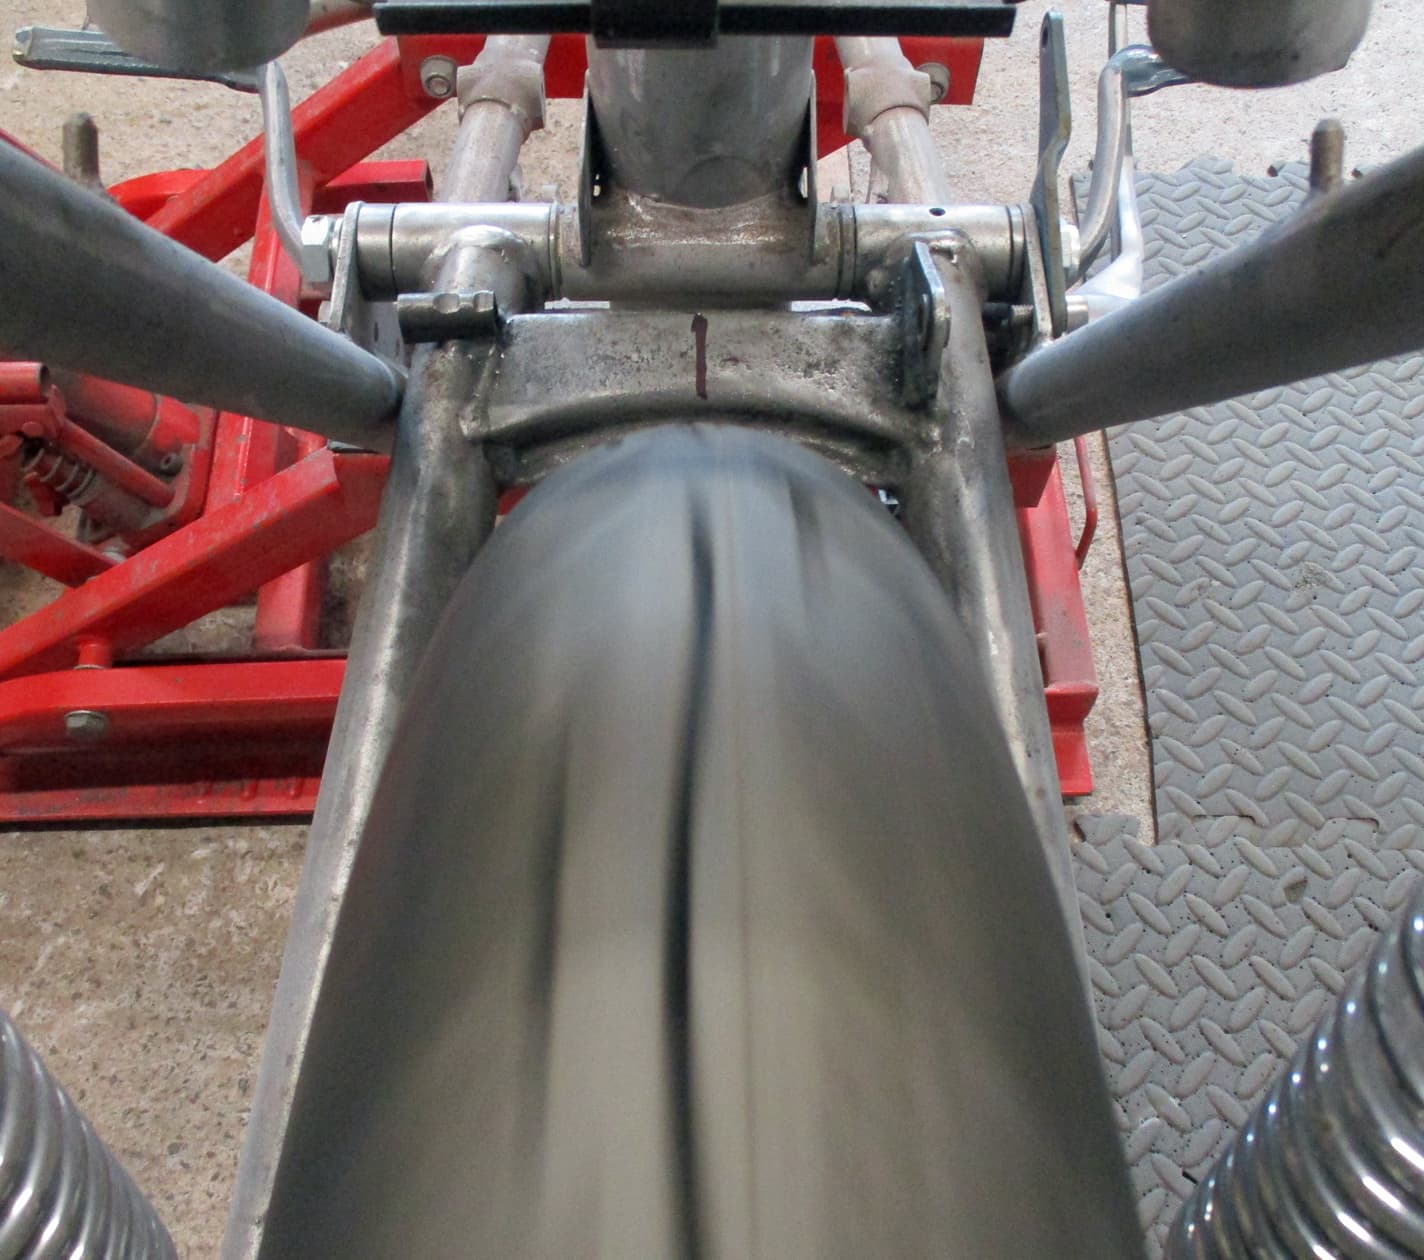
Spun the wheel and checked against the marked centreline of the frame.
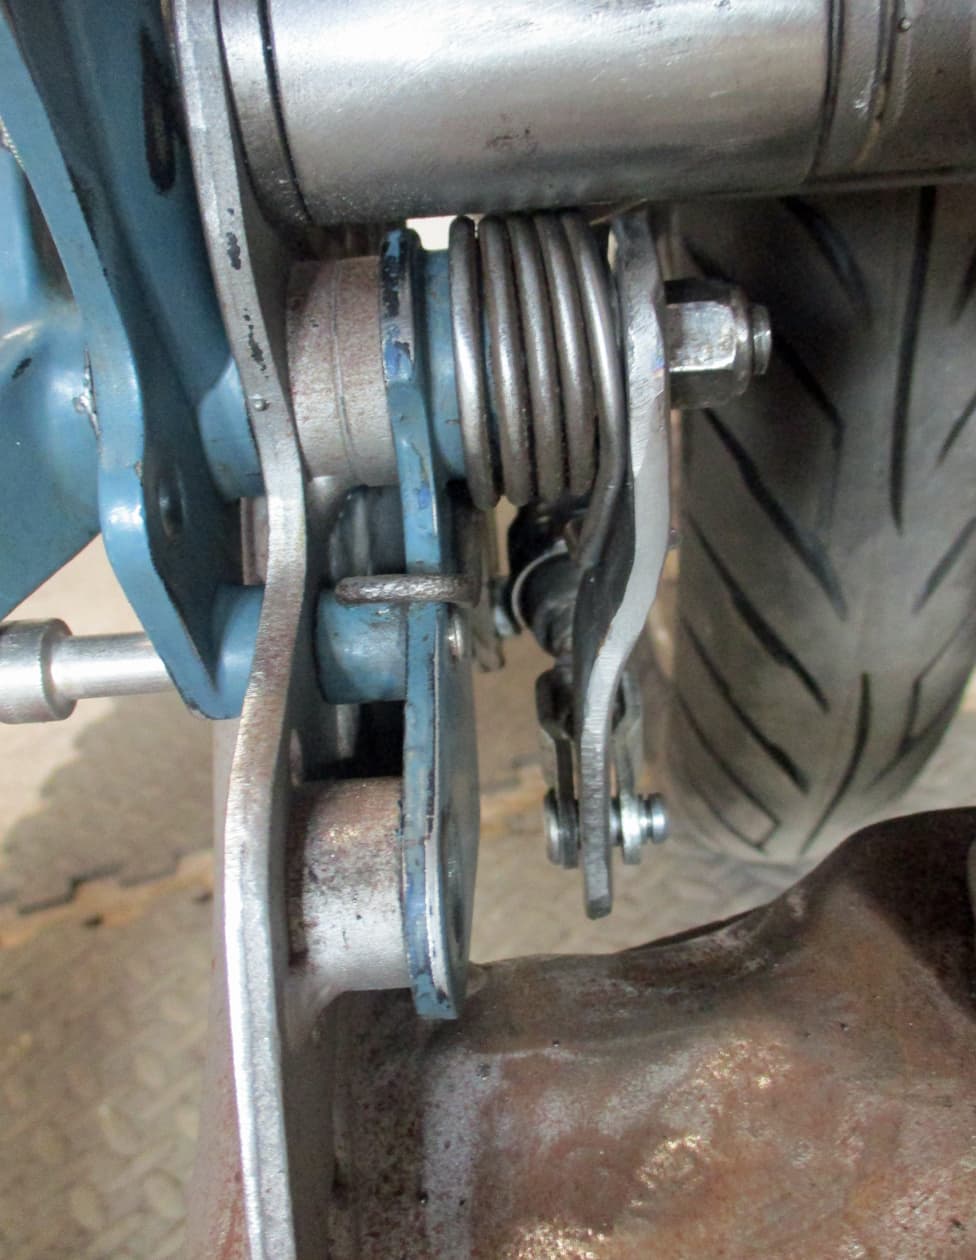
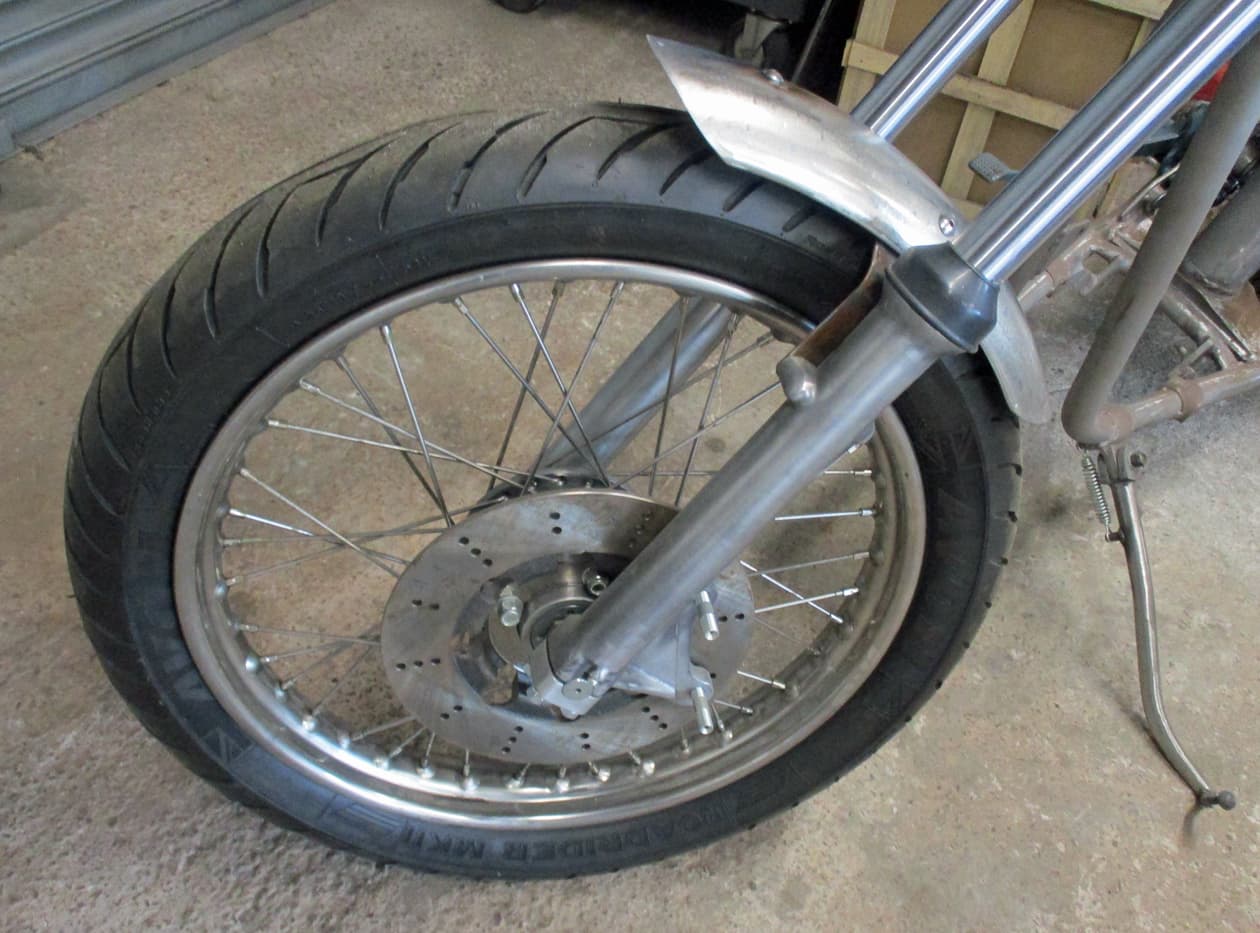
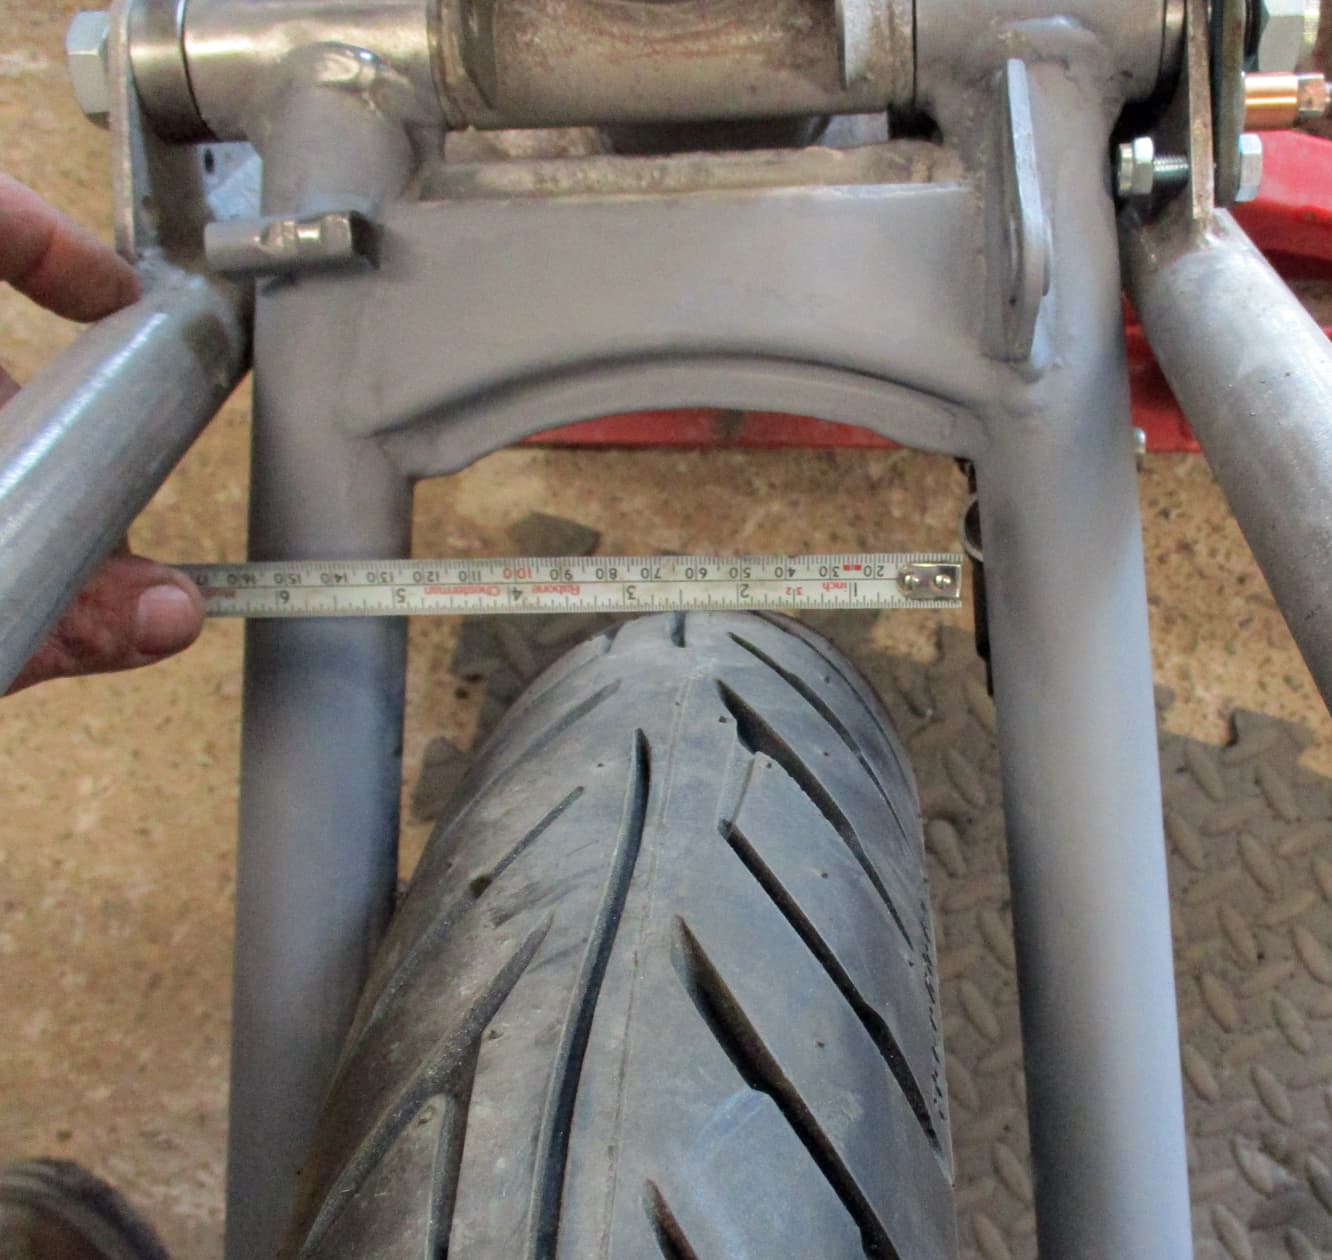
While I was there I checked the dimensions of the tyre (I really don’t like these Avon whatsits). This rear measures 95mm across it’s widest part.
I would like a wider tyre and am looking to put some TrailmaxTTs on. The rear 18" ones are 110 or 120 so I checked the available space from the existing tyre to the swingarm and to the rear sprocket.
I’d built the wheel pulling the rim over to the right side and have achieved 20mm gap between tyre and sprocket, and another 20mm between the tyre and the right side of the swingarm! Blimey, that was more luck than judgement.
I’ll get the 120mm tyre as that’s only12.5mm wider each side and i have 20mm. A 120 will balloon out a bit going onto a 2.15" WM3 rim but I should be ok.

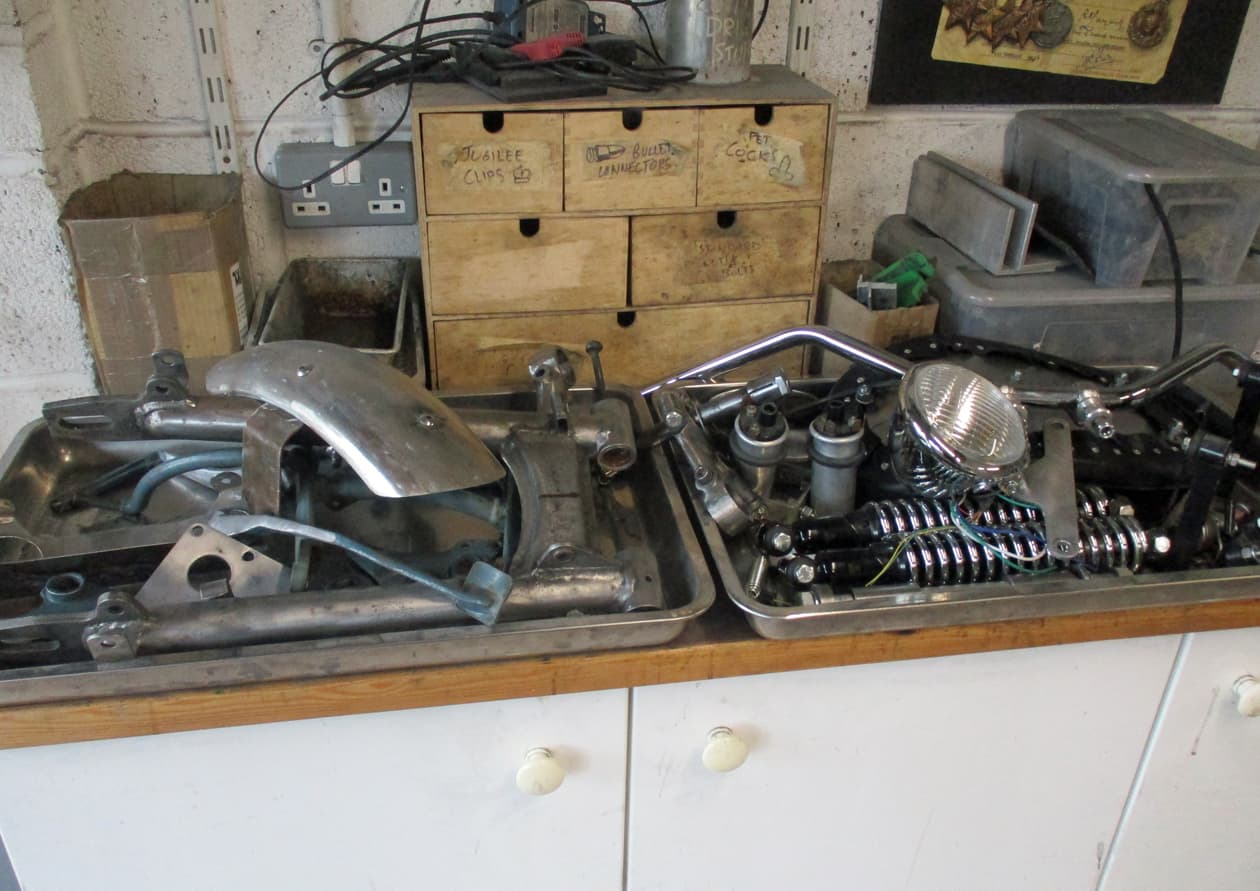
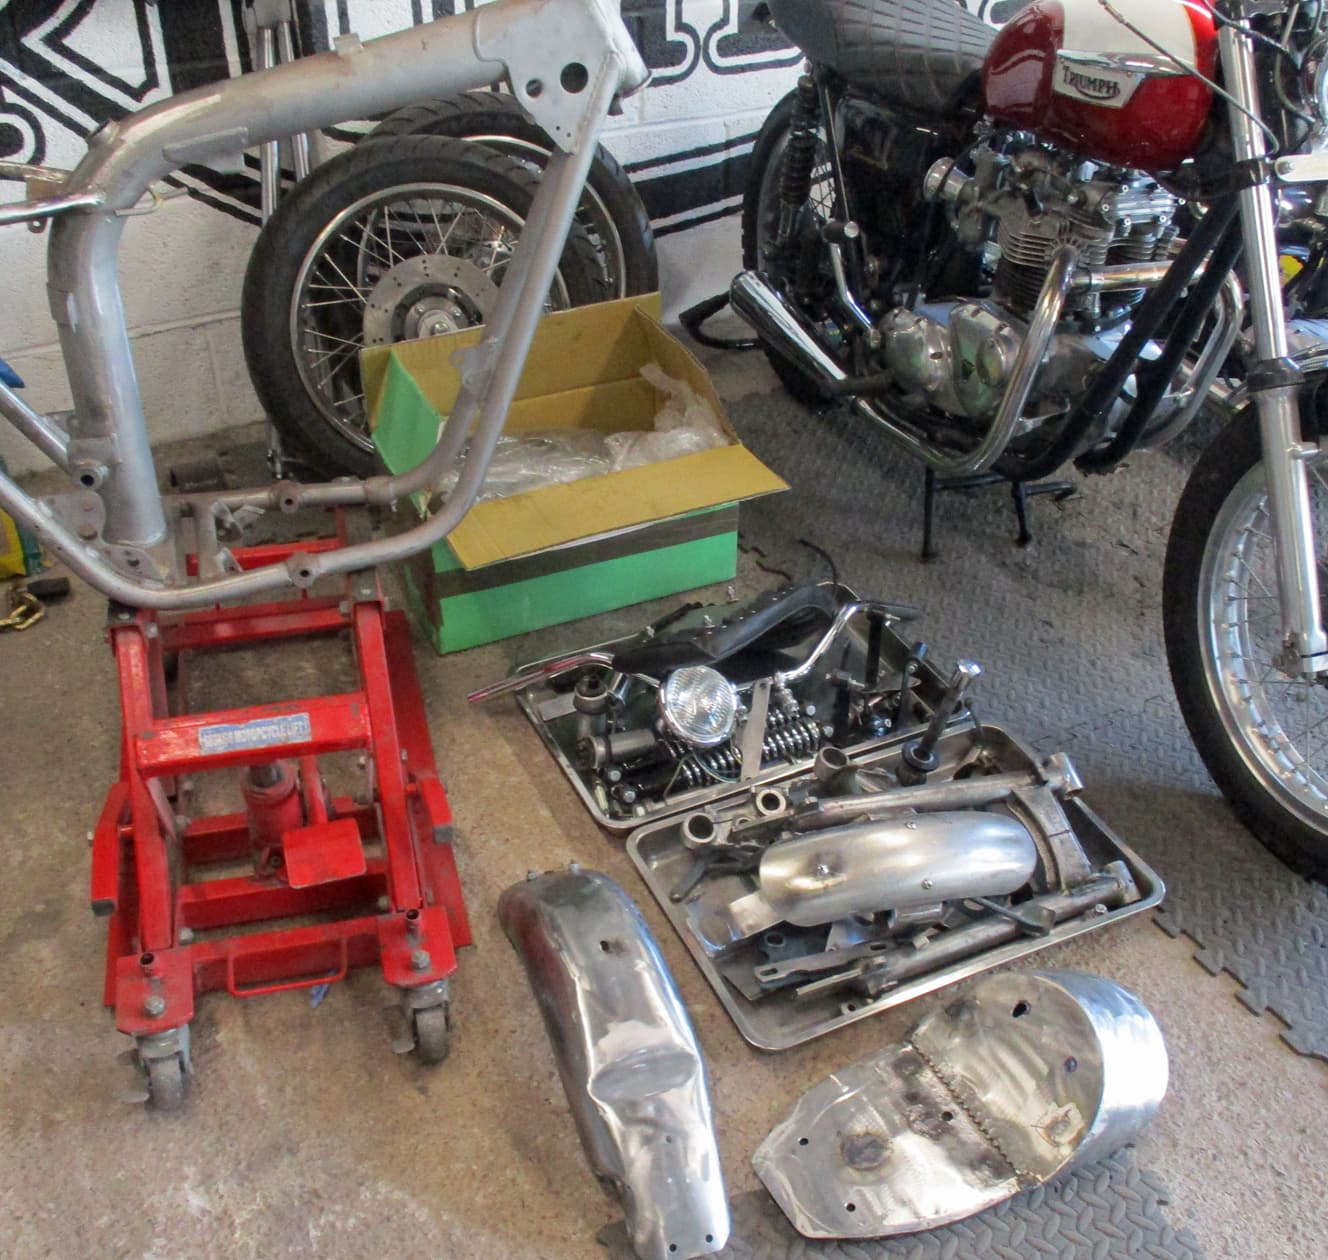
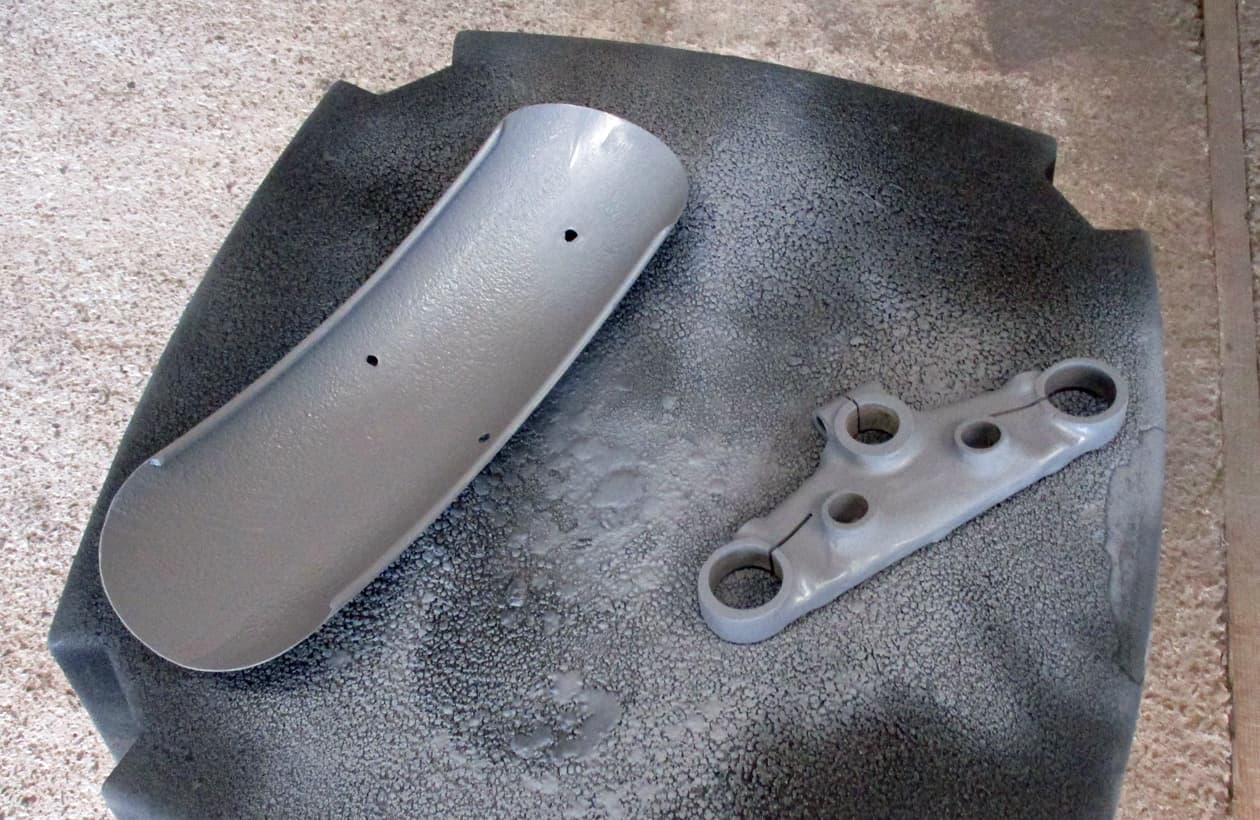
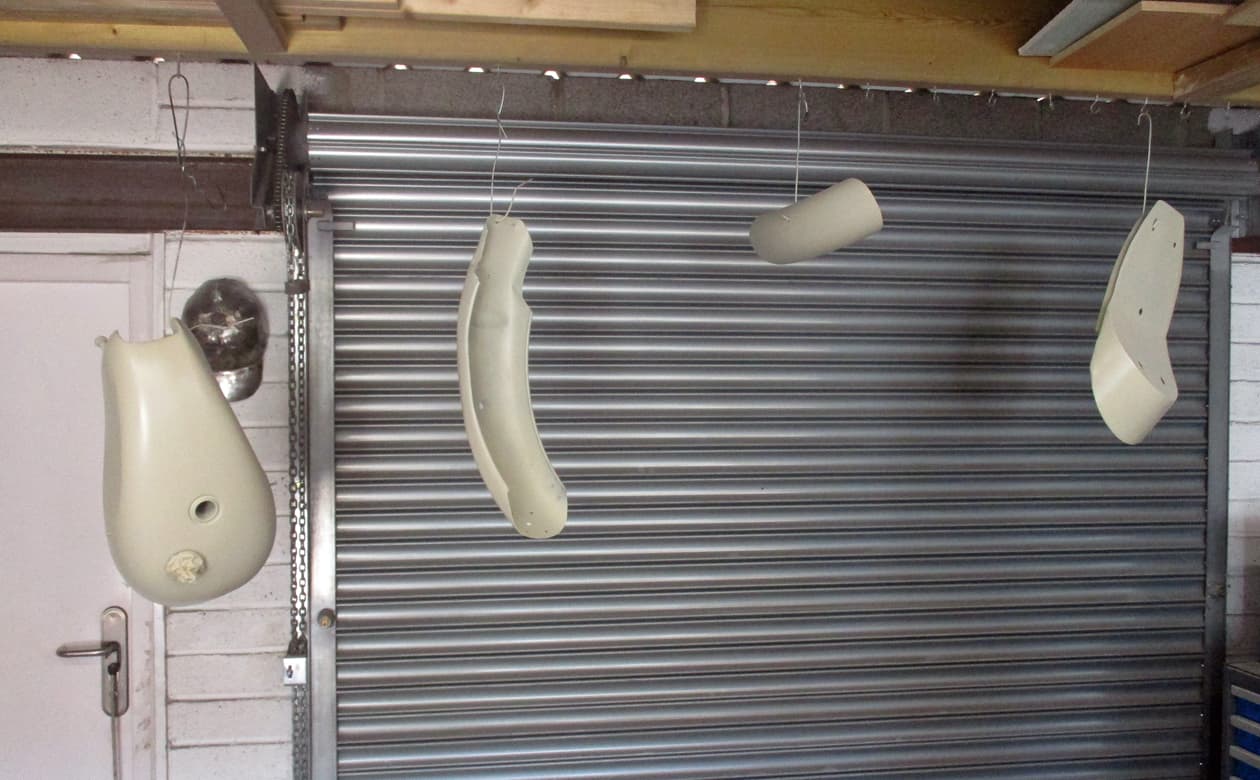
So now there’s a pile of bits and stuff to prepare and paint.

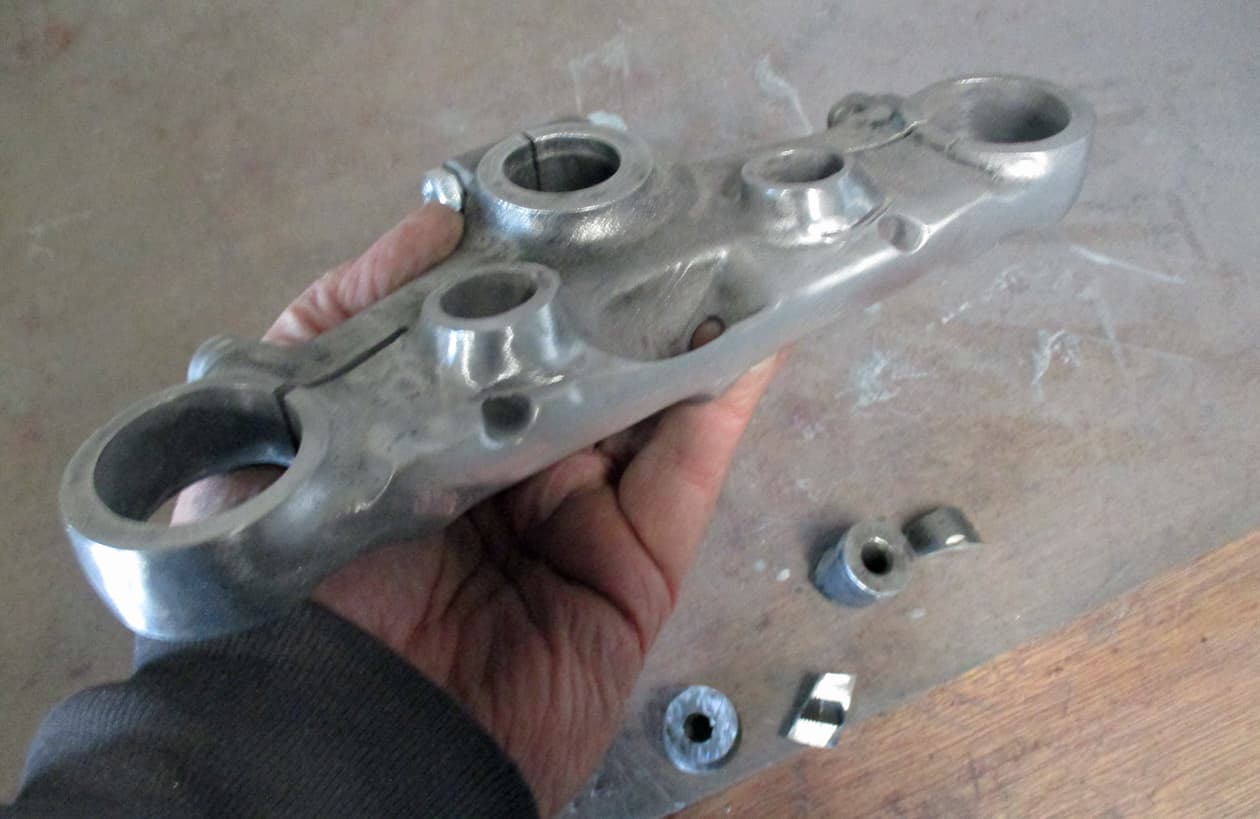
Bits of welding to do on the not wanted holes in the mudguards and seat unit, grinding those lugs off of the top yoke. Then paint.

13 Likes

0.03mm is bloody good going! After reading an email from an “engineer” at work, would you like a job servicing Naval guns?

2 Likes

Although the Naval Guns sound sort of interesting, it’d probably be best for you to have a quiet “chat” with your engineer. :grinning:

2 Likes

Had to calm down before replying :grinning:

Tidying up the metal bits

Cut those lugs off of the top yoke

And gave it all a bit of a clean up


Welded up all the unwanted holes in the mudguard and seat unit

Filling and sanding now, oh what fun :wheel:

8 Likes

Started the tins

Filler applied, sanded off and filler primer applied to fill any grinding, small dents etc

Filled and shaped the top yoke, sanded and again filler primer before sanding again

Nice new tank cleaned of oil coating, all washed out and pressure tested.
Don’t trust a new tank, easy to use some old petcocks, wrap a plastic bag over the filler and twist on a cap. Then apply air (blow in it like a balloon) to one of the petcocks and turn the tap off. Leave for a bit and turn it back on to hear if there’s still a pressure of air in there.
If all seems ok then do it again and apply soapy water to every joint and mounting point to look for bubbles.

Everything cleaned down again and a 2 pack epoxy filler primer used. These 2 part paints are now available in spray cans so no need for a compressor, spray guns, mixing and all that malarkey any more.
The spray cans have a button or a pull pin built into them that, when using, break a vile inside the can to release the hardener into the paint. Shake for a couple of minutes and it’s ready to go.
There’s 2 pack clear lacquer available too. Don’t fall for any single lacquer in a rattlle can, even if it says petrol resistant on the can - it isn’t.
If using any of the 2 pack paints, ensure you use a proper mask (not just a paper one), this is an epoxy that will harden chemically. You don’t really want your lungs all shiney on the inside. :no_mouth:

12 Likes

I’m making sure bits work together, cleaning out threads etc to continue with paint. I’m trying out some new paints as well on different bases etc etc.

When farting around with the back brake set up to take up slackness in the joints it seemed that the master cylinder was getting a bit close to the tyre.

So I put it all back together - swing arm in, back shocks on, wheel in etc and had another look. Nope all is fine. I’m sure I would have checked this on the initial build but it bothered me. So wasted time rebuilding and taking it all apart again.

I try to remember to clean out all threads before masking painting and rebuilds with a suitable tap.

This amount of gunk will stop the bolt screwing into the hole easily. It could also cause damage when trying to torque up.
Laters xxx

11 Likes

Attention to detail. Love it!

2 Likes

Sanded, 2 pack primer, satin black, 2 pack clear

All the other farty bits and bobs to do

5 Likes